8 Best Deep-Tone Wind Chimes
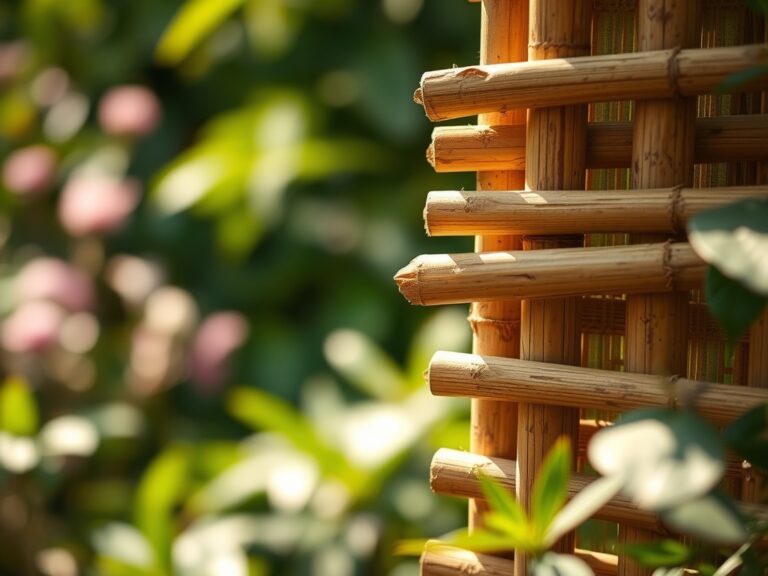
The scent of damp, anaerobic decomposition signals a shift in the garden bed as the sun sets. Turgor pressure remains high in the vascular tissues of the surrounding hostas, their leaves rigid with stored water. In this environment, the auditory landscape is as critical as the soil composition. Integrating the best deep-tone wind chimes into a curated landscape provides a low-frequency resonance that complements the heavy, humid air of a thriving rhizosphere. These instruments rely on acoustic physics; longer, thicker-walled aluminum tubes produce the fundamental frequencies required for deep, orchestral tones. Unlike high-pitched chimes that mimic avian distress calls, deep-tone variants resonate at frequencies between 100 and 400 Hz. This range mimics the natural low-frequency vibrations found in heavy wind gusts or distant thunder. To achieve the desired acoustic depth, the striker must hit the sweet spot, typically 1/5th of the way down the tube length. This placement ensures the suppression of harsh overtones, leaving only the rich, sustained bass notes that settle into the garden like a layer of mulch.
Materials:
A successful garden installation requires a substrate that supports both the physical weight of large-scale chimes and the biological needs of the surrounding flora. For the foundation, prioritize a friable loam with a **Cation Exchange Capacity (CEC) between 15 and 25 milliequivalents per 100 grams**. This ensures the soil can retain essential cations like calcium and magnesium.
The soil pH should be maintained between 6.2 and 6.8 to optimize nutrient availability. If the soil is too acidic, apply pelletized lime at a rate of 50 pounds per 1,000 square feet. If it is too alkaline, incorporate elemental sulfur. The NPK ratio for the surrounding ornamental perennials should be a balanced 10-10-10 slow-release fertilizer applied at the drip line. This ratio supports steady vegetative growth without causing the rapid, weak cellular expansion associated with high-nitrogen spikes. The physical texture of the soil must allow for rapid drainage to prevent root rot in the heavy-duty anchors used for chime stands.
Timing:
Installation and planting should be synchronized with the local frost-date window. In Hardiness Zones 5 through 7, the ideal window opens after the last spring frost when soil temperatures consistently reach 55 degrees Fahrenheit. This temperature threshold triggers the biological clock of the plant, initiating the transition from dormancy to the vegetative stage.
During this period, the increase in day length, or photoperiod, stimulates the production of gibberellins within the plant embryos. This hormonal shift facilitates cell elongation and the emergence of the first true leaves. Avoid heavy soil disturbance during the "shoulder seasons" of late autumn. As plants enter senescence, their ability to repair root damage decreases. Aligning the installation of the best deep-tone wind chimes with the peak growth phase of the garden ensures that the surrounding foliage can act as a natural acoustic baffle, softening the sound and integrating it into the local ecosystem.
Phases:

Sowing
Begin by preparing the seedbed to a depth of 6 inches. Ensure the soil is free of large aggregates that could impede hypocotyl emergence. Seeds should be sown at a depth three times their diameter to ensure adequate moisture contact.
Pro-Tip: Maintain consistent moisture to support the process of imbibition. This is the "Biological Why" of seed starting; the intake of water activates metabolic enzymes that break down stored starches into usable energy for the developing embryo.
Transplanting
When moving starts from a nursery flat to the field, use a hori-hori knife to cut a clean perimeter around the root ball. This minimizes damage to the delicate root hairs responsible for the majority of water uptake. Dig a hole twice as wide as the root mass but no deeper.
Pro-Tip: Dust the root ball with mycorrhizal fungi inoculant. This creates a symbiotic relationship where the fungi extend the root system's reach, increasing the uptake of phosphorus and micronutrients in exchange for plant sugars.
Establishing
During the first 21 days, the plant focuses on root architecture rather than canopy growth. Support this by providing consistent irrigation and avoiding high-nitrogen fertilizers that might force premature top-growth.
Pro-Tip: If the plant shows signs of leaning, do not stake it too tightly. Allow for slight movement to stimulate "thigmomorphogenesis." This biological response causes the plant to produce thicker, sturdier stems in response to mechanical stress, such as wind.
The Clinic:
Physiological disorders often mimic pathogen attacks but are usually rooted in environmental or nutritional imbalances.
Symptom: Interveinal Chlorosis
Yellowing between the leaf veins while the veins remain green indicates a lack of mobile iron or magnesium.
Solution: Check soil pH. If pH is above 7.2, iron becomes chemically locked. Lower the pH using chelated iron drench.
Symptom: Blossom End Rot
A dark, leathery spot on the base of the fruit.
Solution: This is a calcium transport issue, often caused by inconsistent watering rather than a lack of calcium in the soil. Maintain a steady 1.5 inches of water per week.
Symptom: Leaf Curl (Non-Viral)
Edges of the leaves roll upward and become brittle.
Solution: This is a response to high transpiration rates. Increase mulch depth to 3 inches to cool the rhizosphere and reduce water loss.
Fix-It: Nitrogen Deficiency
If the older, lower leaves turn uniform pale green or yellow, the plant is scavenging nitrogen for new growth. Apply a quick-release 20-0-0 liquid fertilizer to restore nitrogen levels immediately.
Maintenance:
Precision is the hallmark of professional horticulture. Use a soil moisture meter to verify that the root zone at a 4-inch depth is moist but not saturated. Most ornamental plants require exactly 1.5 inches of water per week delivered at the drip line via drip irrigation to minimize foliar diseases.
Pruning must be executed with sharp bypass pruners to ensure clean cuts that callouse quickly. Remove any crossing branches or "suckers" that divert energy from the main leader. When maintaining the best deep-tone wind chimes, wipe the aluminum tubes with a light coat of silicone lubricant once per season to prevent oxidation. Check the high-density polyethylene (HDPE) cords for UV degradation. If the cord shows fraying, replace it immediately to prevent the heavy tubes from falling and compacting the soil or damaging the understory plants below.
The Yield:
For flowering ornamentals or herbs surrounding the chimes, timing the harvest is essential for maximum essential oil concentration. Harvest herbs just before anthesis (flowering) when the concentration of volatile oils is at its peak. Use sharp shears to cut early in the morning after the dew has evaporated but before the sun triggers high transpiration.
To maintain "day-one" freshness, immediately plunge the cut stems into 40-degree Fahrenheit water. This rapid cooling slows the rate of respiration and prevents the degradation of cellular structures. For dried flowers, hang them in a dark, well-ventilated area with a humidity level below 40 percent to prevent fungal growth during the curing process.
FAQ:
What is the best material for deep-tone wind chimes?
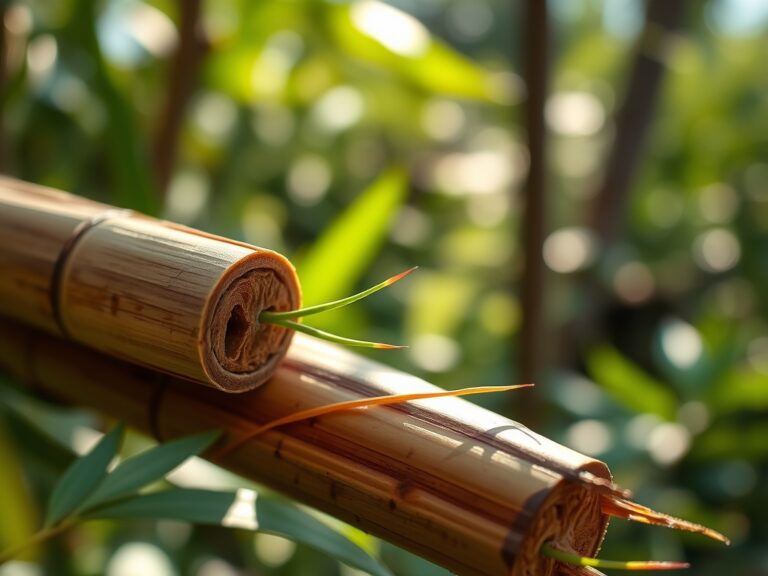
High-grade aluminum alloy with thick tube walls provides the best resonance. Aluminum does not rust and offers a superior strength-to-weight ratio, allowing for larger tubes that produce the necessary low-frequency vibrations for a deep, rich sound.
How do I prevent my wind chimes from tangling?
Ensure the chime uses a central pin-stabilized suspension system. This keeps the tubes vertically aligned even in high winds. Placing the chime in a location with laminar airflow, rather than turbulent gusts, also reduces the risk of cord entanglement.
Does soil pH affect wind chime stands?
Yes. Highly acidic soil (pH below 5.0) can corrode metal ground anchors over time. If your soil is acidic, use galvanized steel or powder-coated anchors and check them annually for structural integrity to prevent the chime stand from collapsing.
How often should I fertilize plants near wind chimes?
Apply a balanced, slow-release fertilizer twice a year. The first application should occur in early spring as the buds break dormancy. The second application should follow in mid-summer to support the plant through the heat of the growing season.