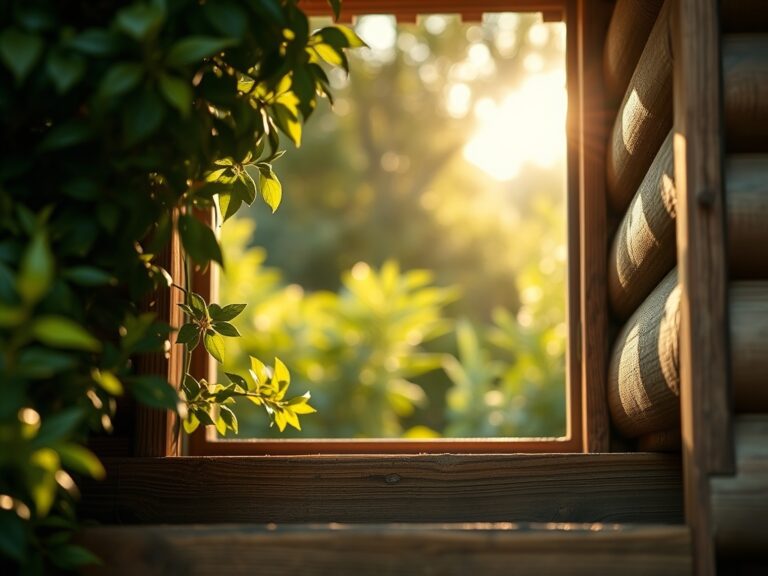
9 Best Insulation for Garden Rooms
The smell of damp earth and the crisp turgor of a healthy leaf define the success of a controlled growing environment. When a structure fails to maintain thermal stability, the rhizosphere suffers and plant metabolic rates plummet. Selecting the best insulation for garden rooms is a matter of managing thermal conductivity to prevent cellular stress in high-value specimens. Without a consistent thermal envelope, the fluctuations in ambient temperature cause rapid changes in vapor pressure deficit; this leads to stomatal closure and the eventual cessation of photosynthesis. A regulated interior environment ensures that the internal air temperature remains within the 65 to 75 degree Fahrenheit range required for optimal enzyme activity. By stabilizing the microclimate, the gardener protects the delicate balance of transpiration and nutrient uptake. Proper insulation serves as the primary barrier against the external variables that threaten the structural integrity of plant tissues and the overall health of the botanical collection.
Materials:
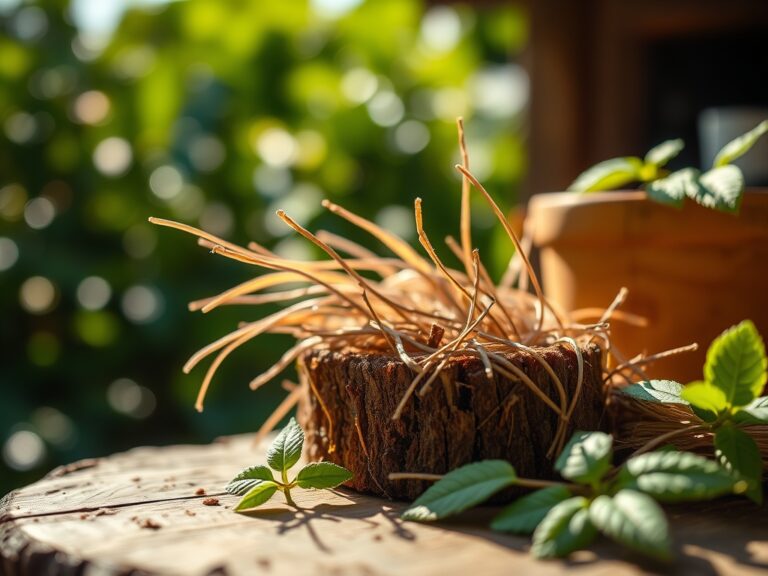
The foundation of a high-performance garden room starts with the substrate and the structural shell. For the interior planting beds, aim for a **friable loam** with a **Soil Cation Exchange Capacity (CEC) between 15 and 25 meq/100g**. This ensures the soil can hold and release essential cations like potassium and magnesium. The ideal soil pH for a general-purpose garden room is **6.2 to 6.8**, which maximizes the bioavailability of phosphorus and micronutrients.
When mixing your substrate, integrate a base NPK ratio of 5-10-5 for initial root development. High phosphorus levels at the onset encourage robust root architecture. Use structural materials with high R-values, such as Polyisocyanurate (PIR) boards, which offer a thermal conductivity as low as 0.022 W/mK. These boards prevent the heat loss that leads to cold-shock in sensitive tropical species. The physical texture of the ideal substrate should be crumbly; it must resist compaction to maintain a pore space of approximately 50 percent, allowing for gas exchange between the roots and the atmosphere.
Timing:
In Hardiness Zones 4 through 7, the timing of insulation installation is critical to prevent the first frost from damaging tender perennials. The "Biological Clock" of a plant dictates the transition from vegetative growth to reproductive stages based on the photoperiod. As days shorten, plants naturally prepare for senescence or dormancy. In a garden room, you override these cues by maintaining a consistent light cycle and temperature.
Installation of thermal barriers must be completed at least 21 days before the first projected frost date in your region. This window allows the internal climate to stabilize before external temperatures drop below 40 degrees Fahrenheit. Monitoring the Growing Degree Days (GDD) provides a data-driven approach to timing your planting cycles within the insulated space. By controlling the thermal environment, you can extend the growing season indefinitely, regardless of the local hardiness zone constraints.
Phases:
Sowing
Begin by placing seeds in a sterile medium with a fine texture to ensure maximum seed-to-soil contact. Maintain a consistent soil temperature of 70 to 75 degrees Fahrenheit using bottom heat mats. This temperature range triggers the metabolic processes required for germination.
Pro-Tip: Monitor for phototropism immediately upon emergence. Seedlings will elongate their hypocotyls toward the strongest light source; rotating trays 180 degrees daily prevents leggy growth and ensures even distribution of auxins, the hormones responsible for cell elongation.
Transplanting
Move seedlings once they have developed at least two sets of true leaves. Use a hori-hori knife to lift the root ball, ensuring you do not disturb the delicate root hairs. The new container must have a volume at least three times larger than the starter cell to prevent the plant from becoming root-bound.
Pro-Tip: Inoculate the transplant hole with mycorrhizal fungi. This establishes a mycorrhizal symbiosis, effectively increasing the root surface area by up to 100 times and enhancing the uptake of immobile nutrients like phosphorus and zinc.
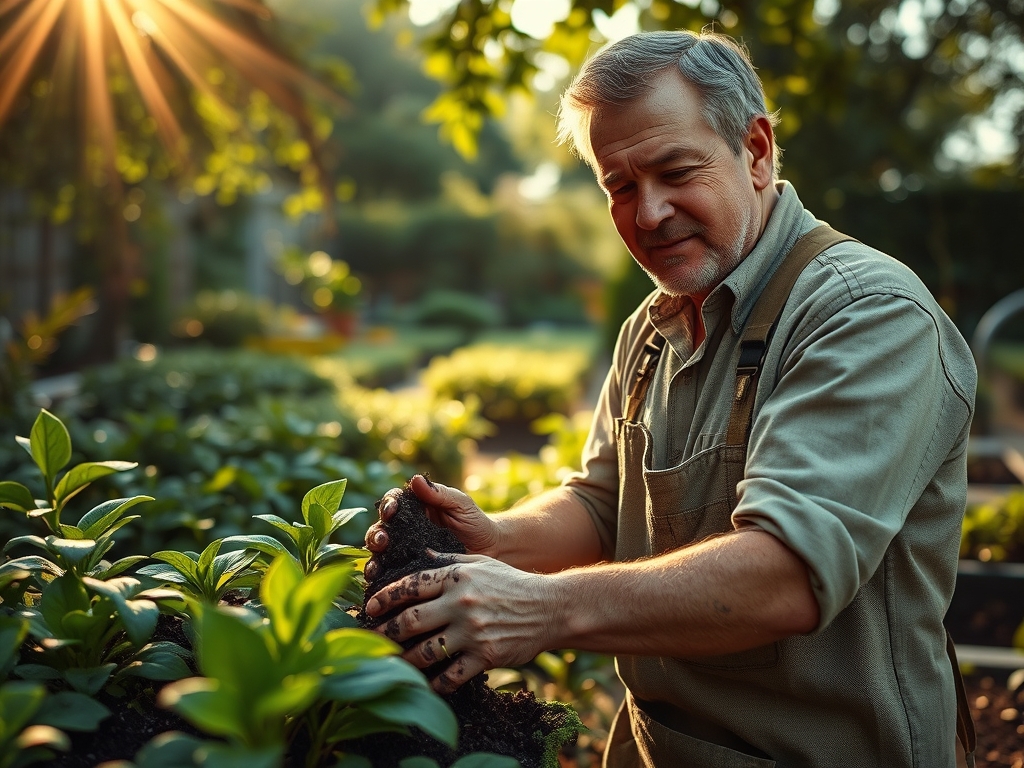
Establishing
During the establishment phase, focus on structural strength. Maintain a relative humidity of 50 to 60 percent to balance transpiration rates. Use oscillating fans to provide a gentle mechanical stress, which strengthens the cell walls through a process called thigmomorphogenesis.
Pro-Tip: Implement auxin suppression by pinching back the terminal buds on branching species. This redirects energy to lateral buds, creating a bushier, more resilient plant structure that can support a higher fruit or flower load.
The Clinic:
Physiological disorders often stem from environmental imbalances rather than pathogens. Observe the foliage for specific indicators of distress.
-
Symptom: Interveinal chlorosis on older leaves.
-
Solution: This indicates a Magnesium deficiency. Apply a foliar spray of Epsom salts (magnesium sulfate) at a rate of 1 tablespoon per gallon of water to restore chlorophyll production.
-
Symptom: Necrosis at the leaf tips and margins.
-
Solution: This is often caused by Potassium deficiency or salt accumulation. Flush the substrate with deionized water and adjust the NPK ratio to include higher K levels.
-
Symptom: Blossom end rot in fruiting crops.
-
Solution: This is a Calcium transport issue, often caused by inconsistent moisture levels rather than a lack of calcium in the soil. Maintain steady soil moisture to ensure calcium moves through the xylem via transpiration.
Fix-It: Nitrogen Chlorosis
If the entire plant appears pale green or yellow, it is suffering from Nitrogen chlorosis. Apply a high-nitrogen liquid fertilizer with an NPK of 10-5-5. Nitrogen is a mobile nutrient; you should see a color shift in the new growth within 5 to 7 days.
Maintenance:
Precision maintenance is the difference between survival and peak performance. Deliver exactly 1.5 inches of water per week at the drip line of each plant. Use a soil moisture meter to verify that the root zone is not saturated; anaerobic conditions lead to root rot.
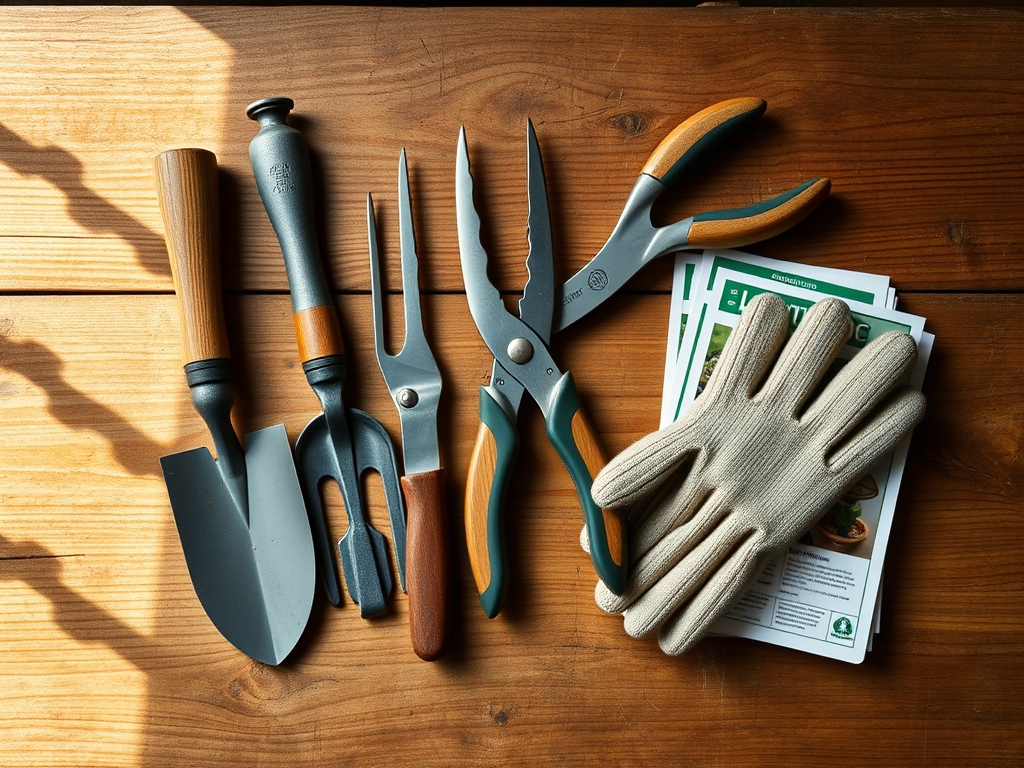
Utilize bypass pruners for clean cuts that heal quickly. When removing spent foliage or harvesting, cut at a 45-degree angle approximately 0.25 inches above a node. This prevents water from pooling on the wound and encourages new growth. Monitor the electrical conductivity (EC) of your runoff; an EC higher than 2.5 mS/cm suggests a salt buildup that requires immediate leaching.
The Yield:
Harvesting is the final stage of the production cycle. For leafy greens, harvest in the early morning when turgor pressure is at its peak. This ensures the cells are fully hydrated, providing a crisp texture. For flowering plants, harvest when the first few buds are just beginning to show color but before they fully open.
Post-harvest handling is critical for "day-one" freshness. Immediately submerge the cut stems in 40-degree Fahrenheit water to remove field heat and slow the rate of respiration. Store the harvest in a high-humidity environment to prevent wilting. For woody stems, use the hori-hori knife to make a vertical slit in the base of the stem to increase the surface area for water uptake.
FAQ:
What is the best insulation for garden rooms with high humidity?
Closed-cell spray foam or Polyisocyanurate (PIR) boards are superior. They provide a high R-value and act as a vapor barrier, preventing moisture from reaching the structural frame and causing rot or fungal growth in the wall cavity.
How does insulation affect plant transpiration?
Insulation stabilizes the Vapor Pressure Deficit (VPD). By preventing rapid temperature swings, it allows plants to maintain consistent transpiration rates, ensuring that nutrients move efficiently from the rhizosphere to the leaf canopy without causing cellular wilting.
Can I use fiberglass batts for a garden room?
Fiberglass is less effective in high-moisture environments. It can lose its R-value if it becomes damp from transpiration or humidity. If used, it requires a meticulous 6-mil polyethylene vapor barrier to protect the material from moisture degradation.
What R-value is required for year-round growing?
Aim for a minimum R-value of 15 for walls and R-30 for the roof. This thermal resistance ensures that the internal temperature remains decoupled from external extremes, protecting the metabolic health of the plants during winter months.