9 Professional Ways How to Design a Landscape Lighting
The smell of damp earth after a heavy rain indicates a high concentration of geosmin; this microbial byproduct signals a healthy soil ecosystem where turgor pressure remains optimal for cellular expansion. In the high-stakes world of professional horticulture, the transition from daylight to darkness represents more than a shift in visibility. It is a fundamental change in how we perceive botanical architecture. Learning how to design a landscape lighting setup requires an understanding of how photons interact with leaf cuticles and bark textures. Proper illumination does not merely reveal a garden; it sculpts the nocturnal environment by emphasizing the structural integrity of specimen trees and the delicate margins of ornamental grasses. This process demands a technical grasp of beam spreads, color temperatures, and the physiological needs of the plants being highlighted. We are not just installing fixtures. We are manipulating the visual hierarchy of the rhizosphere and the canopy to create a cohesive, three-dimensional experience that persists long after the sun sets.
Materials:

Before installing any hardware, the substrate must be analyzed. A **friable loam** with a **pH between 6.0 and 7.0** provides the ideal foundation for burying low-voltage cabling. Soil with high clay content or a low **Cation Exchange Capacity (CEC)** can lead to drainage issues that corrode fixtures over time. For optimal plant health surrounding your lighting elements, maintain an **NPK ratio of 10-10-10** for general maintenance or **5-10-15** for woody ornamentals to encourage root development without excessive vegetative surge. Use **Type THWN-2** direct-burial wire, typically **12-gauge or 10-gauge**, to minimize voltage drop over long runs. Fixtures should be constructed of solid brass or copper to withstand the oxidative stress of a high-moisture environment.
Timing:
The installation of lighting systems should be synchronized with the local Hardiness Zone requirements. In Zones 5 through 7, the window between the last spring frost and the first autumn freeze is critical. Avoid trenching during the "Biological Clock" transition from vegetative growth to reproductive stages; for many perennials, this occurs when the photoperiod shifts in late June. Digging during peak bloom can cause significant transplant shock and hydraulic failure. The best time for structural lighting adjustments is late winter or early spring when deciduous trees are dormant. This allows for clear sightlines of the branching architecture without the interference of dense foliage, ensuring the primary beams are aligned with the trunk and secondary scaffolds before senescence ends.
Phases:

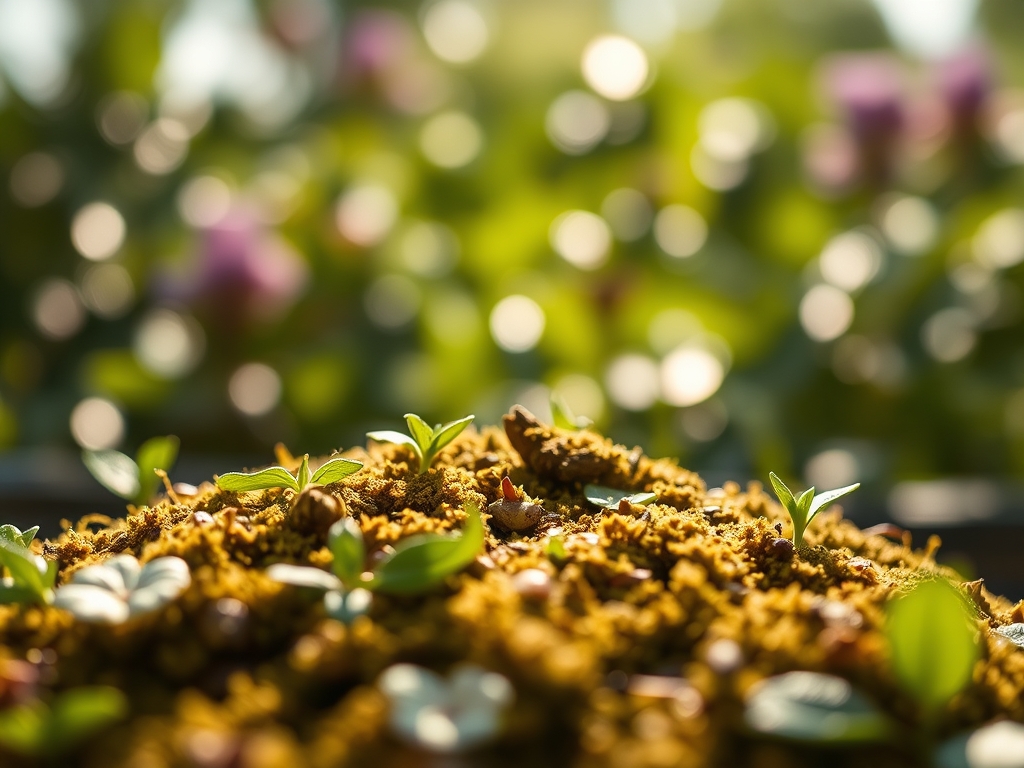
Sowing the Layout
Begin by mapping the primary focal points. Use a 300-watt transformer as the central hub for your power distribution. Professional designers utilize a "hub" method to ensure each fixture receives a consistent 11 to 12 volts. This prevents the premature burnout of LED drivers. Identify specimen plants with unique bark, such as the peeling layers of a Betula nigra.
Pro-Tip: Position lights to avoid direct contact with emerging buds. Excessive heat from non-LED sources can disrupt auxin suppression, leading to abnormal growth patterns or "light-induced" localized heat stress that mimics drought.
Transplanting the Fixtures
When placing ground stakes, ensure they are driven into the soil at least 8 inches deep to bypass the primary root mat. This protects the rhizosphere and prevents the fixture from shifting during freeze-thaw cycles. For path lighting, space fixtures 6 to 8 feet apart to create a rhythmic pool of light rather than a continuous runway effect.
Pro-Tip: Utilize mycorrhizal symbiosis by adding a fungal inoculant to any soil disturbed during trenching. This helps the root systems recover from the mechanical stress of cable installation by increasing the surface area for nutrient uptake.
Establishing the Atmosphere
The final phase involves fine-tuning the beam angles. Use 60-degree flood lamps for broad canopies and 15-degree spot lamps for narrow, columnar evergreens. The color temperature should remain consistent at 2700K to 3000K to mimic the warm spectrum of incandescent light, which renders the green of chlorophyll most accurately.
Pro-Tip: Be mindful of phototropism. Plants will naturally grow toward a light source. If a powerful uplight is placed too close to a young sapling, the tree may develop a lean as it attempts to maximize photon absorption from the artificial source.
The Clinic:
Monitoring the intersection of technology and biology is essential for a long-lasting design.
- Symptom: Interveinal chlorosis (yellowing leaves with green veins) near light fixtures.
- Solution: Check for soil compaction caused by foot traffic during installation. This restricts oxygen to the roots.
- Symptom: Rapid, "leggy" growth on one side of a shrub.
- Solution: This is a physiological response to excessive night-time light. Reduce the wattage or move the fixture further back to allow for a natural dark cycle.
- Symptom: Corrosion on brass fixtures.
- Solution: High acidity in the soil (pH below 5.5) accelerates metal degradation. Apply dolomitic lime to neutralize the area.
Fix-It Section: For Nitrogen chlorosis, apply a foliar spray of liquid urea at a rate of 0.5 pounds per 1,000 square feet. This provides an immediate boost to chlorophyll production while the soil-based NPK adjustments take effect.
Maintenance:
Professional landscapes require rigorous upkeep. Provide exactly 1.5 inches of water per week at the drip line, measured by a soil moisture meter inserted 6 inches into the substrate. Use a hori-hori knife to clear encroaching turf from around the base of well-lights to prevent "light choking." Every six months, inspect all connections for moisture ingress. Use bypass pruners to remove any water sprouts or suckers that obscure the light path; these fast-growing shoots drain the plant's energy and distort the intended lighting design. Clean fixture lenses with a mild acetic acid solution to remove calcium deposits from irrigation overspray.
The Yield:
While landscape lighting is not "harvested" in the traditional sense, the "yield" is the extended utility of the garden. For those illuminating edible landscapes, such as an espaliered fruit wall, proper lighting allows for late-evening harvesting when fruit sugars are most stable. Handle any fruit or flowers with clean hands to prevent the transfer of pathogens. For "day-one" freshness of cut flowers harvested at night, immediately submerge stems in 40-degree Fahrenheit water to arrest cellular respiration and maintain turgidity.
FAQ:
How many lumens do I need for a tree?
For small trees up to 15 feet, use 200 to 300 lumens. For mature specimens over 30 feet, utilize 600 to 1,000 lumens with a narrow beam spread to reach the upper canopy effectively.
What is the best wire for landscape lighting?
Use 12/2 low-voltage direct-burial wire for most residential applications. It is rated for 20 amps and can handle a total load of 240 watts over a 100-foot run with minimal voltage drop.
Does artificial light hurt plants at night?
Excessive light can disrupt the phytochrome system, which regulates flowering and dormancy. Use shielded fixtures and timers to ensure plants receive at least 6 to 8 hours of total darkness for proper metabolic function.
How deep should I bury the lighting cables?
Bury cables at least 6 inches deep. This depth protects the wire from aerators, hori-hori knives, and standard garden maintenance while remaining accessible for future repairs or system expansions.