6 Modern Ways How to Design a Gravel Patio
Damp earth exudes a sharp geosmin scent as the shovel breaks the surface tension of a compacted clay layer. High turgor pressure in surrounding perennials ensures they stand rigid against the excavation process. To master how to design a gravel patio, a technician must first understand the structural integrity of the underlying substrate. This is not merely an aesthetic choice; it is a management of drainage and soil compaction. Success requires calculating the load-bearing capacity of the subsoil while maintaining the gas exchange necessary for the surrounding rhizosphere.
The process begins with a site analysis of the soil profile. Most residential sites suffer from heavy compaction, which limits the pore space available for water movement. By removing the organic horizon and reaching the mineral-rich B-horizon, you create a stable foundation. This guide details how to design a gravel patio using rigorous horticultural standards to ensure long-term stability and plant health. We will examine the intersection of engineering and botany to create a space that functions as a high-performance drainage system.
Materials:

The foundation of a gravel patio requires a substrate that facilitates rapid drainage while supporting heavy foot traffic. The ideal soil for surrounding planting beds is a **friable loam with a pH between 6.0 and 7.0**. This range optimizes the Cation Exchange Capacity (CEC), allowing plants to access essential nutrients. For the patio base, use a **4-inch layer of crushed 3/4-inch minus limestone**. This material provides structural rigidity through mechanical interlocking.
Incorporate organic matter into the surrounding soil to achieve a 3% to 5% organic carbon content. When preparing the planting pockets adjacent to the gravel, apply a balanced NPK ratio of 10-10-10 at a rate of 1 pound per 100 square feet. This provides the initial nitrogen for leaf development, phosphorus for root establishment, and potassium for cellular water regulation. Avoid high-nitrogen fertilizers in the fall; this prevents soft, succulent growth that is susceptible to ice crystallization within the vascular tissue.
Timing:
Timing the installation depends on the local Hardiness Zone and the biological clock of the surrounding flora. In Zones 5 through 7, the ideal window for excavation is late spring after the final frost date when the soil moisture has reached a workable state. Working wet soil destroys the soil structure by collapsing the macropores. In Zones 8 through 10, autumn is the preferred window to allow the surrounding vegetation to enter a period of root-focused growth without the stress of high evapotranspiration rates.
Observe the transition from vegetative to reproductive stages in your indicator plants. When woody shrubs enter senescence, their energy reserves shift from the canopy to the root system. This is the optimal time to install heavy stone or gravel near the drip line. Installing during this dormant phase minimizes the risk of mechanical damage to active meristems and reduces the likelihood of transplant shock in adjacent specimens.
Phases:

Sowing and Site Preparation
Excavate the area to a depth of 6 inches. Ensure a 2% slope away from any permanent structures to prevent water accumulation. This gradient is essential for directing runoff toward bioswales or rain gardens. Use a plate compactor to achieve a 95% Proctor density on the subgrade.
Pro-Tip: Maintaining a specific slope prevents anaerobic conditions in the soil. When water stagnates, it displaces oxygen in the soil pores, leading to root asphyxiation and the production of toxic hydrogen sulfide.
Transplanting and Edging
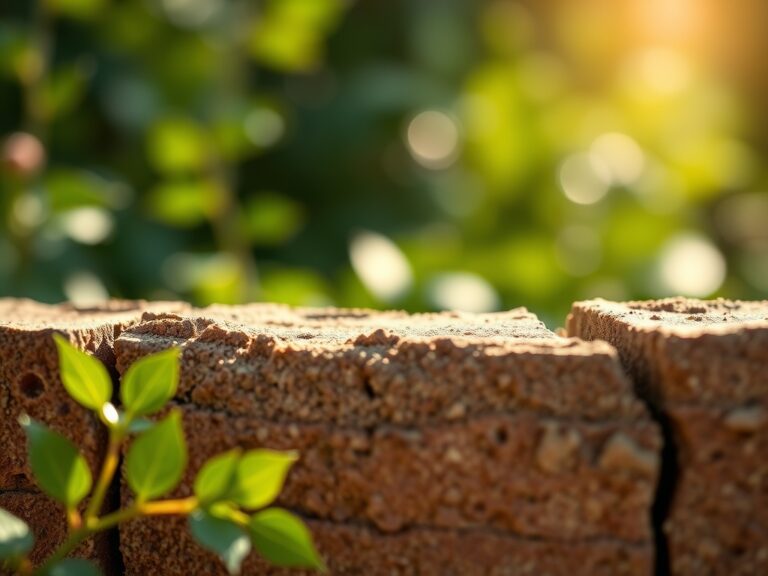
Install a heavy-duty steel or aluminum edging to contain the gravel. When planting along the perimeter, ensure the root flare of each plant is visible at the soil surface. Dig holes twice as wide as the root ball but no deeper. This encourages lateral root expansion into the loosened soil of the transition zone.
Pro-Tip: Lateral root expansion is driven by auxin suppression in the central taproot. By loosening the surrounding soil, you reduce physical resistance, allowing auxins to stimulate the growth of secondary roots that anchor the plant and increase nutrient uptake.
Establishing the Gravel Layers
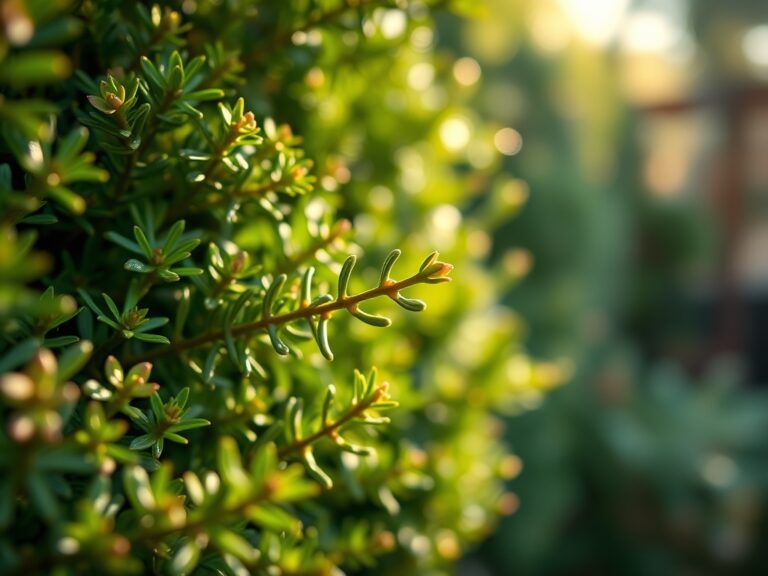
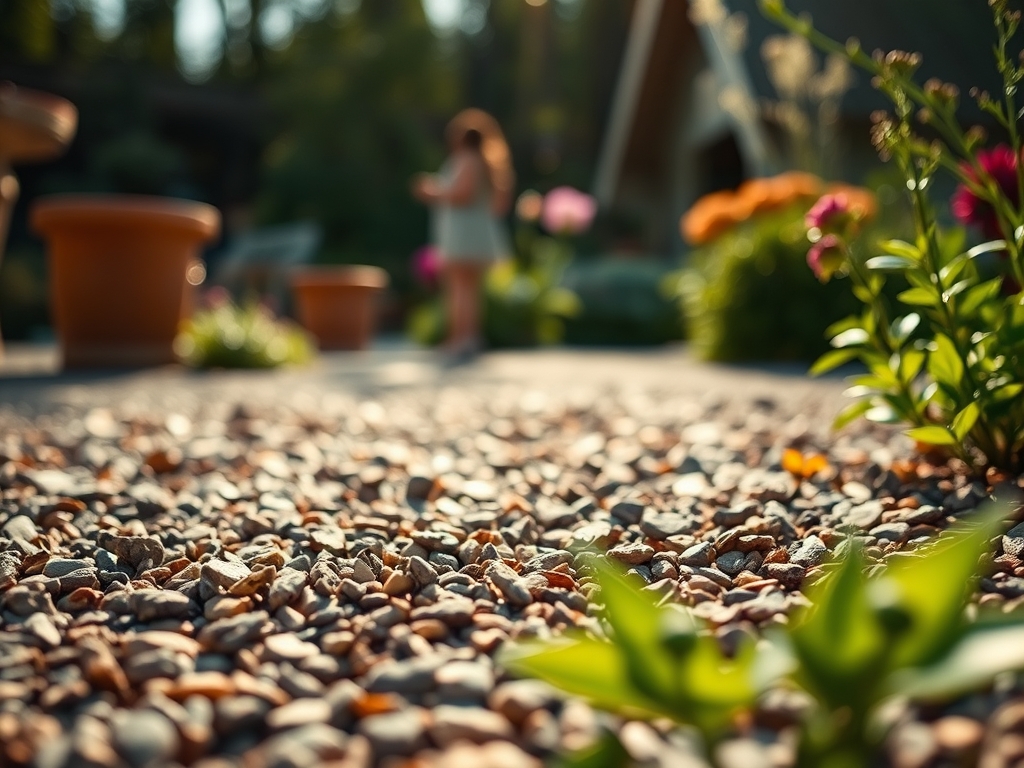
Lay a non-woven geotextile fabric over the compacted subgrade. This fabric acts as a barrier to prevent the migration of fines from the soil into the gravel layer while allowing vertical water movement. Spread 2 inches of pea gravel or 3/8-inch clean stone as the top course. This size provides a comfortable walking surface while maintaining a high void space for drainage.
Pro-Tip: The geotextile fabric supports mycorrhizal symbiosis by protecting the underlying soil structure. This allows beneficial fungi to colonize the root systems of nearby plants without being crushed by the weight of the gravel.
The Clinic:
Physiological disorders often manifest at the intersection of hardscaping and softscaping. Monitor your patio perimeter for these specific symptoms.
Symptom: Interveinal chlorosis (yellowing between leaf veins).
Solution: This typically indicates a Manganese or Iron deficiency caused by high alkalinity. If your gravel is limestone-based, it may raise the soil pH. Apply elemental sulfur to lower the pH to a range of 6.2 to 6.5.
Symptom: Marginal leaf burn or scorching.
Solution: This is often a sign of drought stress or salt accumulation. Gravel can reflect thermal energy, increasing the transpiration rate. Increase irrigation frequency and use a soil moisture meter to ensure the root zone remains at field capacity.
Fix-It for Nitrogen Chlorosis: If the oldest leaves are turning uniform pale green, apply a quick-release 21-0-0 (Ammonium Sulfate) fertilizer. This provides immediate nitrogen to restore chlorophyll production and stimulate vegetative vigor.
Maintenance:
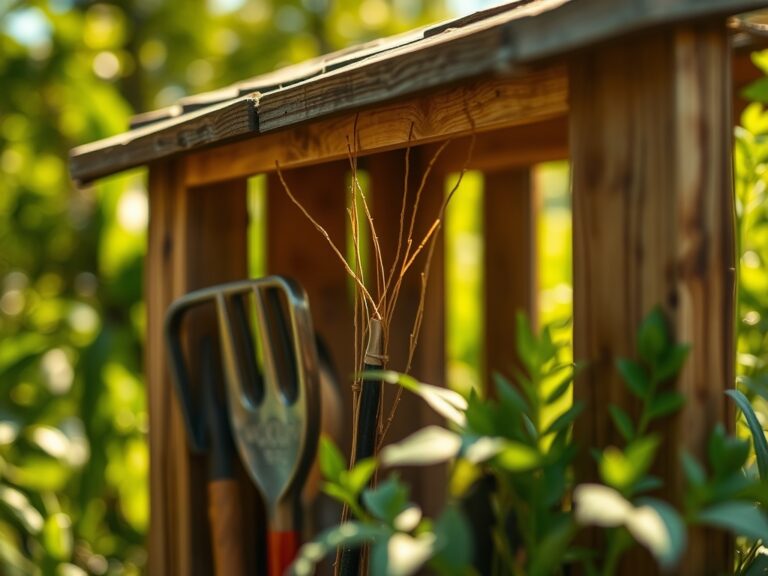
A gravel patio requires precise hydraulic management. Provide 1.5 inches of water per week at the drip line of all bordering plants during the first two growing seasons. Use a hori-hori knife to extract any deep-rooted weeds that penetrate the gravel layer; ensure you remove the entire taproot to prevent regeneration from dormant buds.
For woody plants, use bypass pruners to remove dead, damaged, or diseased wood (the "3 Ds"). This maintains airflow and reduces the fungal inoculum load. Every three years, top-dress the patio with 0.5 inches of fresh gravel to compensate for settling. Use a soil moisture meter weekly at a depth of 6 inches to calibrate your irrigation system based on actual volumetric water content rather than a fixed schedule.
The Yield:
While a patio is a structural element, the surrounding "yield" consists of the biomass and floral displays of the integrated garden. For harvesting herbs or flowers like Lavandula or Rosmarinus, cut during the early morning hours when turgor pressure is at its peak. This ensures the stems are rigid and the essential oil concentration is highest.
Handle all harvested material with care to avoid bruising the cell walls. Place stems immediately into 40-degree Fahrenheit water to slow the rate of respiration and senescence. For woody cuttings, make a 45-degree slant cut to increase the surface area for water uptake, ensuring "day-one" freshness for several days.
FAQ:
What is the best gravel size for a patio?
Use 3/8-inch clean pea gravel or decomposed granite. These sizes offer a high surface area for stability while remaining small enough to shift slightly underfoot, providing a comfortable walking surface without the instability of larger river rocks.
How do I prevent weeds in my gravel patio?
Install a high-quality non-woven geotextile fabric beneath the gravel. This prevents weed seeds in the soil from germinating while allowing water to pass through. Maintain the surface by removing organic debris that could decompose into a seedbed.
Does a gravel patio affect soil pH?
Yes, if using limestone gravel. Rainwater leaches calcium carbonate into the soil, raising the pH. Monitor the rhizosphere of acid-loving plants nearby and apply soil acidifiers like elemental sulfur if the pH exceeds 7.5.
How deep should the gravel layer be?
A standard residential gravel patio requires a total depth of 4 to 6 inches. This includes a 3-inch compacted base of crushed stone and a 2-inch decorative top layer. This depth ensures stability and effective weed suppression.