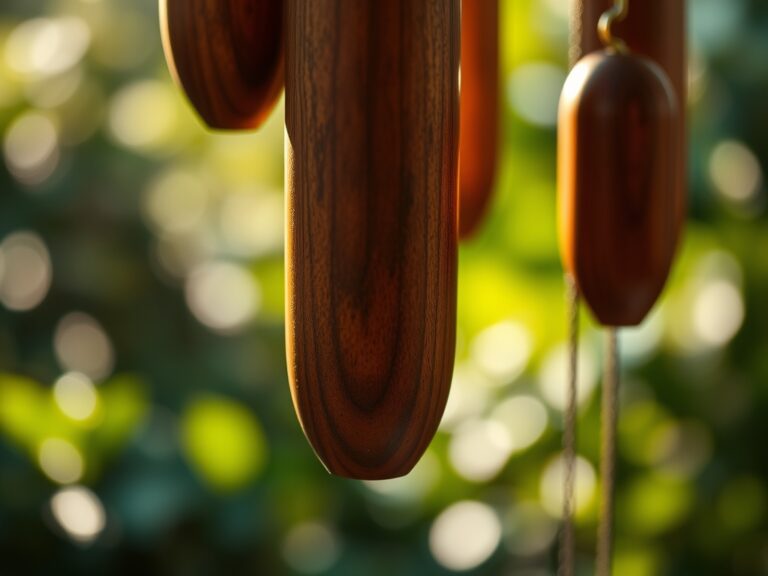
6 Best Masonry Bits for Brick
The scent of damp, disturbed earth carries the sharp, metallic tang of pulverized silica as a carbide tip bites into kiln-fired clay. Achieving high turgor pressure in a plant is useless if the vertical garden infrastructure fails due to poor anchoring. Selecting the best masonry bits for brick is the primary step in securing trellises or irrigation lines to structural masonry without compromising the integrity of the substrate. Brick possesses a high compressive strength but is brittle under lateral stress; choosing the wrong bit leads to micro-fractures that allow moisture to seep into the wall, potentially leading to efflorescence or structural decay. Professional installation requires a bit that manages heat dissipation while maintaining a precise diameter for expansion anchors.
Materials:
Successful cultivation begins with a substrate of **friable loam** characterized by a **Cation Exchange Capacity (CEC) between 15 and 25 milliequivalents per 100 grams**. For brick-adjacent plantings, maintain a soil pH between **6.2 and 6.8** to ensure nutrient bioavailability. The ideal nutrient profile follows a **10-10-10 NPK ratio** for general establishment, though high-nitrogen fertilizers (20-10-10) are required for rapid vegetative growth in climbing species. Ensure the physical texture of the soil contains at least **20 percent organic matter** to facilitate drainage away from the masonry foundation. Excessive moisture at the base of a brick wall can trigger salt migration, which alters the rhizosphere chemistry and inhibits root respiration.
Timing:
Timing is dictated by the USDA Hardiness Zones, specifically focusing on the window between the last spring frost and the first autumn freeze. In Zones 6 through 8, the biological clock for most perennials begins when soil temperatures consistently reach 55 degrees Fahrenheit. This transition from the dormant phase to the vegetative stage is marked by the activation of auxins at the apical meristems. Installation of masonry-mounted supports should occur during the dormant season to prevent mechanical damage to actively growing tissue. For optimal establishment, transplanting should occur during the "silver hour" of early morning when transpiration rates are at their lowest, ensuring the plant maintains maximum turgor pressure during the move.
Phases:

Sowing and Site Preparation
Prepare the site by clearing a radius of 18 inches from the brickwork to prevent root competition. If using seeds, ensure a sowing depth of three times the seed diameter to maintain consistent moisture contact. Use the best masonry bits for brick to pre-drill holes for support wires at 12-inch intervals along the mortar joints rather than the brick face to preserve the structural unit.
Pro-Tip: Utilize a depth stop on your drill to prevent over-penetration. This prevents the "void-space effect" where excessive depth creates a pocket for stagnant water, which can freeze and crack the masonry through hydraulic pressure.
Transplanting
When moving a container-grown plant to the masonry-adjacent bed, excavate a hole twice as wide as the root ball but no deeper. This prevents the plant from settling too low, which can lead to crown rot. Ensure the rhizosphere is saturated with a seaweed-based solution to reduce transplant shock and stimulate root elongation.
Pro-Tip: Gently tease the outer roots to break circumnutation patterns. This encourages the roots to explore the new soil volume rather than continuing to grow in a restrictive circular motion, which eventually leads to girdling.
Establishing the Framework
As the plant enters its rapid growth phase, secure the primary stems to the masonry anchors. Use soft ties to allow for secondary thickening of the xylem and phloem tissues. Monitor the photoperiod requirements; plants positioned against south-facing brick walls will experience higher ambient temperatures due to the thermal mass of the masonry.
Pro-Tip: Avoid tight binding to prevent auxin suppression. When a stem is constricted, the flow of growth hormones is interrupted, leading to stunted development above the tie point and "leggy" growth below.
The Clinic:
Physiological disorders often mimic pathogen attacks but are rooted in environmental stress. Nitrogen chlorosis manifests as a uniform yellowing of older leaves because nitrogen is a mobile nutrient; the plant translocates it to new growth points. Correct this with a calcium nitrate application at a rate of 0.5 pounds per 100 square feet. Blossom end rot is not a disease but a calcium deficiency often caused by erratic watering schedules that disrupt the transpiration stream. Interveinal chlorosis in new leaves indicates an iron deficiency, typically found in soils with a pH above 7.2. Apply chelated iron to lower the pH and restore chlorophyll production. If you observe leaf scorch, the plant is likely experiencing a transpiration rate that exceeds the roots' ability to provide water, often exacerbated by the radiant heat from the brick wall.
Maintenance:
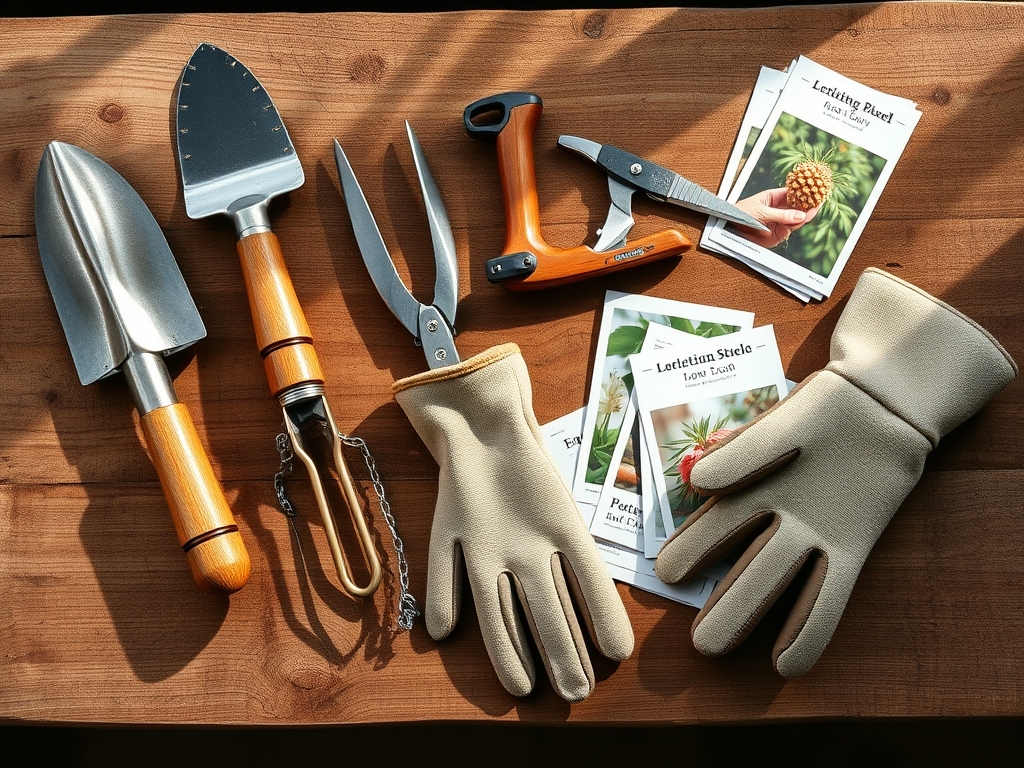
Precision maintenance requires a soil moisture meter to ensure the root zone receives exactly 1.5 inches of water per week at the drip line. Avoid overhead irrigation to prevent the spread of fungal spores; instead, use a soaker hose buried 2 inches beneath the mulch. Use a hori-hori knife for deep weeding to ensure the entire taproot is removed without disturbing the delicate mycorrhizal networks of the target plant. Pruning must be performed with bypass pruners to ensure clean cuts that heal rapidly. Always prune back to a lateral bud or branch to prevent senescence of the remaining stub, which can become an entry point for wood-boring insects.
The Yield:
Harvesting for maximum "day-one" freshness requires understanding the peak of sugar accumulation. For most fruiting plants, harvest should occur when the abscission layer at the base of the fruit stem begins to weaken. Use sharp snips to avoid tearing the vascular tissue. Post-harvest, immediately move the yield to a cool, shaded area to reduce field heat. This slows the metabolic rate and preserves the cellular structure, extending the shelf life of the produce. For flowers, a 45-degree underwater cut prevents air embolisms from forming in the xylem, ensuring continued water uptake and turgor.
FAQ:
Which drill bit is best for old brick?
Use a tungsten carbide-tipped masonry bit at low speeds. Old bricks are often softer and more porous than modern versions; high-speed drilling can cause the brick to shatter or create an oversized, unstable hole for your anchors.
Should I drill into the brick or the mortar?
Drill into the mortar joints for lighter loads to preserve the brick. For heavy trellises, drill into the center of the brick using a hammer drill and a high-quality masonry bit to ensure maximum pull-out strength and stability.
How do I prevent the bit from walking on the brick?
Place a piece of masking tape over the target area or use a center punch to create a small pilot indentation. This provides the carbide tip with enough traction to bite into the surface without sliding across the brick face.
What is the difference between a masonry bit and a concrete bit?
Masonry bits often feature a sharper tip angle designed for the softer, more abrasive nature of brick and stone. Concrete bits are engineered with tougher alloys to withstand the impact of hitting hard aggregate and rebar without fracturing.