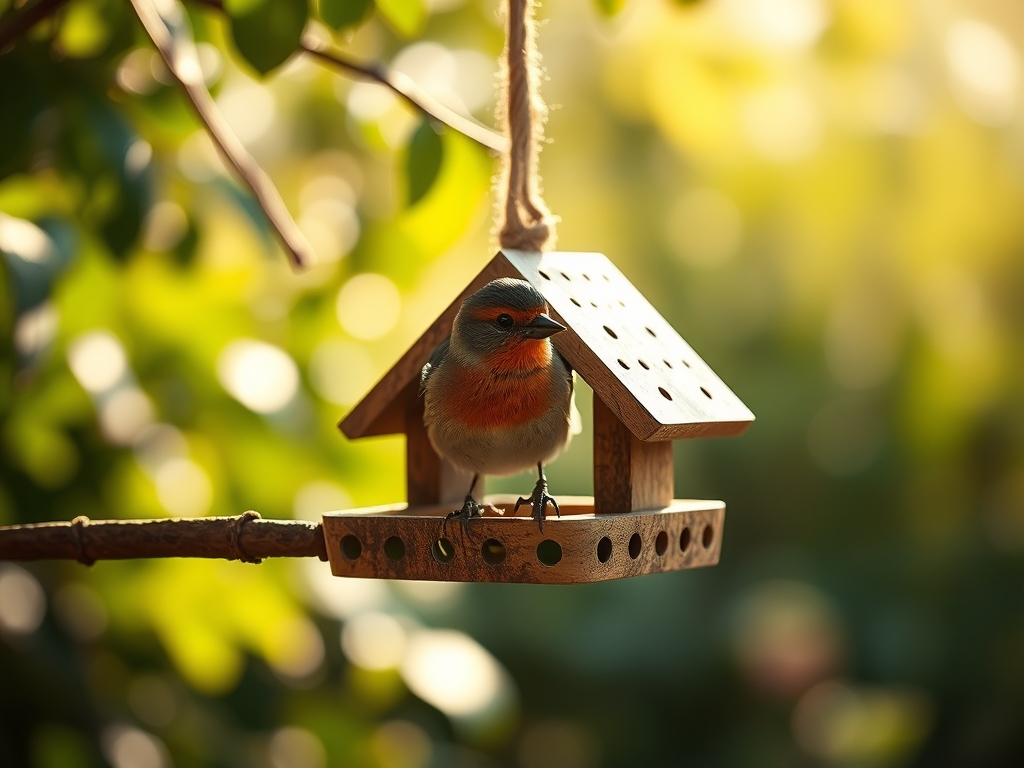
7 Simple Steps to Hang a Bird Feeder
The scent of damp, friable loam after a spring rain signals a peak in microbial activity within the rhizosphere. This is the moment when turgor pressure in emerging perennials is highest; the cellular walls are rigid and the vascular system is fully engaged in nutrient transport. To integrate avian life into this cycle, you must master the steps to hang a bird feeder with technical precision. Positioning a feeder requires understanding the intersection of local ecology and structural physics.
Materials:
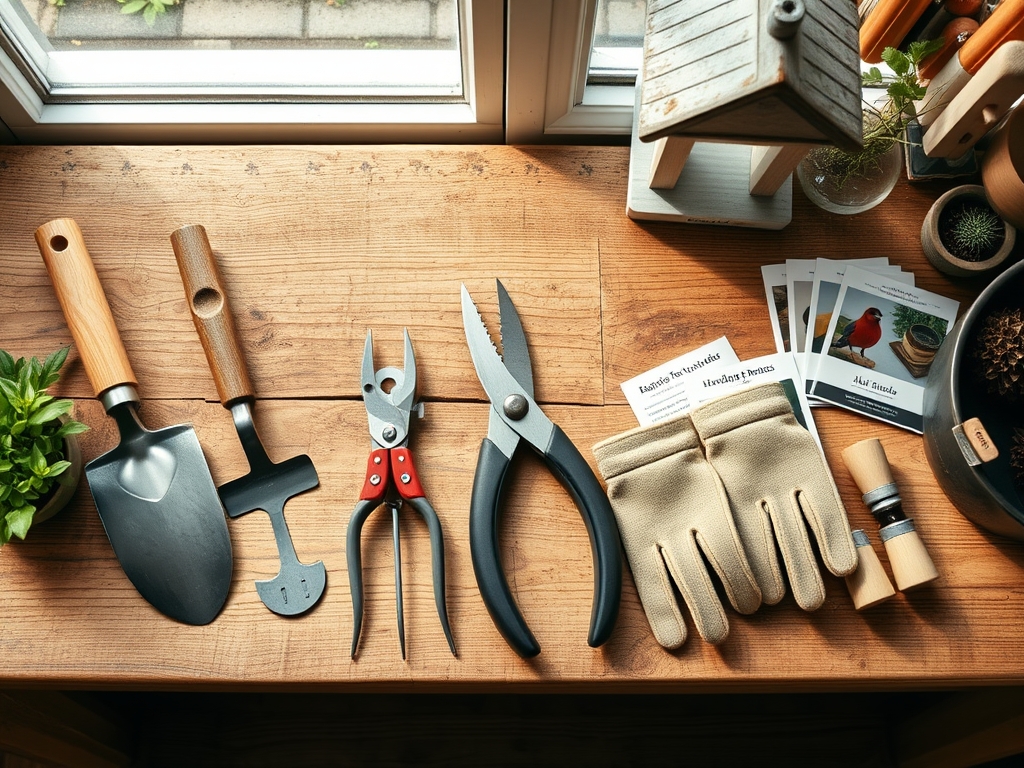
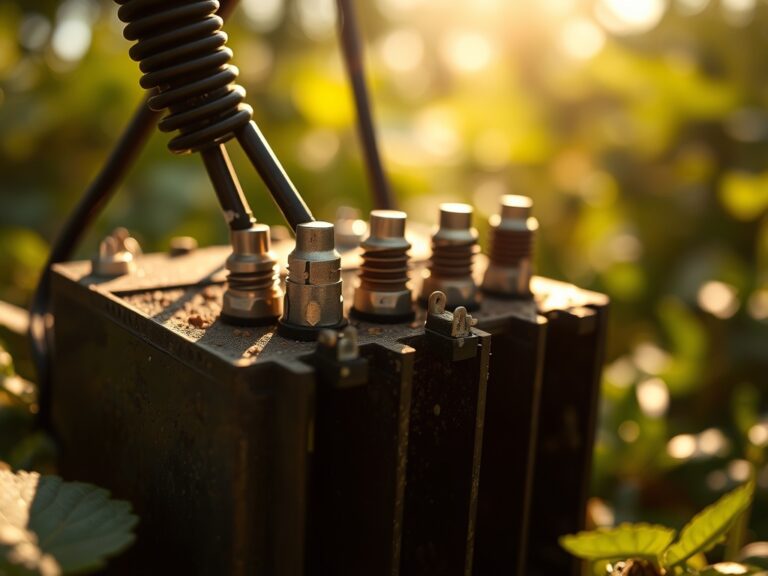
Installation begins with the ground beneath the feeder. The soil should be a **friable loam** with a **pH between 6.0 and 7.0** to handle the inevitable nitrogen load from bird droppings. A high **Cation Exchange Capacity (CEC)** of **15 to 25 meq/100g** is ideal for buffering the soil against localized acidification. If the soil is sandy or depleted, top-dress the area with organic matter to achieve an **NPK ratio of 3-4-2**. This ensures that any seeds falling from the feeder do not lead to a nutrient imbalance that could trigger chlorosis in nearby ornamental plants. Use a **heavy-duty steel pole** or a **weather-treated cedar arm** capable of supporting a **10-pound static load** without compromising the structural integrity of the mounting surface.
Timing:
Effective feeder placement depends on the Hardiness Zone and the local biological clock. In Zones 5 through 7, the ideal window for installation is late winter; specifically 14 to 21 days before the average last frost date. This timing aligns with the transition from the dormant phase to the early vegetative stage of local flora. As the photoperiod increases, avian metabolic demands rise. Establishing the feeder during this window ensures it is a known resource before the heavy caloric demands of the reproductive cycle begin. Monitor soil temperatures; once the ground reaches a consistent 50 degrees Fahrenheit at a 4-inch depth, the installation of ground-staked poles is less likely to disrupt the dormant root systems of surrounding vegetation.
Phases:

Sowing the Foundation
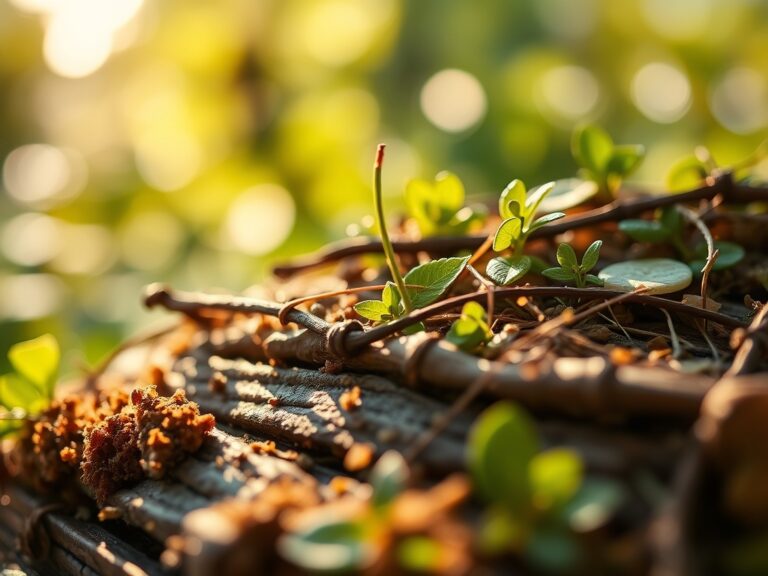
Excavate a pilot hole for your mounting pole using a hori-hori knife to minimize disturbance to the surrounding soil structure. The hole must be at least 18 inches deep to bypass the frost heave line in northern latitudes. Backfill with crushed stone to facilitate drainage and prevent anaerobic conditions that lead to root rot in nearby plants.
Pro-Tip: Maintaining soil aeration prevents the compaction of the rhizosphere. This preserves the mycorrhizal symbiosis necessary for nutrient uptake in the surrounding landscape; fungi require oxygen to facilitate the exchange of phosphorus for plant sugars.
Transplanting the Feeder
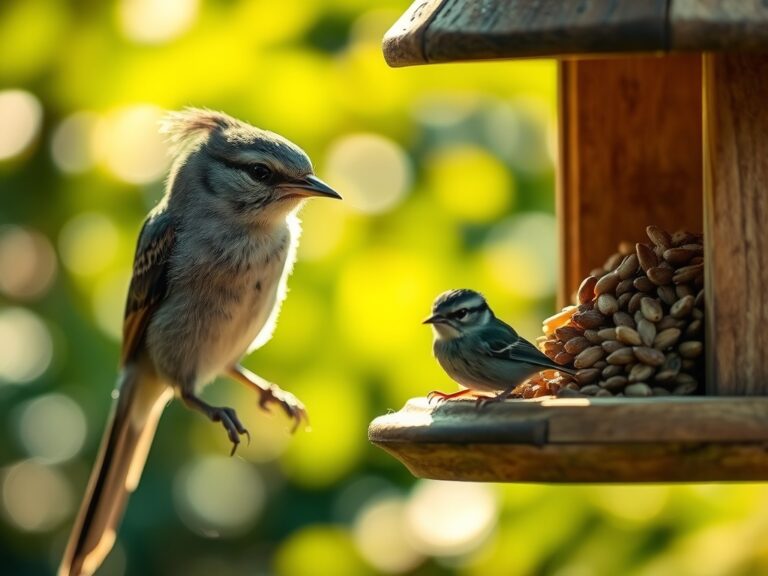
Secure the feeder at a height of 5 to 6 feet. This elevation is critical for protecting the avian population from terrestrial predators while remaining accessible for maintenance. Use a spirit level to ensure the pole is perfectly vertical. An angled pole creates uneven weight distribution; this leads to seed spillage which can alter the local soil chemistry through excessive decomposition.
Pro-Tip: Positioning the feeder near a deciduous canopy provides a windbreak. This reduces the rate of transpiration in nearby plants by lowering the vapor pressure deficit; it also provides birds with immediate cover.
Establishing the Routine
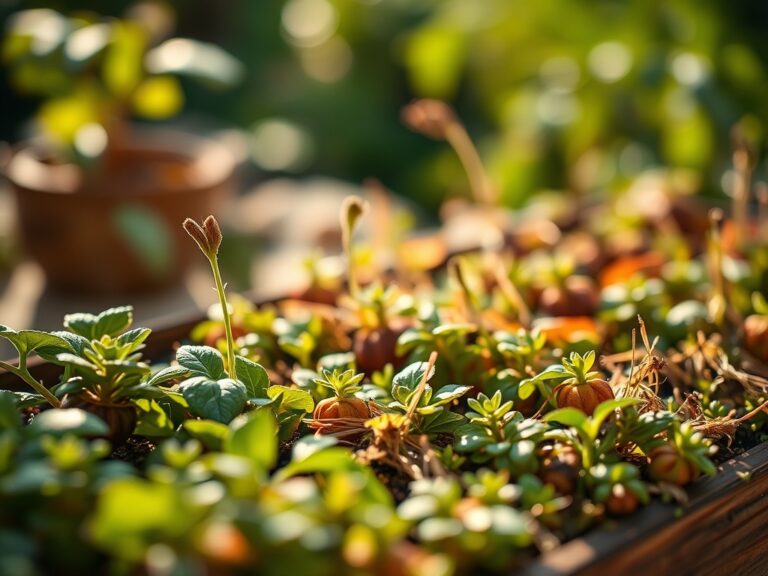
Fill the feeder with high-quality seed, such as black oil sunflower seeds, which have a high lipid content. Ensure the feeder is at least 10 feet away from dense shrubs to prevent ambush by predators. Monitor the area for three weeks to observe the "recruitment phase" of local bird populations.
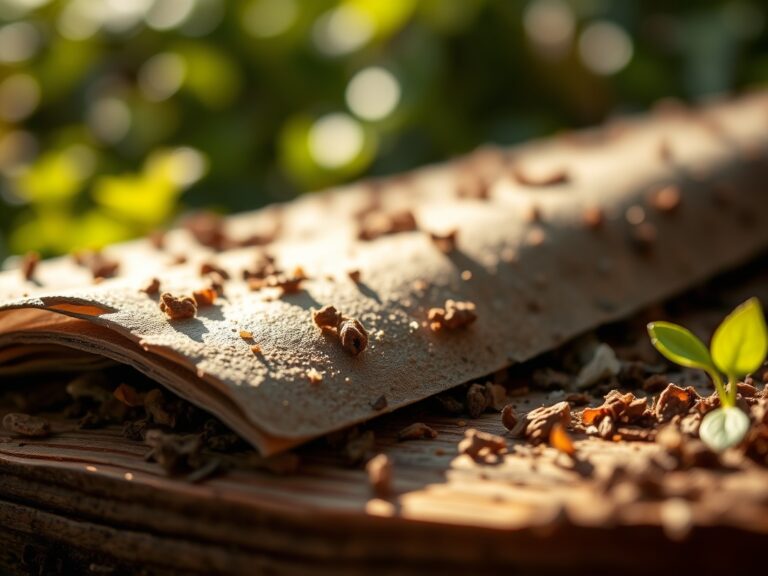
Pro-Tip: Avoid placing feeders directly over sensitive specimen plants. The accumulation of hulls can leach tannins into the soil; this can cause auxin suppression in young seedlings, effectively stunting their upward growth and lateral branching.
The Clinic:
Physiological disorders in the landscape surrounding a feeder often stem from chemical imbalances or physical damage.
Symptom: Yellowing of lower leaves on nearby shrubs (Chlorosis).
Solution: This often indicates a Nitrogen deficiency caused by the high carbon-to-nitrogen ratio of decomposing seed hulls.
Fix-It: Apply a fast-acting nitrate fertilizer or remove the hulls and supplement the soil with a 10-0-0 blood meal to restore nitrogen levels.
Symptom: Leaf scorch or marginal necrosis on groundcover.
Solution: Excessive accumulation of avian waste can lead to Salt Toxicity.
Fix-It: Flush the area with 2 inches of water twice weekly to leach accumulated salts below the root zone.
Symptom: Stunted growth and wilting despite adequate moisture.
Solution: Soil compaction from high foot traffic around the feeder.
Fix-It: Use a garden fork to aerate the soil to a depth of 6 inches; apply a layer of arborist wood chips to distribute weight.
Maintenance:
Precision maintenance is the difference between a thriving ecosystem and a biological hazard. Use a soil moisture meter to ensure the area under the feeder maintains a consistent moisture level; aim for 1.5 inches of water per week at the drip line of nearby trees. Every two weeks, use bypass pruners to remove any encroaching branches that might provide a bridge for squirrels. Sanitize the feeder every 14 days using a 10 percent bleach solution to prevent the spread of avian pathogens. Check the structural mounts for signs of oxidation or wear; replace any hardware showing more than 15 percent surface corrosion.
The Yield:
While a bird feeder does not produce a traditional harvest, the "yield" is measured in the health of the surrounding garden. Increased avian activity leads to higher rates of natural pest management. Birds consume larvae and insects that would otherwise cause senescence in your ornamental plants. To maximize this benefit, keep the area clean. A well-maintained feeding station results in a more resilient garden biome with higher rates of pollination and lower dependence on synthetic interventions.
FAQ:
How high should I hang my bird feeder?
Mount the feeder so the base sits 5 to 6 feet above the ground. This height protects birds from ground predators while remaining accessible for refilling. Ensure the location is 10 feet from any structures or jumping points for squirrels.
What is the best way to prevent seed rot?
Select a feeder with adequate drainage holes and a wide roof. Ensure the seed remains dry to prevent the growth of Aspergillus fungi. Clean the feeder every two weeks and after heavy rain events to maintain seed integrity.
Will bird seed hulls kill my grass?
Accumulated hulls create a physical barrier that prevents sunlight from reaching the blades; they also leach allelopathic chemicals that inhibit germination. Rake the area weekly or use a "no-mess" seed blend to protect the turf's photosynthetic capacity.
How do I stop squirrels from reaching the feeder?
Install a stovepipe-style baffle at least 4 feet above the ground on the mounting pole. Ensure the feeder is positioned away from overhanging limbs; squirrels can jump over 8 feet horizontally and 5 feet vertically to reach food sources.