5 Peaceful Ways How to Design a Bird Sanctuary
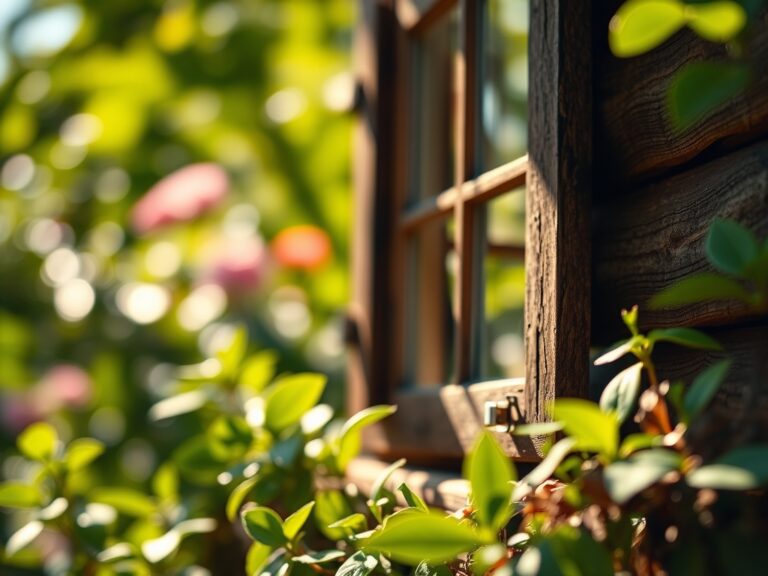
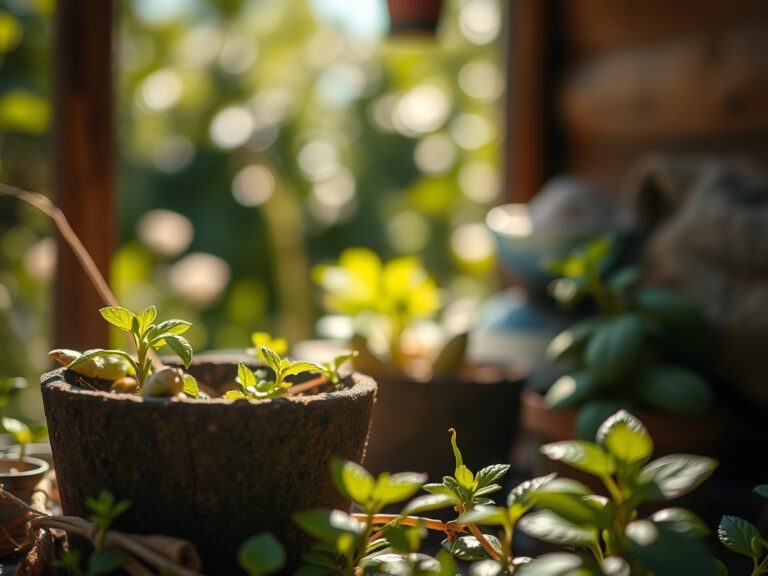
The smell of damp, decaying leaf mold signals a healthy rhizosphere, while the high turgor pressure in a stiffened stem confirms a plant is ready to support local avian life. Learning how to design a bird sanctuary requires moving beyond aesthetics to focus on biological caloric density and structural complexity. You are building a functional ecosystem where every species must provide cover, nesting material, or high-protein forage. Success is measured by the diversity of species that find refuge in your specific microclimate.
Materials:

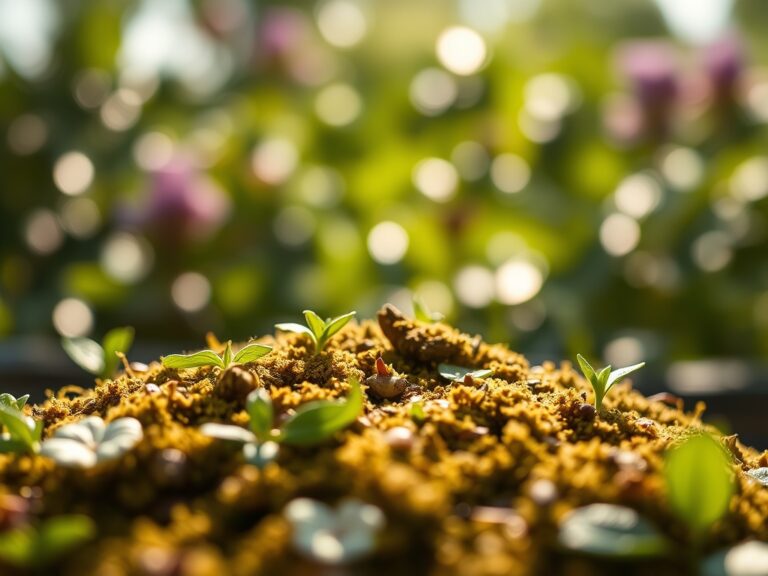
The foundation of a sanctuary is the soil substrate. Most native shrubs and trees that support bird populations thrive in a friable loam with a soil pH between 6.0 and 7.0. This range ensures optimal nutrient availability through high Cation Exchange Capacity (CEC).
For establishing woody perennials, target an NPK ratio of 10-10-10 for initial root development. As plants mature, shift to a 5-10-10 ratio to prioritize fruit and seed production over excessive vegetative growth. You will need a soil moisture meter to monitor the 10 percent to 20 percent volumetric water content range. Organic matter should comprise at least 5 percent of the soil volume to support the soil food web that feeds insectivorous birds.
Timing:
Design your sanctuary based on USDA Hardiness Zones and the local frost-free window. In Zones 5 through 7, the ideal planting window occurs in late autumn or early spring when plants are in a state of dormancy. This minimizes transplant shock and allows root systems to establish before the high transpiration demands of summer.
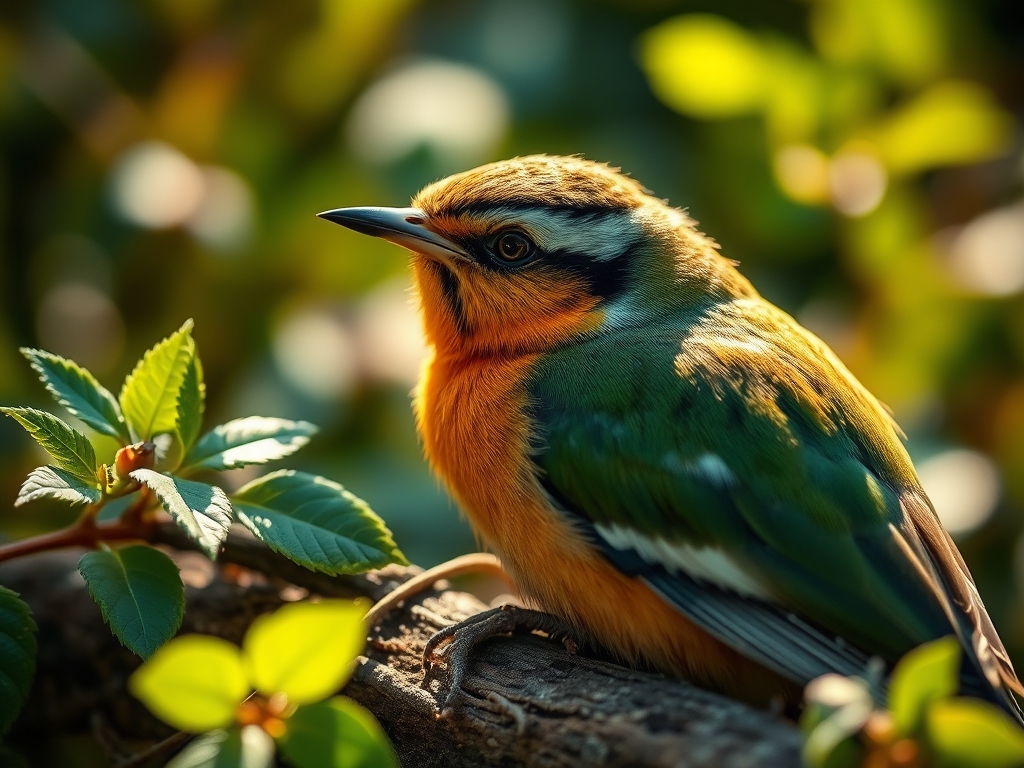
The biological clock of your sanctuary must align with migration patterns. Early spring flowering species provide nectar for hummingbirds, while late summer seeding grasses support finches. Pay attention to the photoperiod; many native species rely on day length to trigger the transition from the vegetative stage to the reproductive stage. Ensure your planting schedule provides a continuous food supply through all four seasons.
Phases:
Sowing
Direct sow native grasses and wildflowers into a prepared seedbed. Ensure the soil temperature has reached a consistent 55 degrees Fahrenheit for optimal germination. Lightly rake seeds into the top 0.25 inches of soil to ensure proper seed-to-soil contact.
Pro-Tip: Use a light layer of straw to prevent seed displacement. This protects the photoblastic response of certain seeds that require specific light exposure to break dormancy.
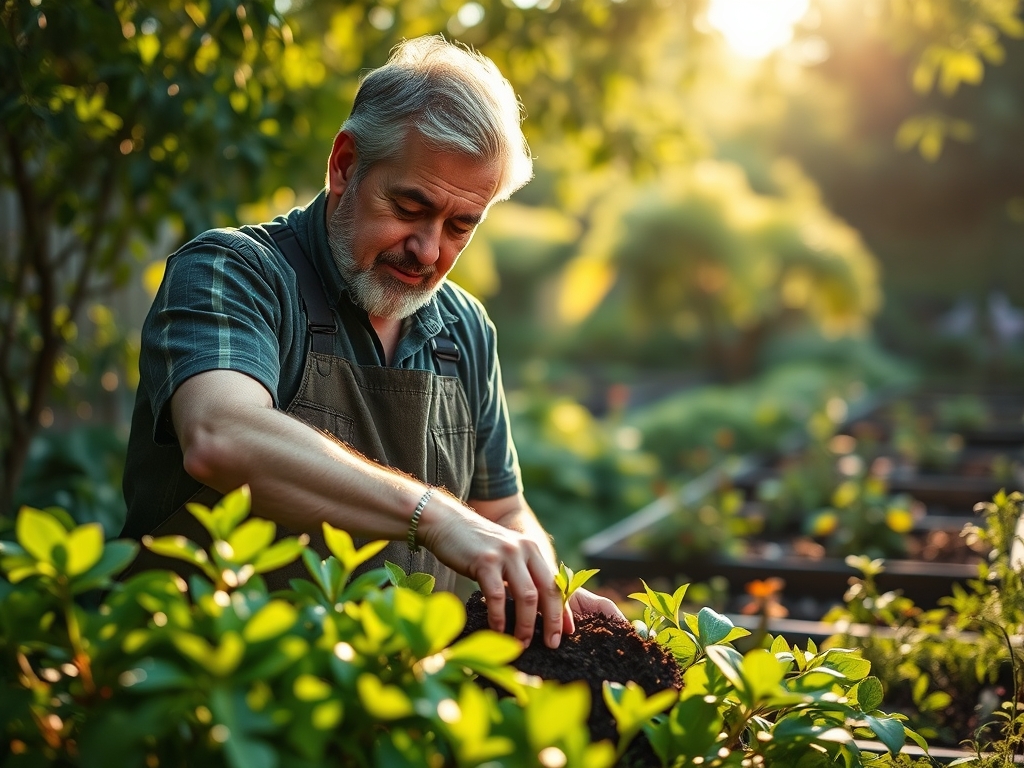
Transplanting
When moving saplings or shrubs, dig a hole twice as wide as the root ball but no deeper. Use a hori-hori knife to score any circling roots to prevent girdling. Ensure the root flare remains at the soil surface to prevent stem rot.
Pro-Tip: Inoculate the planting hole with mycorrhizal fungi. This symbiosis extends the root system's reach, increasing the plant's ability to uptake phosphorus and water during dry spells.
Establishing
During the first two growing seasons, plants require consistent hydration to maintain turgor pressure. Apply a 3-inch layer of arborist wood chips around the base, keeping the mulch 4 inches away from the trunk.
Pro-Tip: Avoid heavy pruning in the first year to preserve auxin suppression. Terminal buds produce auxins that travel down the stem to inhibit lateral bud growth, directing the plant's energy toward vertical height and deep root establishment.
The Clinic:
Symptom: Interveinal chlorosis (yellowing between leaf veins while veins remain green).
Solution: This typically indicates an Iron or Magnesium deficiency. Check soil pH first; if pH is above 7.5, iron becomes chemically locked. Lower pH using elemental sulfur.
Symptom: Leaf curl and stunted terminal growth.
Solution: Check for aphid infestations or calcium deficiency. Calcium is immobile in the plant; ensure consistent watering to facilitate calcium transport through the xylem.
Symptom: Necrosis on leaf margins (browning edges).
Solution: This often indicates Potassium deficiency or salt burn from over-fertilization. Flush the soil with 2 inches of water to leach excess salts and adjust to a 0-0-10 fertilizer if K levels are low.
Fix-It: For general Nitrogen chlorosis (entire leaf turning pale yellow), apply a quick-release organic nitrogen source like fish emulsion. Target a nitrogen concentration of 150 ppm for a rapid recovery of chlorophyll production.
Maintenance:
Precision is required for long-term sanctuary health. Provide 1.5 inches of water per week at the drip line during the heat of summer. Use bypass pruners for clean cuts that heal quickly; ragged tears invite fungal pathogens.
Monitor the sanctuary with a soil moisture meter at a depth of 6 inches. If the meter reads below 30 percent capacity, initiate a deep soak. Use your hori-hori knife to remove invasive tap-rooted weeds before they reach the reproductive stage. Annual soil tests are mandatory to monitor the Cation Exchange Capacity and ensure nutrient levels remain balanced for fruit production.
The Yield:
In a bird sanctuary, the yield is measured in biomass and seed head density. For sunflowers and coneflowers, allow the heads to undergo senescence on the stalk. Do not "deadhead" flowers in the autumn; the dried seeds are critical winter fuel for non-migratory birds.
If harvesting elderberries or serviceberries for your own use, pick when the fruit reaches a deep pigment saturation, indicating peak sugar content. Handle fruit gently to avoid bruising the skin, which triggers rapid ethylene production and spoilage. Store at 33 degrees Fahrenheit with 90 percent humidity to maintain "day-one" freshness.
FAQ:
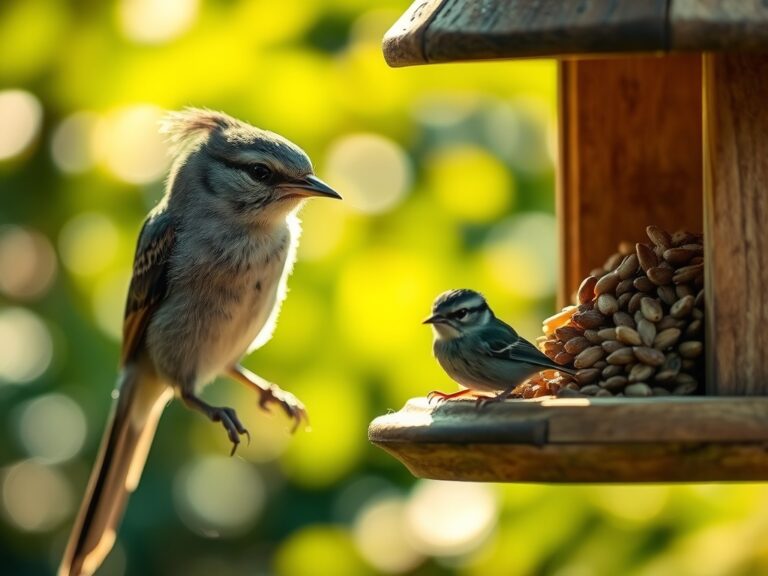
How do I attract specific bird species?
Match the plant structure to the bird's niche. Plant dense evergreens for owls and high-nectar tubular flowers for hummingbirds. Ensure a water source is within 15 feet of cover to provide safety from predators during bathing.
What is the best soil for a bird sanctuary?
A friable loam with 5 percent organic matter and a pH of 6.5 is ideal. This supports the insect life necessary for feeding fledglings, which require high-protein diets during their rapid growth phases.
When should I prune sanctuary shrubs?
Prune in late winter while plants are dormant. This prevents sap loss and reduces the risk of disease transmission. Avoid pruning in spring or summer to protect active nesting sites and developing fruit crops.
How much water does a sanctuary need?
Established native plants require roughly 1 inch of water per week. During the establishment phase, increase this to 1.5 inches delivered deeply to the root zone to encourage downward root geotropism and drought resistance.