8 Important Steps to Install a Vapor Barrier
The scent of damp, anaerobic soil indicates a failure in moisture management that can lead to root rot and structural decay. High humidity within a crawl space or greenhouse sub-base compromises the turgor pressure of nearby botanical specimens by altering the local microclimate. Controlling this moisture through the specific steps to install a vapor barrier ensures the rhizosphere remains oxygenated and free from fungal pathogens. A properly installed barrier prevents capillary action from drawing groundwater into the air. This process requires a minimum 6-mil polyethylene sheeting to create an impermeable layer. Without this intervention, the relative humidity can exceed 70 percent; this level triggers the germination of mold spores and accelerates the senescence of wooden supports. By sealing the earth, you stabilize the soil temperature and protect the integrity of the surrounding landscape. Precision in the early stages of installation prevents the accumulation of stagnant water. This technical approach treats the ground as a controlled substrate rather than an unpredictable source of evaporation.
Materials:
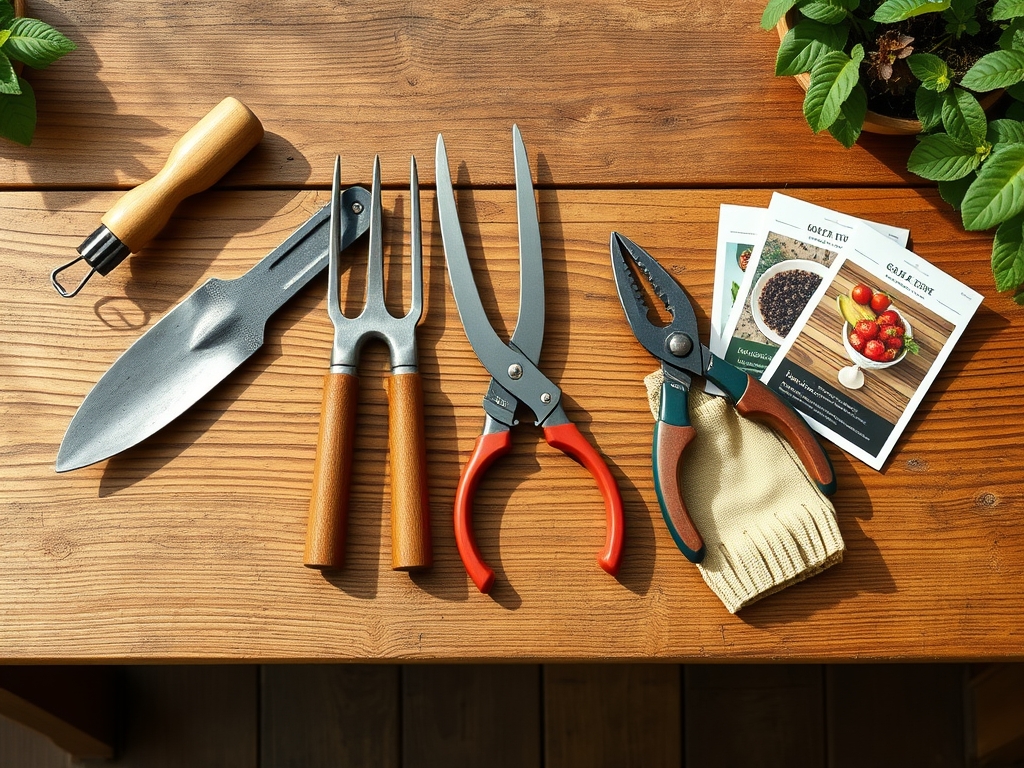
The substrate beneath the barrier must be a **friable loam** or compacted sand free of sharp aggregate that could puncture the membrane. Before installation, test the soil pH to ensure it falls between **6.0 and 7.0**; extreme acidity or alkalinity can degrade certain low-grade plastics over decades. For the surrounding perimeter where botanical integration occurs, maintain a nutrient profile with an NPK ratio of **10-10-10** to support steady vegetative growth without excessive salt accumulation. High Cation Exchange Capacity (CEC) in the soil helps retain essential ions like magnesium and calcium. You will require **20-mil string-reinforced polyethylene** for maximum durability, along with waterproof seam tape and galvanized landscape staples. Ensure you have a **soil moisture meter** to calibrate the baseline hydration levels before sealing the area.
Timing:
Installation should occur during the dormant season for most Hardiness Zones, typically between Zones 4 and 8 during the late autumn or early spring. The ideal window is when the soil temperature is between 40 and 50 degrees Fahrenheit. At these temperatures, microbial activity is suppressed, and the "Biological Clock" of surrounding perennial roots is in a state of rest. Avoid installation during the reproductive stage of nearby plantings, as heavy foot traffic can cause soil compaction and disrupt the transition from vegetative growth to flowering. Monitoring the frost-date windows is critical; you must complete the installation at least two weeks before the first hard freeze to allow the soil to settle and the adhesive tapes to cure in non-freezing temperatures.
Phases:

Sowing the Foundation
Clear all organic debris, including leaf litter and wood scraps, from the installation site. Level the earth using a rake to eliminate high spots. If the area is prone to saturation, install a perimeter drain to redirect hydrostatic pressure. The ground must be as smooth as a seedbed to prevent air pockets.
Pro-Tip: Removing organic matter prevents the growth of anaerobic bacteria. This is essential because anaerobic decomposition produces methane and hydrogen sulfide, which can be trapped under the barrier and eventually migrate into the root zones of adjacent plants, causing root asphyxiation.
Transplanting the Barrier
Unroll the polyethylene sheeting, starting at the furthest corner from the exit. Overlap all seams by at least 12 inches. Use a heavy-duty waterproof tape to seal these joints hermetically. Run the plastic up the interior footings or foundation walls by 6 to 10 inches, securing it with masonry adhesive or mechanical fasteners.
Pro-Tip: Maintaining a continuous seal utilizes the principle of vapor pressure equalization. By blocking the upward migration of water molecules, you preserve the moisture content of the deep soil while keeping the surface dry; this protects the mycorrhizal symbiosis in the upper soil layers from being drowned by seasonal water tables.
Establishing the Seal
Inspect the entire surface for punctures or gaps. Use landscape staples every 3 feet to prevent the sheeting from shifting during maintenance. Ensure the barrier is taut but allows for minor thermal expansion. Finalize the perimeter seal with a bead of polyurethane caulk to prevent moisture bypass.
Pro-Tip: A secure seal prevents the "chimney effect" where warm air pulls moisture from the soil. This control of the microclimate prevents localized humidity spikes that would otherwise encourage the growth of botrytis or other foliar pathogens on nearby low-lying vegetation.
The Clinic:
Physiological disorders in nearby plants often signal a failure in the vapor barrier or improper drainage.
- Symptom: Edema. Small bumps or blisters on the underside of leaves.
- Solution: Reduce humidity. Check the barrier for standing water or leaks that are increasing the ambient moisture levels.
- Symptom: Nitrogen Chlorosis. Yellowing of older leaves while veins remain green.
- Fix-It: Apply a water-soluble fertilizer with a high Nitrogen (N) rating. Excessive moisture under a failed barrier can leach nitrogen away from the root zone.
- Symptom: Iron Deficiency. Interveinal chlorosis on new growth, common in alkaline soils.
- Fix-It: Lower the pH using elemental sulfur. Ensure the vapor barrier is not trapping alkaline runoff against the foundation.
Maintenance:
Regularly inspect the barrier every six months for signs of mechanical damage or pest intrusion. Use a soil moisture meter at the edges of the barrier to ensure the surrounding landscape receives exactly 1.5 inches of water per week at the drip line. If you must enter the area, wear soft-soled shoes to avoid punctures. Use a hori-hori knife to trim any invasive roots that attempt to grow under the edges of the plastic. If condensation is observed on the top of the plastic, check for plumbing leaks or external drainage issues. Maintain a clean perimeter with bypass pruners to prevent overhanging vegetation from dropping debris onto the membrane.
The Yield:
While a vapor barrier does not produce a harvestable crop, its success is measured by the health of the surrounding environment. In a greenhouse setting, a successful installation results in "day-one" freshness for harvested greens by preventing soil-borne pathogens from splashing onto foliage. The yield is a stable, dry environment that extends the lifespan of the structure and the health of the botanical collection. For edible crops grown near a barrier, harvest at peak turgor, usually in the early morning, to ensure the cells are fully hydrated.
FAQ:
What is the best thickness for a vapor barrier?
A minimum of 6-mil polyethylene is required for basic moisture control. However, for high-traffic areas or long-term durability, a 20-mil string-reinforced membrane is the industry standard to prevent punctures and tears.
Can I install a vapor barrier over wet soil?
It is better to let the soil dry to a manageable level first. Installing over saturated ground can trap excessive moisture, leading to anaerobic conditions and odors. Use a fan to lower humidity before sealing.
How much should I overlap the seams?
Overlap all seams by at least 12 inches. Secure the overlap with specialized vapor barrier tape. This ensures a continuous seal that prevents moisture from escaping through the gaps via capillary action or evaporation.
Does a vapor barrier attract pests?
No, a properly installed barrier actually discourages pests like termites and wood-boring beetles. By removing the moisture they require for survival, you create a less hospitable environment for these organisms.