10 Vital Steps to Connect a Transformer
The scent of damp, mineralized earth signals the beginning of a successful planting cycle. When the turgor pressure in a seedling is high, the stem stands rigid and the cellular walls are fully distended with water. Achieving this level of hydraulic health requires more than just water; it requires a systematic approach to infrastructure. Just as one must follow the steps to connect a transformer to power a remote irrigation pump, the gardener must establish a reliable conduit for nutrients and energy. Without a structured connection between the soil and the root system, the plant cannot convert solar energy into biomass. This guide details the mechanical and biological protocols for establishing a high-yield garden environment.
Materials:
![]()
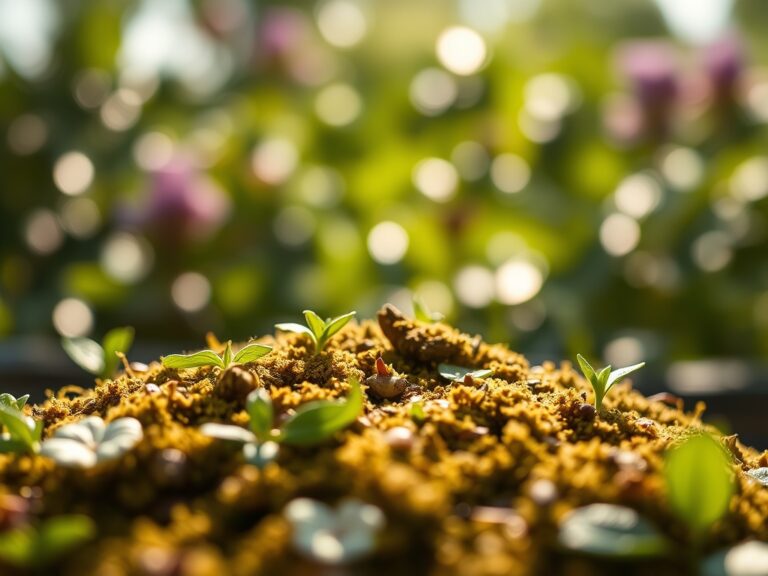
The foundation of any horticultural endeavor is the substrate. For most high-performance crops, you require a friable loam with a granular structure that allows for rapid gas exchange. The ideal soil pH should sit between 6.2 and 6.8 to ensure maximum nutrient bioavailability. At this range, the Cation Exchange Capacity (CEC) is optimized, allowing the soil to hold onto essential positively charged ions like potassium and magnesium.
Your NPK (Nitrogen, Phosphorus, Potassium) requirements will vary by growth stage. For initial establishment, utilize a 10-20-10 ratio to stimulate vigorous root development. Nitrogen (N) is essential for chlorophyll production; Phosphorus (P) fuels ATP production and root elongation; Potassium (K) regulates stomatal opening and water use efficiency. Ensure you have a soil moisture meter and a calibrated pH probe to monitor the rhizosphere in real time.
Timing:
Timing is dictated by the USDA Hardiness Zones and the local frost-free window. In Zones 5 through 7, the planting window typically opens when soil temperatures consistently reach 55 degrees Fahrenheit at a depth of four inches. This temperature threshold is critical because microbial activity in the soil remains dormant in colder conditions, preventing the mineralization of organic matter.
The "Biological Clock" of the plant is governed by the photoperiod. As the plant moves from the vegetative stage to the reproductive stage, its hormonal balance shifts. High levels of auxins maintain apical dominance during the vegetative phase. As the days shorten or the plant reaches maturity, gibberellins and ethylene levels rise to trigger flowering and eventual senescence. You must synchronize your planting date to ensure the reproductive phase aligns with peak solar radiation and avoids the first hard frost.
Phases:
![]()
Sowing
Direct sow seeds at a depth exactly three times the width of the seed. This ensures the embryonic root, or radicle, has enough moisture to break the seed coat while the plumule has enough energy to reach the surface. Maintain a soil temperature of 65 to 75 degrees Fahrenheit for optimal germination rates.
Pro-Tip: Pre-soak larger seeds for 12 hours to initiate imbibition. This triggers the activation of enzymes that break down stored starches into sugars, accelerating the germination process through increased metabolic activity.
Transplanting
When moving seedlings from trays to the field, ensure the root ball remains intact to protect the delicate root hairs. These microscopic extensions are responsible for the vast majority of water and nutrient uptake. Dig a hole twice the width of the root ball and incorporate mycorrhizal fungi inoculants directly into the planting hole.
Pro-Tip: Always transplant during late afternoon or on overcast days to reduce transpiration stress. By minimizing the vapor pressure deficit (VPD), you allow the plant to establish hydraulic conductivity with the new soil before facing intense solar radiation.
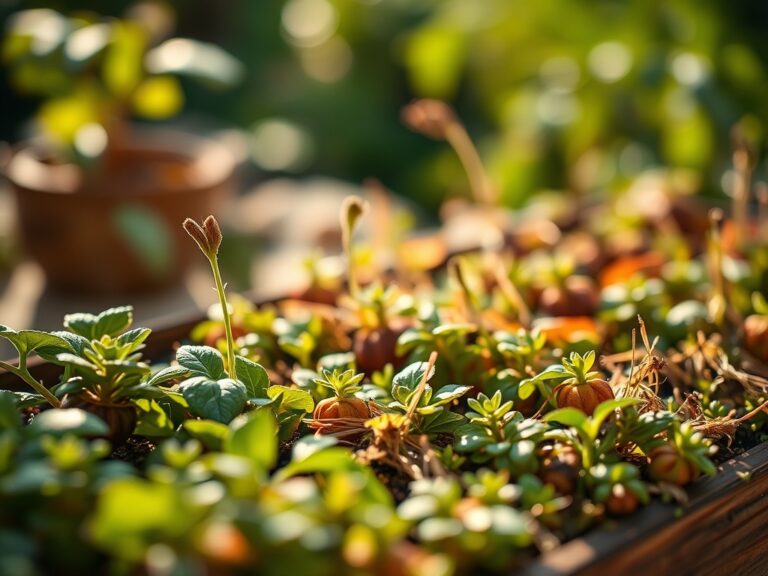
Establishing
The establishment phase lasts roughly 14 to 21 days. During this window, the plant focuses on downward root expansion rather than upward foliage growth. Monitor the soil daily. The goal is to encourage the roots to seek moisture deeper in the soil profile rather than remaining near the surface.
Pro-Tip: Avoid heavy nitrogen fertilization during this phase. High nitrogen levels can cause auxin suppression in the roots, leading to a shallow, weak root system that is highly susceptible to drought and wind throw.
The Clinic:
Physiological disorders often mimic pathogen attacks but are usually rooted in environmental or nutritional imbalances.
Symptom: Interveinal chlorosis on young leaves.
Solution: This indicates an Iron (Fe) deficiency, often caused by a soil pH above 7.0. Lower the pH using elemental sulfur or apply chelated iron foliar sprays to bypass soil lockup.
Symptom: Blossom end rot (dark, leathery spots on fruit).
Solution: This is a Calcium (Ca) deficiency caused by inconsistent moisture levels. Calcium is immobile within the plant and moves only through the xylem via transpiration. Maintain steady soil moisture to ensure a continuous supply of calcium to developing tissues.
Symptom: Purpling of older foliage.
Solution: This signals a Phosphorus (P) deficiency. It often occurs in cold soils where P becomes chemically bound. Increase soil temperature using black plastic mulch or apply a high-phosphorus liquid starter fertilizer.
Fix-It: Nitrogen Chlorosis
If older leaves turn uniform pale yellow, the plant is scavenging nitrogen from old growth to support new growth. Apply a quick-release high-nitrogen fertilizer (46-0-0) or fish emulsion at a rate of 1 pound of actual nitrogen per 1,000 square feet.
Maintenance:
Precision maintenance is the difference between a surviving plant and a thriving one. Provide 1.5 inches of water per week delivered at the drip line. Avoid overhead irrigation to prevent the spread of fungal spores and to reduce evaporative loss. Use a hori-hori knife to remove weeds by the root, ensuring you do not disturb the crop's rhizosphere.
Pruning should be done with sharp bypass pruners to create clean wounds that callused quickly. For indeterminate varieties, remove "suckers" or axillary buds to focus the plant's energy on the main terminal leader. This practice improves airflow and light penetration, reducing the risk of powdery mildew and other humidity-dependent pathogens.
The Yield:
Harvesting is a matter of cellular maturity. For most fruiting crops, harvest when the fruit reaches its "breaker stage," or about 90 percent color saturation. At this point, the abscission layer at the base of the stem has begun to form, and the fruit has reached its maximum sugar content (Brix level).
Use a sharp blade to cut the pedicel; never pull the fruit, as this can cause mechanical damage to the vascular tissue. For leafy greens, harvest in the early morning when turgor pressure is at its peak. Immediately submerge the produce in a cold water bath (hydro-cooling) to remove field heat and slow the rate of respiration. This preservation technique ensures day-one freshness by maintaining cellular integrity.
FAQ:
What is the best way to test soil at home?
Use a digital pH meter for immediate acidity readings. For NPK data, collect soil samples from six inches deep in multiple locations. Mix them in a clean bucket and send a sub-sample to a local university extension lab.
How often should I calibrate my irrigation?
Place several flat-bottomed containers across your garden zones. Run your system for 30 minutes, then measure the depth of water in the containers. Adjust your timers to ensure you reach the 1.5-inch weekly target.
Why are my plants wilting even when the soil is wet?
This is often damping off or root rot caused by anaerobic conditions. Overwatering displaces oxygen in the soil pores, suffocating the roots. Ensure your substrate has adequate macropores for drainage and aeration to prevent root senescence.
When is the best time to apply fertilizer?
Apply granular fertilizers in the early morning before a light rain or scheduled irrigation. This allows the nutrients to dissolve and move into the root zone without volatilizing or causing salt burns on the foliage.