7 Basic Steps to Install a Lid Hinge
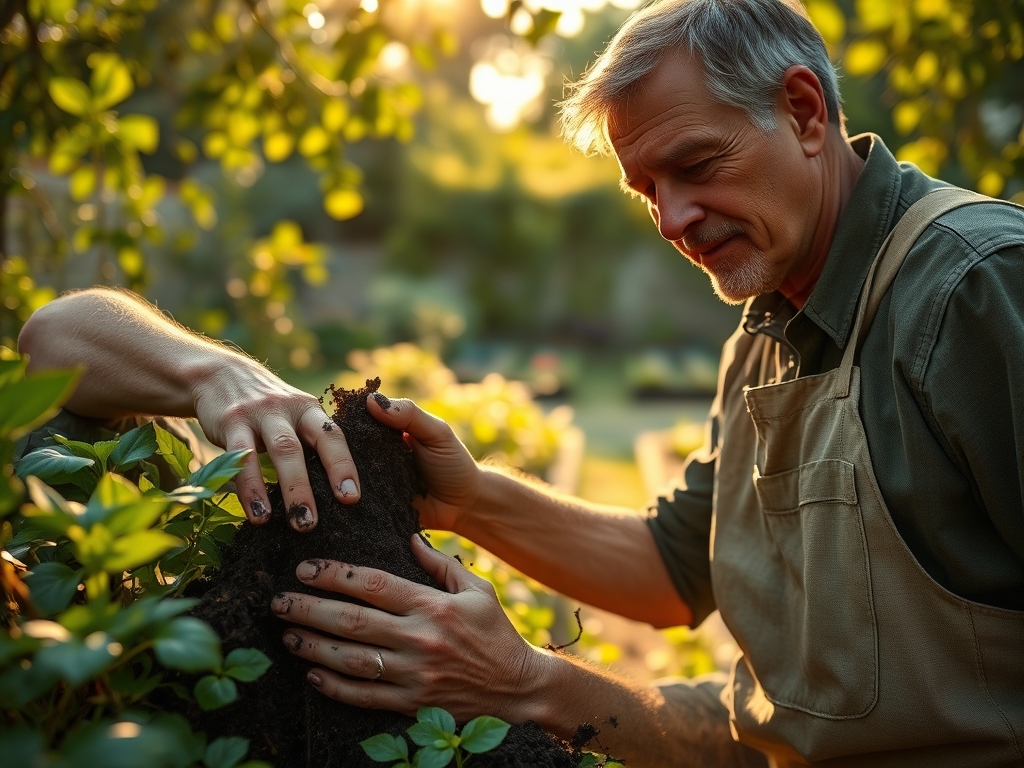
Damp earth releases a sharp, geosmin-heavy scent as the spade cuts through the rhizosphere. This tactile connection to the soil defines the success of any structural garden project; even the mechanical integration of a storage bench requires a stable environment. When you execute the steps to install a lid hinge, you are managing the structural integrity of a vessel that protects your high-CEC amendments and dormant bulbs from the elements. Precision in hinge placement prevents wood rot and ensures the turgor of the surrounding landscape remains undisturbed by heavy foot traffic or improper drainage.
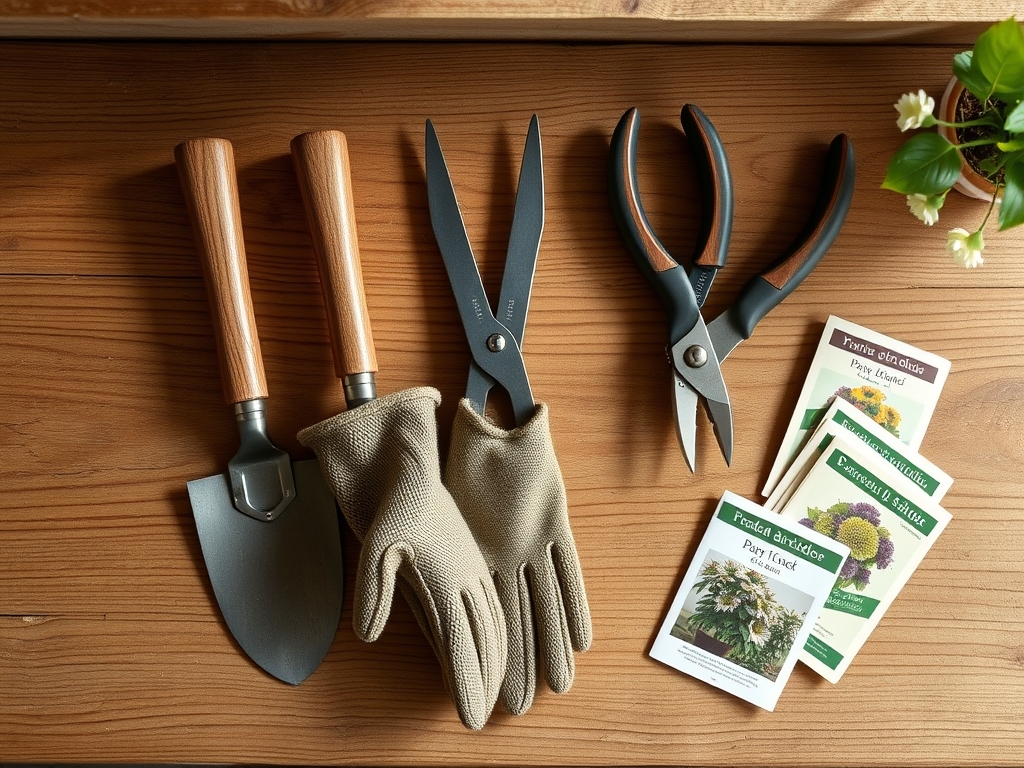
Materials:
To maintain a healthy garden environment, your storage containers must sit on a substrate of **friable loam**. This soil type features a balanced distribution of sand, silt, and clay, providing a high Cation Exchange Capacity (CEC) for nutrient retention. If the area surrounding your installation requires planting, ensure the soil pH is calibrated to **6.2 to 6.8**.
Incorporate a slow-release granular fertilizer with an NPK ratio of 5-10-5 to support root establishment without triggering excessive vegetative growth. Avoid heavy nitrogen applications; excessive N-ratios can lead to succulent growth that is highly susceptible to fungal pathogens. Use stainless steel or galvanized hardware to prevent rust leaching into the soil, which can alter metallic toxicity levels in the immediate rhizosphere.
Timing:
Successful installation and surrounding landscape integration depend on your local Hardiness Zone. In Zones 5 through 7, mechanical installations should occur during the dormant season or early spring before the first frost-free date. This timing avoids disrupting the biological clock of nearby perennials.
As plants transition from vegetative to reproductive stages, their energy is diverted to flowering and seed production. Installing heavy lids and hinges during the peak photoperiod of mid-summer can result in soil compaction near the root zones of active plants. Aim for a soil temperature of at least 55 degrees Fahrenheit to ensure any disturbed microorganisms can quickly recolonize the area.
Phases:
Sowing the Foundation
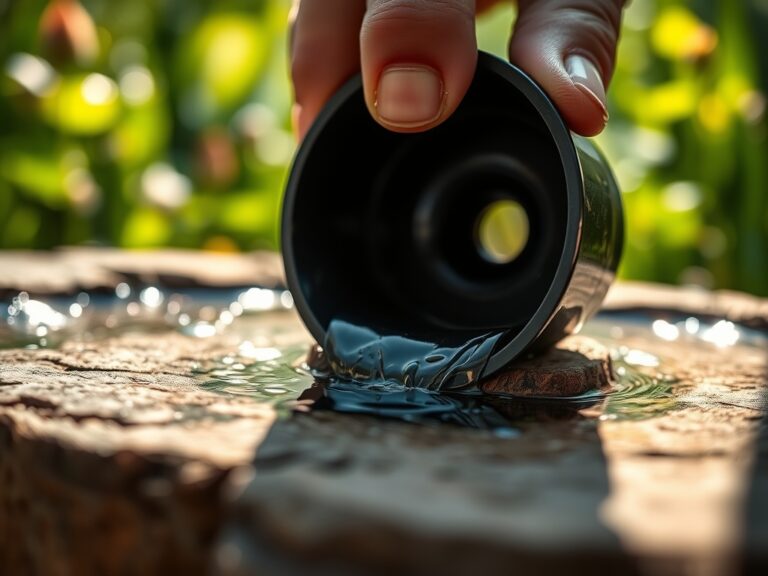
Before the hinge is attached, the base must be level. Use a spirit level to ensure the structure sits squarely on the ground. Any tilt will cause uneven tension on the hinge pin, leading to premature mechanical failure. Observe the root structure in the step-by-step photos below to ensure your placement does not intersect with major woody roots.
Pro-Tip: Maintaining a level base prevents localized soil compaction. Compaction reduces pore space, which limits the oxygen available for root respiration and disrupts the symbiotic relationship with mycorrhizal fungi.
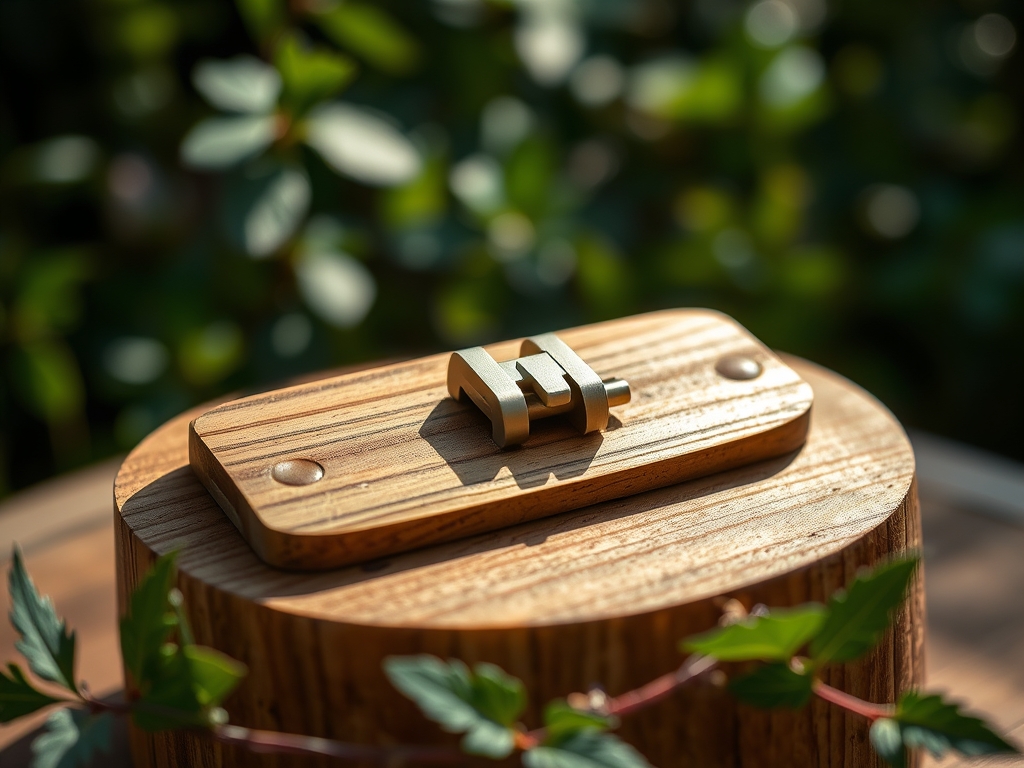
Transplanting the Hardware
Align the hinge leaves on the back of the lid and the frame. Use a self-centering drill bit to create pilot holes. This prevents the wood from splitting, which would otherwise create an entry point for wood-boring insects or fungal spores. Drive the screws until they are flush with the metal plate.
Pro-Tip: Tightening screws to a specific torque prevents structural "wobble." In botanical terms, this is similar to auxin suppression; by providing a stable environment, you allow the surrounding plants to grow vertically without the stress of shifting shadows or physical contact.
Establishing the Range of Motion
Test the lid's swing. If using a soft-close or gas strut hinge, calibrate the tension to ensure the lid does not slam. A slamming lid creates seismic vibrations that can affect the turgor pressure of sensitive container plants nearby, potentially causing minor cellular shearing in delicate root hairs.
Pro-Tip: Lubricate the hinge pivot points with a silicone-based spray. This prevents metallic oxidation and ensures the movement does not interfere with the local photoperiod by creating unexpected shadows over sun-loving species.
The Clinic:
Physiological disorders in the garden often mirror mechanical failures in storage. Use this diagnostic guide to maintain both your hardware and your flora.
- Symptom: Leaf margins turning yellow (Chlorosis).
- Solution: This typically indicates a Nitrogen deficiency. Apply a water-soluble 10-10-10 fertilizer to the base of the plant, avoiding contact with the hinge hardware to prevent corrosion.
- Symptom: Hinge squeaking or resistance.
- Solution: Check for debris or sap accumulation. Clean with a stiff brush and re-apply lubricant.
- Symptom: Stunted plant growth near the installation.
- Solution: Check for soil compaction. Use a hori-hori knife to gently aerate the soil in a 12-inch radius around the structure.
Fix-It Section:
For Iron chlorosis, where new leaves are yellow but veins remain green, the soil pH is likely too high (alkaline). Apply chelated iron or elemental sulfur to lower the pH to a more acidic range of 6.0 to 6.5.
Maintenance:
A garden structure requires the same rigorous maintenance as the plants surrounding it. Provide 1.5 inches of water per week at the drip line of any plants bordering your storage bench. Use a soil moisture meter to verify that the area under the lid remains dry while the surrounding soil stays hydrated.
Inspect the hinges every six months. Use bypass pruners to clear any encroaching vines or groundcover that may grow into the hinge mechanism. If the wood shows signs of senescence (aging and decay), sand the area and apply a UV-resistant sealant to protect the structural integrity and prevent leaching of wood preservatives into the soil.
The Yield:
While a hinge does not produce a harvest, the efficiency it provides allows for better management of your yields. Use the storage space to house your hori-hori knife, harvesting baskets, and sharpening stones.
For harvesting leafy greens, cut early in the morning when turgor pressure is at its peak. This ensures the cells are fully hydrated. Place the harvest immediately into a cool, shaded area (like your newly hinged bench) to maintain "day-one" freshness and prevent rapid wilting due to transpiration.
FAQ:
What is the best hinge for outdoor garden use?
Stainless steel or heavy-duty galvanized strap hinges are best. They resist oxidation in high-humidity environments and handle the weight of heavy timber lids without sagging or affecting the surrounding soil stability.
How do I prevent the lid from crushing nearby plants?
Install a lid stay or gas strut. This mechanical limit prevents the lid from over-extending and physically damaging the foliage or breaking the stems of plants located behind the storage unit.
Can I install hinges in freezing temperatures?
It is not recommended. Cold temperatures make wood more brittle and prone to splitting. Additionally, working in freezing mud causes severe soil compaction, which destroys the soil architecture and harms dormant root systems.
How deep should the screws go for a lid hinge?
Screws should penetrate at least 75 percent of the wood's thickness. This ensures maximum shear strength against the weight of the lid while preventing the screw point from protruding and creating a safety hazard.