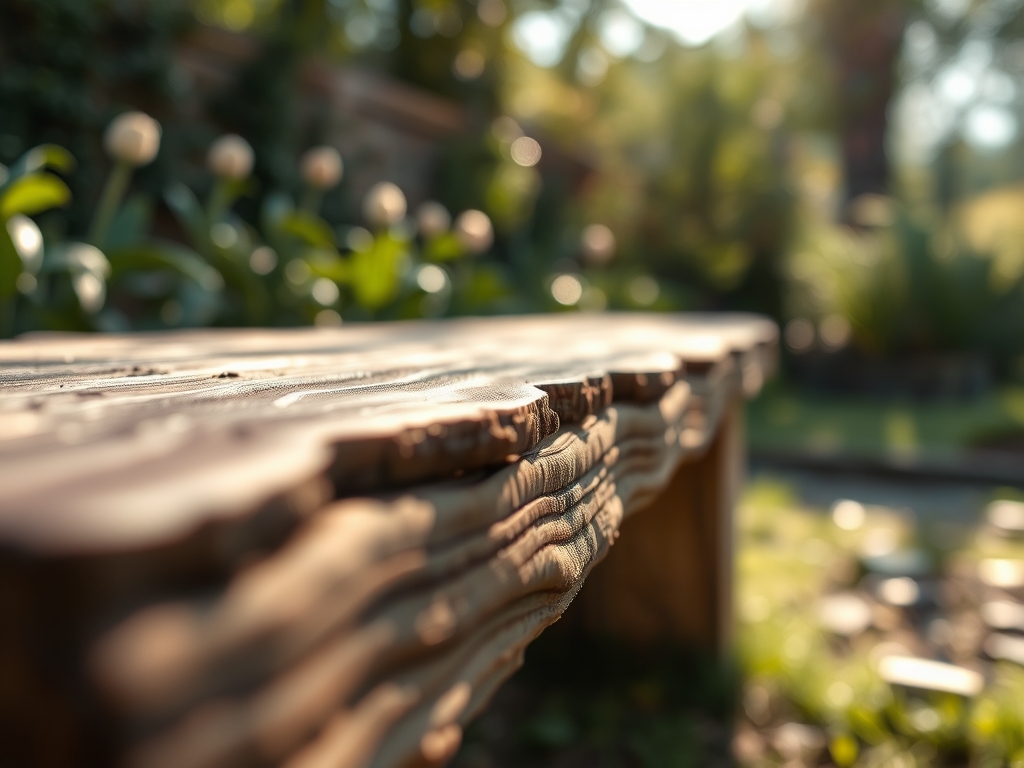
9 Sleek Ways How to Build a Floating Bench
The sharp scent of wet cedar and the damp, mineral tang of disturbed earth signal the start of a structural landscape project. When you learn how to build a floating bench, you are not merely adding furniture; you are manipulating the spatial architecture of the garden to better observe the turgor pressure of your specimen plants. A cantilevered seat creates a clean line that allows the rhizosphere below to remain undisturbed by heavy legs or foot traffic. This preservation of soil porosity is essential for gas exchange between the atmosphere and the root zone. By suspending the weight of the bench from a retaining wall or specialized steel brackets, you maintain the integrity of the soil structure and prevent compaction. Compaction reduces the available pore space for oxygen, which can lead to anaerobic conditions and root rot. This guide provides the technical specifications for integrating a floating bench into a high-performance horticultural environment, ensuring that the structural load does not compromise the biological health of your planting beds.
Materials:
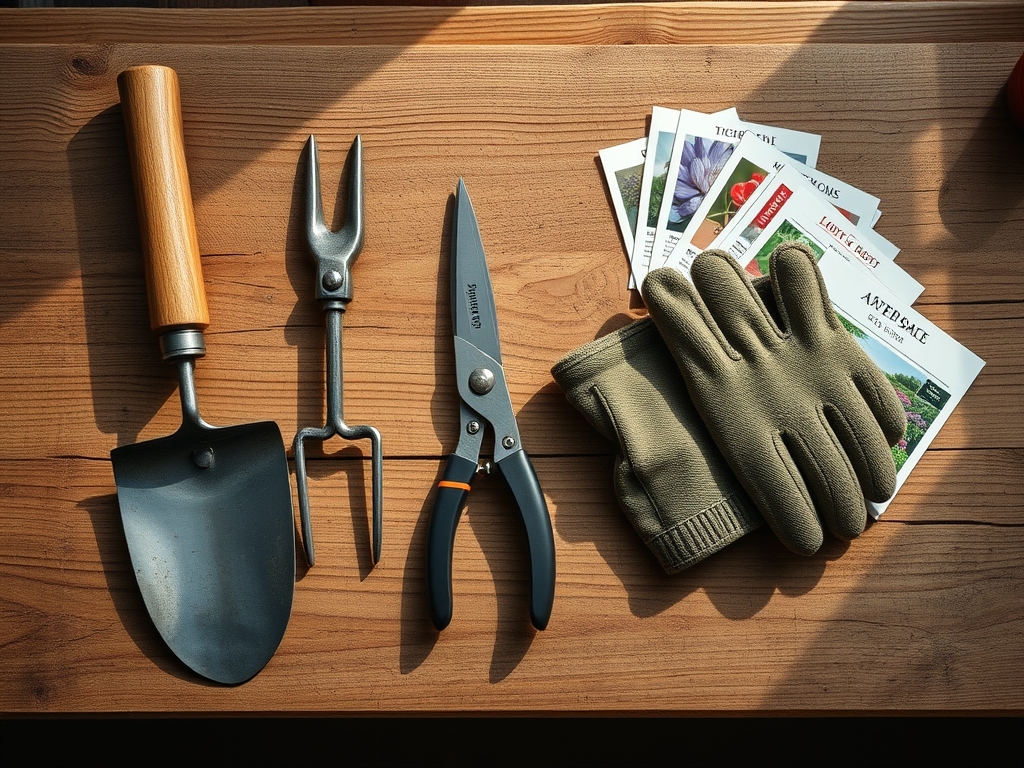
The area beneath your floating bench requires a substrate with a high Cation Exchange Capacity (CEC) to support shade-tolerant species. The ideal substrate is a friable loam consisting of 40 percent sand, 40 percent silt, and 20 percent clay. This texture ensures optimal drainage while retaining essential nutrients. Maintain a soil pH between 6.2 and 6.8 to maximize nutrient bioavailability. Before installation, incorporate a slow-release granular fertilizer with an NPK ratio of 5-10-5 into the top 6 inches of soil. This phosphorus-heavy ratio encourages robust root development without stimulating excessive succulent growth that may be prone to fungal pathogens in the lower light levels found under the bench. For the bench itself, select rot-resistant timbers such as Western Red Cedar or Ipe, which contain natural tannins and oils that resist decay. Use 316-grade stainless steel fasteners to prevent galvanic corrosion, which can leach metallic salts into the soil and alter the chemical balance of the rhizosphere.
Timing:
Successful installation and planting around a floating bench depend on the frost-free window of your specific Hardiness Zone. In Zones 5 through 7, construction should occur in late winter or early spring while the plants are still in their dormant phase. This minimizes physical damage to the vascular tissue of surrounding perennials. Understanding the biological clock of your garden is vital; you must complete the heavy structural work before the transition from the vegetative stage to the reproductive stage begins. For most temperate species, this occurs as the photoperiod increases in spring. If you install the bench during the height of the growing season, you risk interrupting the plant's transpiration stream, leading to temporary wilting or permanent senescence of the foliage. Aim for a soil temperature of at least 50 degrees Fahrenheit before planting beneath the bench to ensure that microbial activity has resumed, allowing for immediate mycorrhizal colonization of new root systems.
Phases:

Sowing and Site Prep
Clear the installation site of all competitive weeds and debris. Use a hori-hori knife to extract taproots completely. If you are sowing a shade-tolerant groundcover beneath the bench, scarify the soil surface to a depth of 0.5 inches. Ensure the mounting surface, whether a stone wall or wooden frame, can support a live load of at least 300 pounds per linear foot.
Pro-Tip: Proper site prep prevents auxin suppression. When a plant's apical meristem is damaged by construction debris, auxin flow is disrupted, causing lateral buds to break dormancy prematurely and creating a leggy, weakened plant structure.
Transplanting
When learning how to build a floating bench, the placement of surrounding flora is critical. Dig planting holes twice the width of the root ball but no deeper than the original container. Position the plants so the root flare is slightly above the soil line. This prevents stem rot and allows for better oxygen diffusion into the upper root zone.
Pro-Tip: Mycorrhizal symbiosis is enhanced when you minimize soil disturbance. Adding a handful of specialized fungal inoculant to the transplant hole increases the surface area for water absorption by up to 1,000 percent, helping the plant survive the microclimate changes under the bench.
Establishing
Once the bench is secured and the plants are in the ground, provide a deep soaking to settle the soil and eliminate air pockets. Monitor the soil moisture meter daily for the first 21 days. The bench will create a rain shadow, meaning the plants directly underneath will require manual irrigation even during rainfall events.
Pro-Tip: Phototropism will cause plants near the edge of the bench to lean toward the light source. To counteract this, select species with low light requirements or utilize reflective mulches to bounce PAR (Photosynthetic Active Radiation) into the shaded zone.
The Clinic:
Physiological disorders often arise in the microclimate created by a floating bench. Monitor your plants for the following symptoms:
- Symptom: Yellowing of older leaves while veins remain green.
Solution: This indicates Magnesium deficiency. Apply a foliar spray of Epsom salts (magnesium sulfate) at a rate of 1 tablespoon per gallon of water to restore chlorophyll production. - Symptom: Stunted growth and pale green or yellow foliage across the entire plant.
Solution: This is Nitrogen chlorosis. The rain shadow may have caused a localized lack of mobile nitrogen. Supplement with a high-nitrogen liquid feed (NPK 10-0-0) to boost vegetative vigor. - Symptom: White, powdery coating on leaves.
Solution: Powdery Mildew thrives in the reduced airflow under a bench. Increase spacing between plants to improve ventilation and apply a sulfur-based fungicide if the infection exceeds 10 percent of the leaf surface.
Fix-It Section: For general nutrient lockout, check the soil pH. If the pH drops below 5.5, aluminum toxicity can occur. If it rises above 7.5, iron and manganese become insoluble. Adjust with pelletized lime to raise pH or elemental sulfur to lower it.
Maintenance:
Precision is the hallmark of a master gardener. Provide exactly 1.5 inches of water per week at the drip line of the bench. Use a soil moisture meter to ensure the moisture has penetrated to a depth of 6 inches. Prune surrounding shrubs using bypass pruners to maintain a gap of at least 4 inches between the foliage and the bench; this prevents trapped moisture from rotting the wood. Every spring, check the tension of the mounting bolts. Use a hori-hori knife to edge the area beneath the bench, preventing turf grass from encroaching and competing for nutrients. If the bench is made of hardwood, apply a UV-rated penetrating oil annually to prevent the cellular breakdown of the wood fibers caused by solar radiation.
The Yield:
If your floating bench overlooks a cutting garden, harvest flowers during the "cool of the day," typically between 6:00 AM and 8:00 AM. This is when cell turgidity is at its peak. Use a sharp, sterilized knife to make a 45-degree cut, which maximizes the surface area for water uptake. Immediately plunge the stems into a bucket of water held at 110 degrees Fahrenheit; this warm water moves more quickly through the xylem than cold water. For edible herbs grown in the bench's vicinity, never harvest more than one-third of the plant's biomass at one time. This ensures the plant retains enough photosynthetic surface area to recover without entering a state of permanent senescence.
FAQ:
What is the best wood for a floating bench?
Select Ipe, Teak, or Western Red Cedar. These species contain high concentrations of natural extractives that resist fungal decay and wood-boring insects. They maintain structural integrity in high-humidity environments near irrigated soil.
How deep should the support posts be?
For a freestanding floating bench, posts must reach below the frost line, typically 36 to 48 inches depending on your region. This prevents frost heave from shifting the bench and damaging the surrounding root systems.
Can I build a floating bench against a fence?
Only if the fence posts are reinforced with 6×6 pressure-treated timber and anchored in concrete. Standard fence panels cannot support the lateral shear force and live load weight of a functional bench.
How do I prevent weeds under the bench?
Apply a 3-inch layer of organic mulch, such as shredded arborist chips. This suppresses weed germination by blocking light while slowly decomposing to improve the soil's organic matter content and cation exchange capacity.
What plants grow best under a floating bench?
Select species adapted to low light and dry shade. Helleborus, Epimedium, and certain Carex species are ideal. These plants tolerate the rain shadow effect and the reduced PAR levels found beneath the bench structure.