7 Basic Steps to Install a Butterfly House
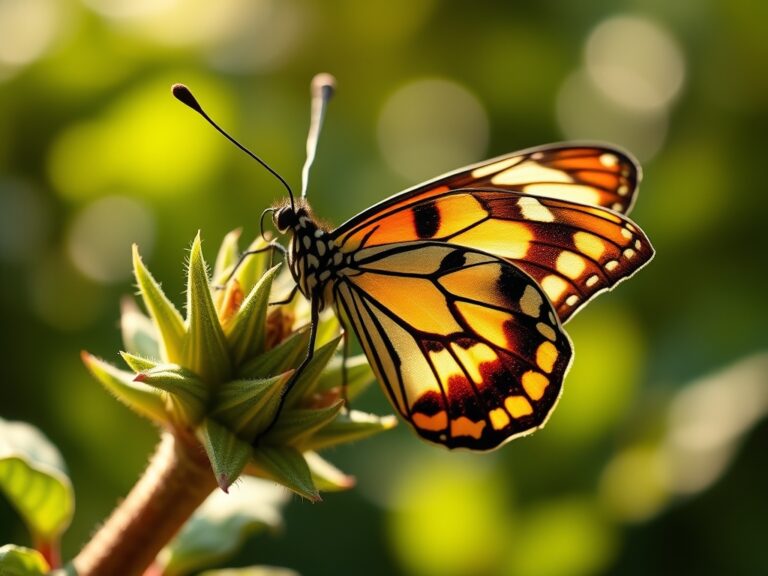
Damp earth under a fingernail and the crisp turgor of a fully hydrated leaf indicate a healthy horticultural environment. To successfully execute the steps to install a butterfly house, one must move beyond aesthetics and focus on the biological requirements of the Lepidoptera order. This installation is not a decorative whim; it is a strategic addition to a functional ecosystem. Success depends on precise placement, thermal regulation, and proximity to specific host plants that facilitate the transition from larvae to adult.
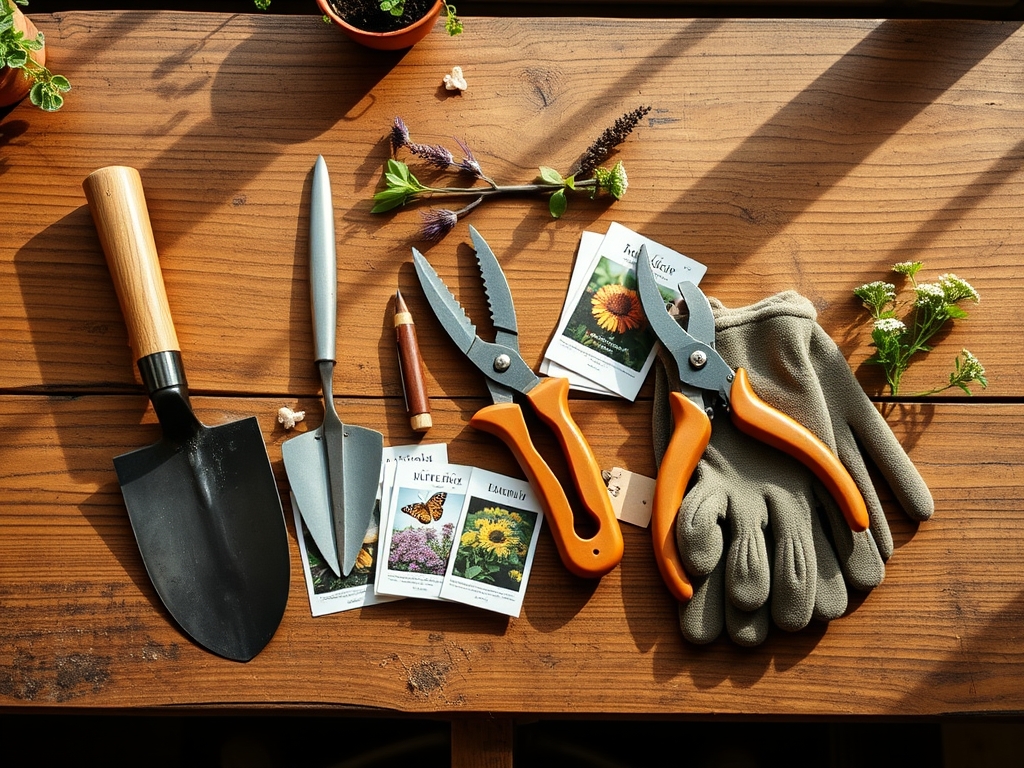
Materials:
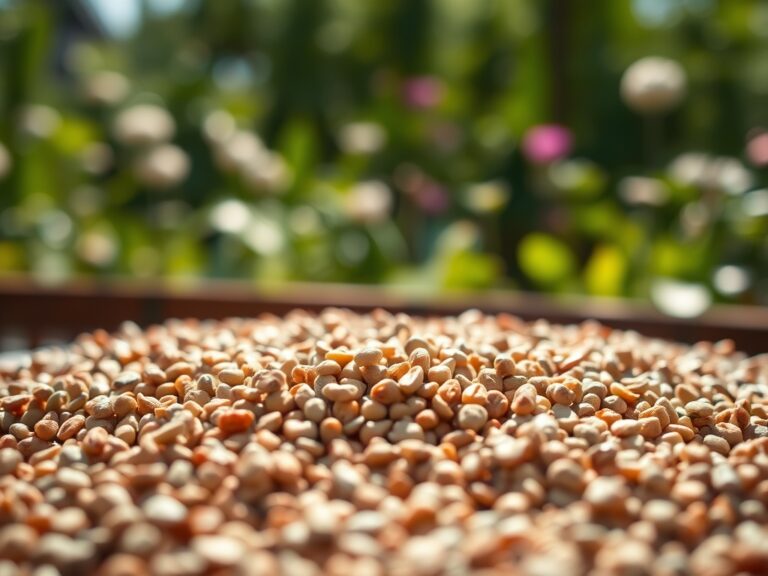
Installation begins with the substrate surrounding the structure. The soil must be a **friable loam** with a **Cation Exchange Capacity (CEC) between 15 and 25**, ensuring nutrient availability for nectar-rich flora. Maintain a **soil pH between 6.2 and 6.8** to optimize the uptake of phosphorus and potassium. For the surrounding vegetation, apply a granular fertilizer with an **NPK ratio of 5-10-10**. Low nitrogen prevents excessive vegetative growth that can hide the house from target species, while high phosphorus stimulates the bloom cycles necessary for adult feeding. The physical texture of the substrate should be crumbly; if the soil forms a hard bolus when squeezed, it contains too much clay and requires organic amendment to improve aeration in the **rhizosphere**.
Timing:
The installation window is dictated by Hardiness Zones 3 through 9. You must secure the house at least three weeks before the local last frost date. This timing allows the structure to weather and lose any residual scent from manufacturing that might repel insects. Observe the "Biological Clock" of your region; butterflies typically emerge when consistent daytime temperatures reach 60 degrees Fahrenheit (15.5 degrees Celsius). This period marks the transition from winter diapause to the reproductive stage. Aligning your installation with this thermal threshold ensures the house is available exactly when the insects require shelter from sudden spring deluges or nocturnal temperature drops.
Phases:

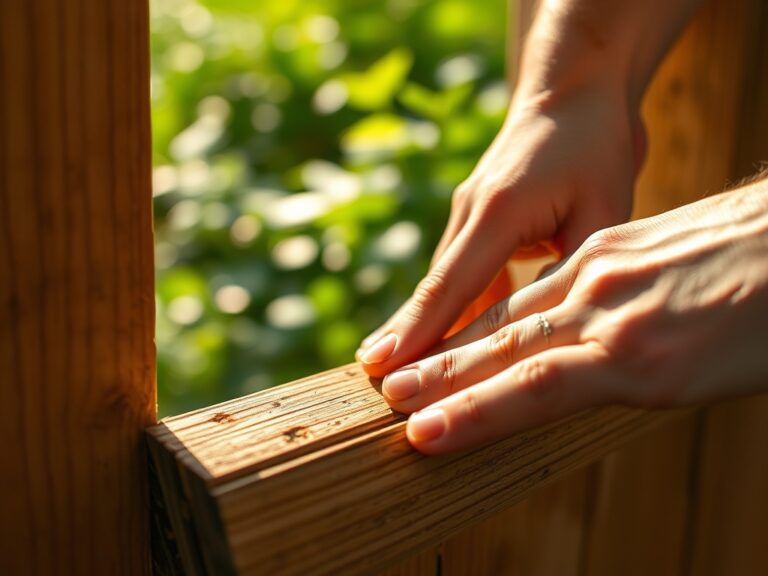
Sowing the Foundation
Position a 4×4 pressure-treated post 24 inches deep into the ground. Ensure the post is level to prevent structural torque during high winds. The house should be mounted at a height of 4 to 6 feet. This elevation mimics the natural height of tree bark crevices where many species seek refuge.
Pro-Tip: Orient the vertical slits of the house away from prevailing winds. This utilizes fluid dynamics to create a low-pressure zone inside the box, preventing wind-chill from dropping the internal temperature below the insect's critical thermal minimum.
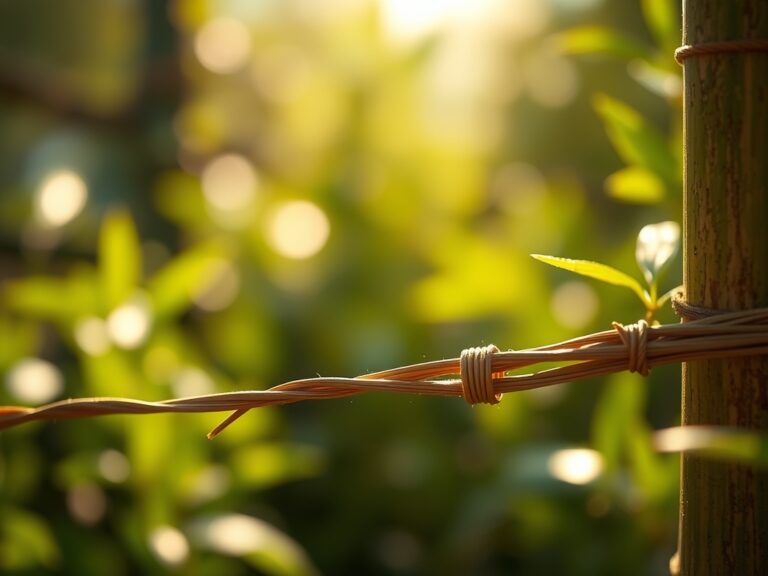
Transplanting Host Flora
Surround the base of the post with host plants such as Asclepias or Buddleja. Space plants 18 inches apart to allow for maximum airflow and to prevent fungal pathogens. Use a hori-hori knife to cut through compacted roots before placing them in the planting hole.
Pro-Tip: Group plants by species to maximize the visual signal for foraging butterflies. This concentration of floral volatiles increases the probability that a butterfly will locate the house during its flight path.
Establishing the Microclimate
Place a flat, dark stone at the base of the house. This serves as a thermal sink, absorbing solar radiation to provide a basking spot. Butterflies are ectothermic and require external heat sources to reach the 85 degree Fahrenheit threshold required for flight muscles to function.
Pro-Tip: Maintain a shallow water source nearby with exposed pebbles. This facilitates "puddling," a behavior where males extract essential salts and minerals. This osmotic balance is critical for reproductive success.
The Clinic:
Physiological disorders in the surrounding habitat can deter butterflies. Monitor for these specific symptoms:
Symptom: Interveinal chlorosis (yellowing between leaf veins).
Solution: This indicates a Magnesium deficiency. Apply Epsom salts (magnesium sulfate) at a rate of 1 tablespoon per gallon of water to the root zone.
Symptom: Necrotic leaf margins on host plants.
Solution: This often signals Potassium deficiency or salt burn. Flush the soil with 2 inches of water and adjust the NPK ratio to favor K-heavy amendments.
Symptom: Stunted growth and dark purple foliage.
Solution: This is a classic Phosphorus deficiency. Check soil pH; if the pH is below 5.5, phosphorus becomes chemically locked and unavailable to the plant. Raise pH using calcitic lime.
Fix-It: If plants show overall pale green foliage, it is Nitrogen chlorosis. Apply a quick-release liquid fertilizer with a 10-5-5 ratio to restore chlorophyll production and increase turgor pressure.
Maintenance:
Consistency is the hallmark of professional horticulture. Use a soil moisture meter to ensure the habitat receives 1.5 inches of water per week at the drip line. Avoid overhead irrigation; use a soaker hose to keep moisture off the butterfly house itself, which prevents wood rot and fungal spores. Use bypass pruners to remove spent blooms (deadheading). This prevents the plant from entering senescence and redirects energy back into flower production, extending the foraging season. Every autumn, open the house and use a stiff brush to remove spider webs or debris. Do not use chemical cleaners; a solution of 90 percent water and 10 percent white vinegar is sufficient for disinfection without leaving toxic residues.
The Yield:
While a butterfly house does not yield a harvestable crop in the traditional sense, the "yield" is measured in pollination efficiency and biodiversity. To maximize this, do not remove dead plant stalks until late spring. Many beneficial insects overwinter in the hollow stems. If you are growing nectar flowers for cutting, harvest in the early morning when turgor pressure is at its peak. Cut at a 45-degree angle and submerge the stems immediately in 100-degree Fahrenheit water to maintain "day-one" freshness and prevent air embolisms in the xylem.
FAQ:
What direction should a butterfly house face?
Mount the house facing South or Southeast. This orientation maximizes solar gain during the morning hours, allowing the internal temperature to rise quickly, which is vital for the thermoregulation of ectothermic insects.
Do butterflies actually use these houses?
Usage depends on placement. They primarily serve as overwintering sites or protection from predators and heavy rain. Success increases significantly when the house is placed within five feet of host plants and a permanent water source.
What should I put inside the box?
Place several pieces of thick tree bark vertically inside. This provides the textured surface area necessary for butterflies to cling to. Avoid using wood shavings or straw, as these can harbor mold or trap the insects.
How do I attract butterflies to the new house?
Ensure a continuous photoperiod of sun for at least six hours. Plant a variety of flowers with different bloom times to provide a constant supply of nectar from early spring through the first frost of autumn.