10 Eco-Friendly Ways How to Design a Pollinator Pathway
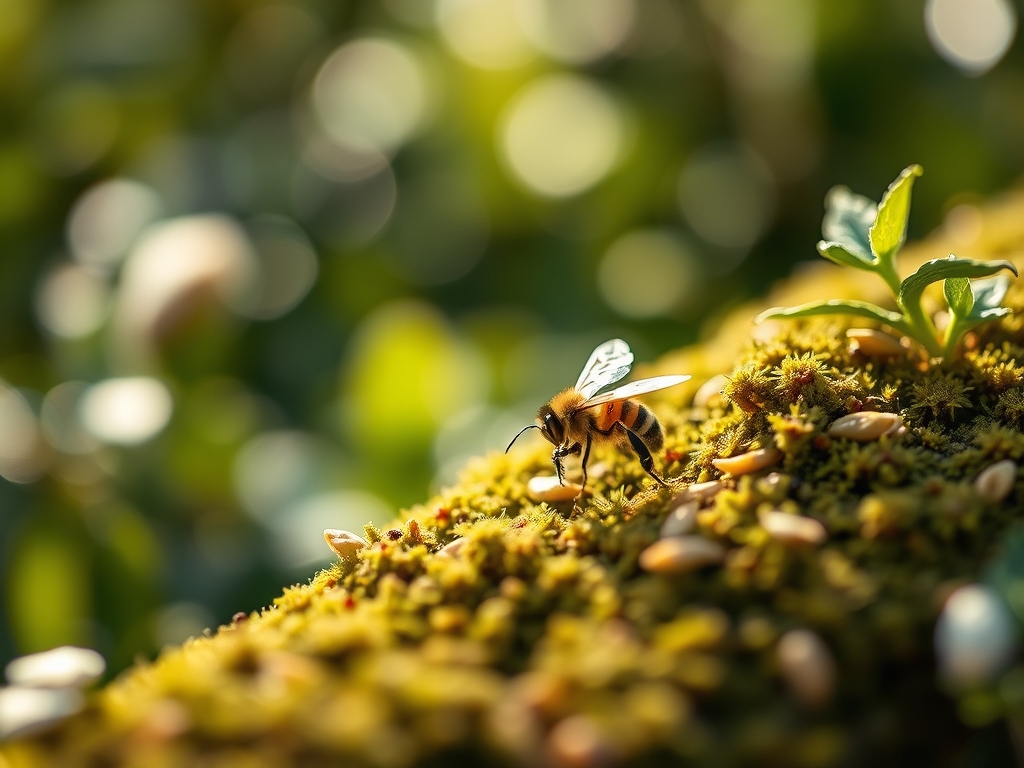
The scent of damp, mineral-rich earth signals a high Cation Exchange Capacity (CEC), indicating a soil ready to support life. When you feel the firm turgor of a leaf against your thumb, you are feeling the internal water pressure that keeps a plant upright and functional. Learning how to design a pollinator pathway requires more than just scattering seeds; it demands a calculated reconstruction of fragmented ecosystems. You are building a biological corridor that connects isolated habitats, allowing insects to move, forage, and reproduce across a landscape that has been largely sterilized by monoculture turf. This process begins with understanding the specific physiological needs of native flora and the metabolic demands of the insects that rely on them. By aligning your planting strategy with local phenology, you create a functional bridge that supports biodiversity through every stage of the growing season.
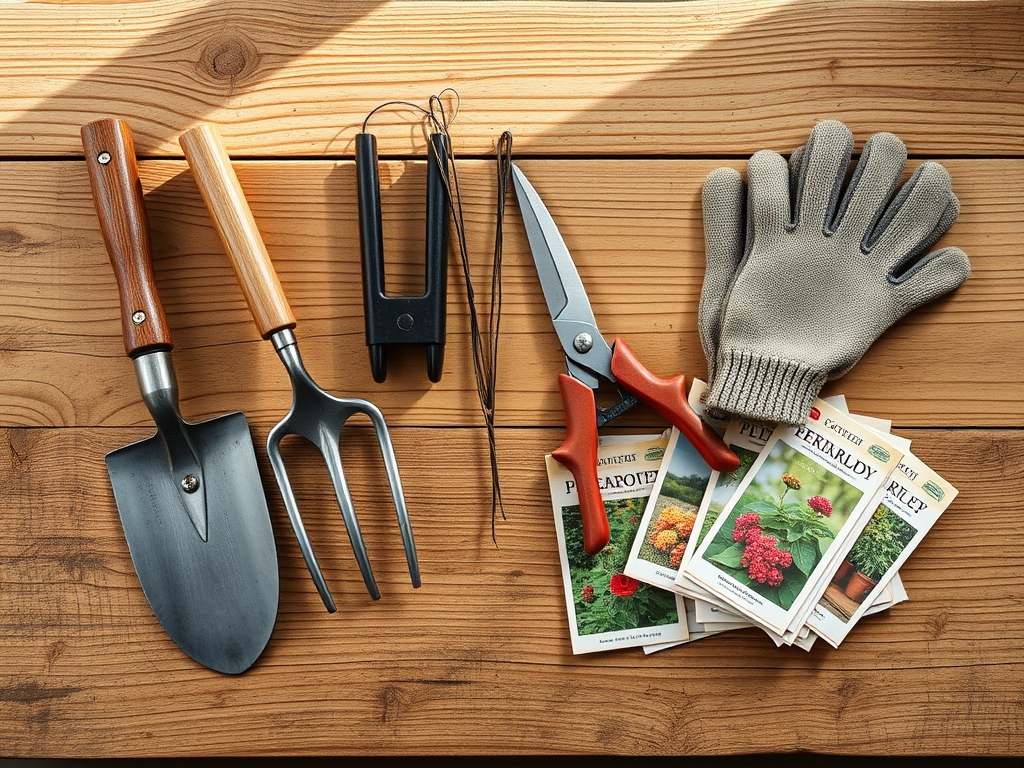
Materials:
Success starts with the substrate. You require a **friable loam** that allows for rapid root penetration and gas exchange within the **rhizosphere**. The ideal soil structure consists of 40 percent sand, 40 percent silt, and 20 percent clay. For most native pollinator species, aim for a **soil pH between 6.0 and 7.0**. This range ensures maximum bioavailability of micronutrients.
Regarding nutrient density, avoid high-nitrogen synthetic fertilizers which promote excessive vegetative growth at the expense of floral development. Use organic amendments to achieve specific NPK ratios:
- Establishment Phase: Use a 5-10-5 ratio to prioritize phosphorus for robust root architecture.
- Active Bloom Phase: Transition to a 4-8-12 ratio; higher potassium levels support the osmotic regulation required for nectar production.
- Top-dressing: Apply one inch of leaf mold or compost with a CEC rating above 15 meq/100g to improve nutrient retention.
Timing:
The biological clock of your pathway is dictated by USDA Hardiness Zones and the local photoperiod. In Zones 5 through 7, the primary planting window opens when soil temperatures consistently reach 55 degrees Fahrenheit. This temperature threshold triggers the transition from seed dormancy to active germination.
Observe the "Biological Clock" of your specific region. Early-season pollinators emerge as soon as the ground thaws, requiring "bridge species" that bloom in late March or April. The transition from the vegetative stage (leaf and stem production) to the reproductive stage (flowering) is often triggered by the photoperiod, the ratio of light to dark in a 24-hour cycle. Long-day plants require more than 12 hours of light to initiate budding, while short-day plants wait for the waning light of late summer. Align your planting schedule so that at least three species are in active anthesis at any given time from the last spring frost to the first hard freeze of autumn.
Phases:
Sowing
Direct sow seeds into a prepared bed that has been cleared of invasive competition. Ensure seed-to-soil contact by tamping the area firmly; however, do not bury small seeds deeper than two times their diameter. Many native seeds require cold stratification, a period of moist cold, to break physiological dormancy.
Pro-Tip: Utilize the principle of Mycorrhizal Symbiosis. Inoculate your seeds or soil with endomycorrhizal fungi. These fungi extend the root system's reach by up to 100 times, increasing the uptake of phosphorus and water in exchange for plant sugars.
Transplanting
When moving nursery stock into the pathway, dig a hole twice as wide as the root ball but no deeper. Ensure the crown of the plant sits exactly at the soil line to prevent hypocotyl rot.
Pro-Tip: Practice Auxin Suppression by pinching back the terminal buds of certain perennials like Aster or Helenium in late spring. This disrupts apical dominance, forcing the plant to redirect auxins to lateral buds, resulting in a bushier habit with more floral sites.
Establishing
During the first six weeks, maintain consistent soil moisture to prevent plasmolysis, the shrinking of the protoplasm away from the cell wall due to water loss. Once the root system reaches the deeper soil horizons, reduce frequency but increase depth of irrigation.
Pro-Tip: Monitor for Phototropism. If plants are leaning aggressively toward a light source, they are experiencing differential cell elongation caused by auxin accumulation on the shaded side of the stem. Ensure 6 to 8 hours of solar exposure for maximum nectar sugar concentration.
The Clinic:
Physiological disorders often mimic disease but are usually rooted in environmental stress or nutrient imbalance.
- Symptom: Interveinal Chlorosis. The leaf remains green along the veins while the rest turns yellow.
- Solution: This indicates a Manganese or Iron deficiency, often caused by a pH above 7.5. Lower the pH using elemental sulfur to unlock these micronutrients.
- Symptom: Leaf Margin Necrosis. The edges of the leaves appear scorched or brown.
- Solution: This is typically a Potassium (K) deficiency or high salinity. Flush the soil with 2 inches of water to leach excess salts and apply a kelp-based meal.
- Symptom: Stunted Growth with Purple Pigmentation.
- Solution: This signals Phosphorus (P) deficiency, common in cold, wet soils where root activity is sluggish. Apply a bone meal amendment or wait for soil temperatures to rise above 60 degrees.
- Symptom: Sudden Wilting (with moist soil).
- Solution: This suggests Root Rot (Phytophthora) caused by anaerobic conditions. Improve drainage by incorporating coarse organic matter to increase macropore space.
Maintenance:
Precision maintenance ensures the pathway remains a high-energy refueling station. Use a soil moisture meter to verify that the root zone stays between 20 and 40 percent volumetric water content. Deliver 1.5 inches of water per week at the drip line rather than over the foliage to minimize fungal pathogen incubation.
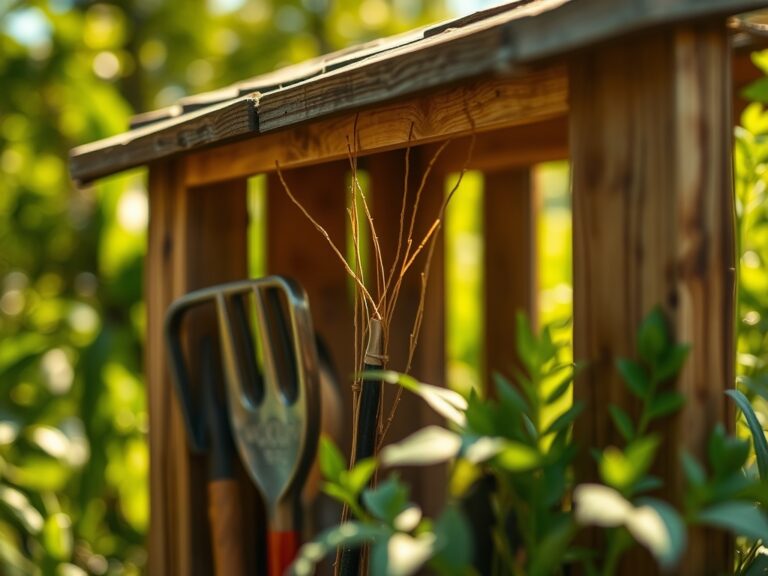
Keep your bypass pruners sharp and disinfected with 70 percent isopropyl alcohol between plants. When deadheading, cut back to the first set of true leaves to stimulate secondary blooms. Use a hori-hori knife to extract deep-taproot weeds without disturbing the surrounding soil structure. In autumn, resist the urge to "clean up." Leave dried stalks standing; they serve as essential overwintering chambers for solitary bees and larvae.
The Yield:
While the primary yield of a pollinator pathway is ecological stability, you may harvest seed heads for expansion. Harvest seeds when the seed pods are desiccated and the embryos have reached physiological maturity. Store seeds in a cool, dry environment with a relative humidity below 35 percent to maintain viability. For floral harvests, cut stems in the early morning when turgor pressure is at its peak. Immediately submerge the stems in 100-degree Fahrenheit water to break air bubbles in the xylem, ensuring "day-one" freshness for several days.
FAQ:
What is the best width for a pollinator pathway?
Aim for a minimum width of 5 to 10 feet. This provides enough depth for "clumping" species, which allows pollinators to forage efficiently without expending excessive energy traveling between isolated plants.
Can I use treated wood for raised pathway beds?
Avoid wood treated with chromated copper arsenate (CCA). These chemicals can leach into the rhizosphere. Use cedar, black locust, or heat-treated timber to ensure the soil remains free of heavy metal contaminants.
How do I manage pests without chemicals?
Encourage beneficial predatory insects like lacewings and lady beetles. Maintain a diverse planting scheme to prevent monoculture-related outbreaks. Use mechanical removal or high-pressure water sprays to manage aphid populations without disrupting the local food web.
Why are native plants better for pathways?
Native plants have co-evolved with local pollinators, offering the specific protein-to-lipid ratios required in their pollen. Non-native cultivars often prioritize aesthetics over nectar production, offering little nutritional value to specialized insect species.