5 Best Window Kits for Sheds
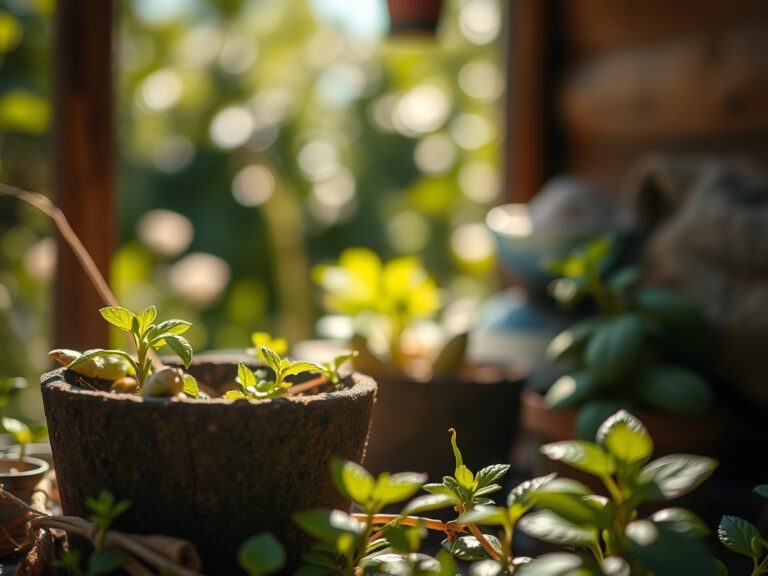
The scent of decomposing organic matter and the sharp, metallic tang of oxidized iron define the workspace of a serious horticulturalist. Inside a shed, the lack of ventilation leads to stagnant air and high humidity; this environment causes a rapid decline in turgor pressure for any seedlings stored within. Without proper light penetration, plants undergo etiolation, stretching their stems toward weak light sources and weakening their cellular integrity. Installing the best window kits for sheds is not a matter of aesthetics; it is a fundamental requirement for regulating the internal microclimate and supporting the biological processes of the rhizosphere. A shed without a window is a tomb for biological potential. Proper glazing allows for the modulation of the photoperiod, ensuring that the transition from vegetative growth to senescence is controlled rather than forced by environmental stress. By integrating high-quality polycarbonate or tempered glass units, you transform a dark storage unit into a functional laboratory for propagation and overwintering. This guide provides the technical specifications required to select and install windows that maintain the thermal mass and light requirements of your botanical collection.
Materials:
The success of any shed-based botanical operation begins with the substrate used in the pots near your new windows. For optimal growth, you require a **friable loam** with a high **Cation Exchange Capacity (CEC)**, typically ranging from **15 to 25 meq/100g**. This allows the soil to retain essential nutrients against leaching. The soil pH must be calibrated to **6.2 to 6.8** to ensure maximum bioavailability of macronutrients.
When preparing your potting mix, integrate a balanced NPK ratio of 10-10-10 for general maintenance. If you are focusing on flowering or fruiting, shift to a 5-10-10 ratio to prioritize phosphorus for root development and bloom induction. The physical texture should be porous; use a mixture of 40 percent peat moss, 30 percent perlite, and 30 percent composted organic matter. This composition ensures oxygen reaches the root zone, preventing the anaerobic conditions that lead to Pythium root rot. High-quality window kits must provide a tight seal against this humid, nutrient-rich environment to prevent exterior rot.
Timing:
Installation of shed windows should occur during the dormant season, specifically in Hardiness Zones 4 through 7 between late November and early March. This timing ensures that the structure is sealed before the first spring flush of growth. In Zones 8 through 10, installation is best performed during the dry season to avoid moisture entrapment within the wall cavities.
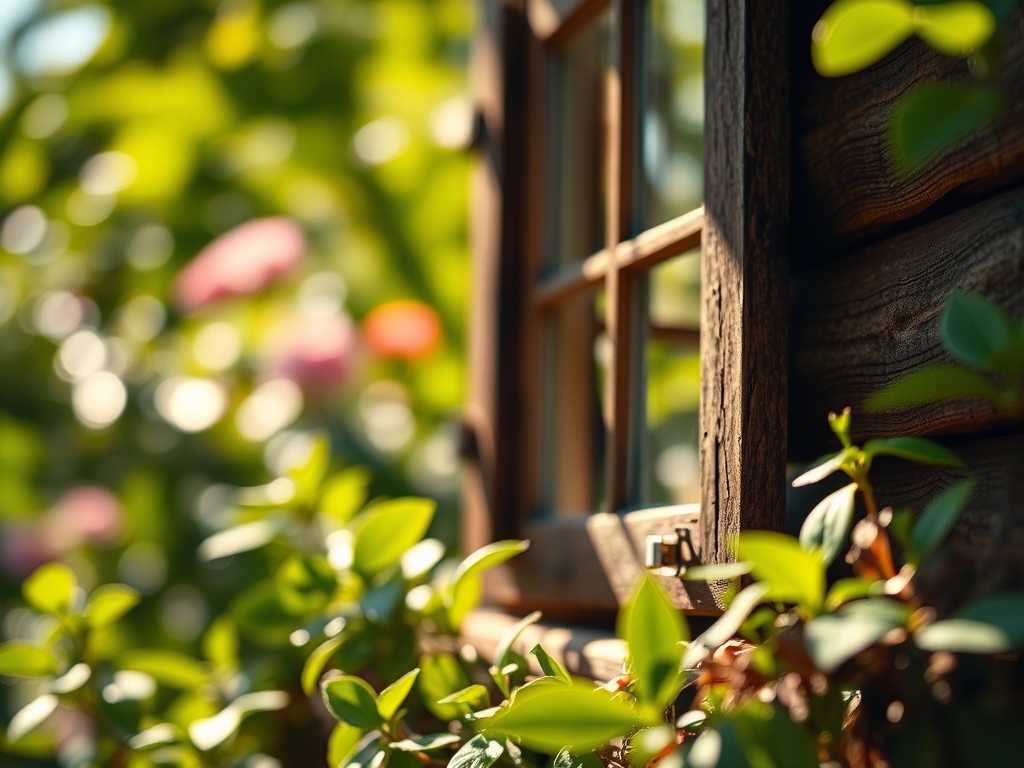
Understanding the "Biological Clock" of your plants is essential when positioning your windows. Most temperate species require a specific photoperiod to trigger the transition from the vegetative stage to the reproductive stage. By installing windows with a Southern exposure, you maximize the "Daily Light Integral" (DLI), which is the total amount of photosynthetically active radiation (PAR) received over a 24-hour period. In the Northern Hemisphere, a South-facing window provides the consistent light necessary to prevent premature flowering in long-day plants.
Phases:

Sowing
When starting seeds behind your shed window, maintain a consistent soil temperature of 70 to 75 degrees Fahrenheit. Use a heat mat if the ambient air temperature drops below 60 degrees. Seeds should be sown at a depth of two to three times their diameter.
Pro-Tip: Proper light exposure prevents auxin suppression. In low light, auxins concentrate on the shaded side of the stem, causing rapid cell elongation and making the plant "leggy." High-quality window kits provide the PAR levels needed to keep auxin distribution even.
Transplanting
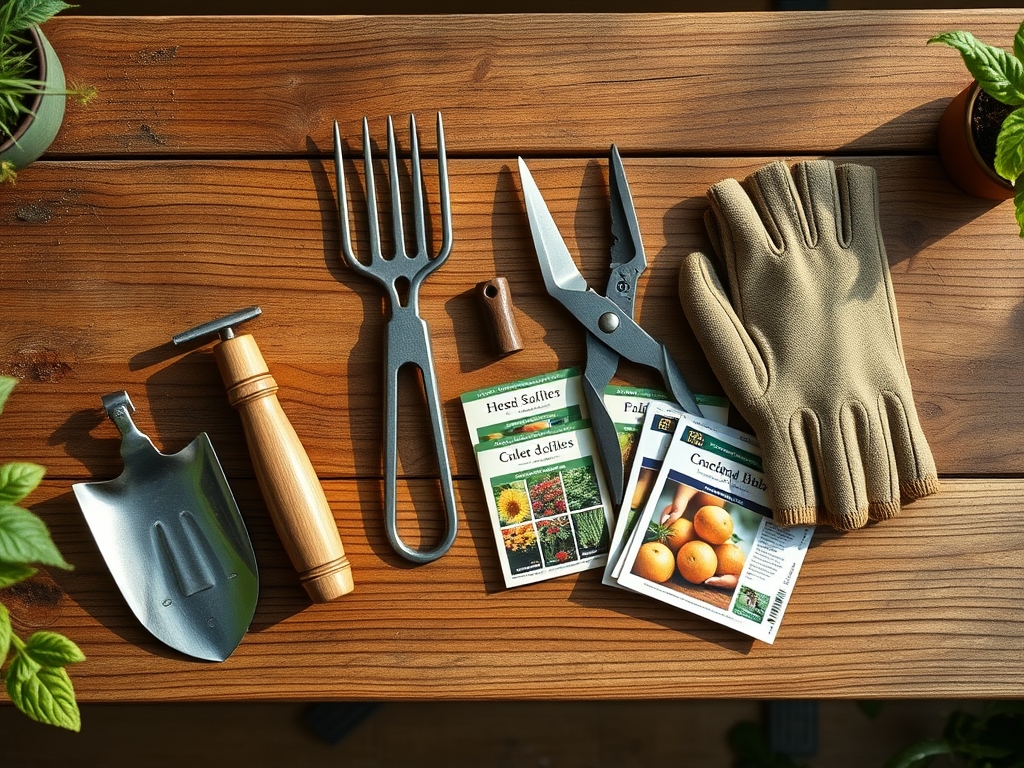
Move seedlings into larger containers once they develop their second set of true leaves. Ensure the new containers have adequate drainage to prevent perched water tables at the bottom of the pot. Use a hori-hori knife to gently loosen the root ball without damaging the delicate root hairs.
Pro-Tip: During transplanting, inoculate the soil with mycorrhizal fungi. This creates a symbiotic relationship where the fungi extend the root system's reach, increasing the uptake of phosphorus and water by up to 300 percent.
Establishing
Once the plant is established, monitor the turgor pressure daily. A healthy plant should have rigid leaves. If the leaves appear flaccid despite moist soil, the humidity inside the shed may be too low, or the window may be causing excessive heat gain.
Pro-Tip: Utilize phototropism to your advantage by rotating the pots 90 degrees every three days. This ensures the plant develops a sturdy, symmetrical vascular system rather than leaning toward the light source.
The Clinic:
Physiological disorders in shed plants often stem from poor light or ventilation issues associated with inferior window kits.
Symptom: Interveinal chlorosis (yellowing between leaf veins) on young leaves.
Solution: This indicates an Iron (Fe) deficiency, often caused by a pH above 7.0. Lower the pH using elemental sulfur or iron chelates.
Symptom: Edema (small, corky bumps on the underside of leaves).
Solution: This is caused by high humidity and overwatering. The plant takes up more water than it can transpire. Increase ventilation by opening the shed window for two hours daily.
Symptom: Nitrogen chlorosis (general yellowing of older, lower leaves).
Fix-It: Apply a water-soluble fertilizer with a high first number (e.g., 20-10-10). Nitrogen is a mobile nutrient; the plant moves it from old growth to new growth when soil levels are depleted.
Maintenance:
Precision is the hallmark of a master gardener. Apply exactly 1.5 inches of water per week at the drip line of your container plants. Use a soil moisture meter to verify that the moisture has reached a depth of 4 inches before re-watering.
Keep your tools sterile to prevent the spread of pathogens. Wipe your bypass pruners with a 70 percent isopropyl alcohol solution between every cut. If you notice algae growth on the interior of your shed windows, clean them with a mild vinegar solution; algae blocks PAR and reduces the efficiency of your biological workspace. Regularly check the caulking around your window kits; any breach in the seal can lead to drafts that cause chilling injury to sensitive tropical species.
The Yield:
When harvesting herbs or leafy greens grown in your shed, timing is critical. Harvest in the early morning when turgor pressure is at its peak and the plant's essential oils are most concentrated. Use sharp bypass pruners to make clean cuts at a 45-degree angle just above a node.
For post-harvest handling, immediately submerge the stems in 40-degree Fahrenheit water. This rapid cooling, known as "hydro-cooling," slows down the metabolic rate and prevents senescence. Properly handled greens can maintain "day-one" freshness for up to 14 days when stored in a high-humidity, low-temperature environment.
FAQ:
What is the best material for shed windows?
Tempered glass or multi-wall polycarbonate are superior. Polycarbonate offers better insulation and UV protection, which prevents foliage burn. Tempered glass provides maximum light transmission for high-light crops. Ensure the frame is aluminum or vinyl to prevent rot.
How do I prevent my shed from overheating?
Install windows with operable sashes to allow for cross-ventilation. Aim for a ventilation rate of one air exchange per minute. Adding a solar-powered exhaust fan near the roof ridge will pull hot air out while the window draws cool air in.
Can I grow vegetables in a shed year-round?
Yes, provided you maintain a temperature between 55 and 75 degrees Fahrenheit. You must monitor the Daily Light Integral. In winter, you may need to supplement the natural light from your windows with full-spectrum LED grow lights for 12 to 14 hours.
How do I seal a shed window kit?
Use a high-grade silicone caulk around the exterior flange. Ensure the rough opening is 1/4 inch larger than the window frame to allow for structural expansion. Use flashing tape at the sill to direct water away from the interior framing.