7 Expert Ways How to Build a Potting Shed
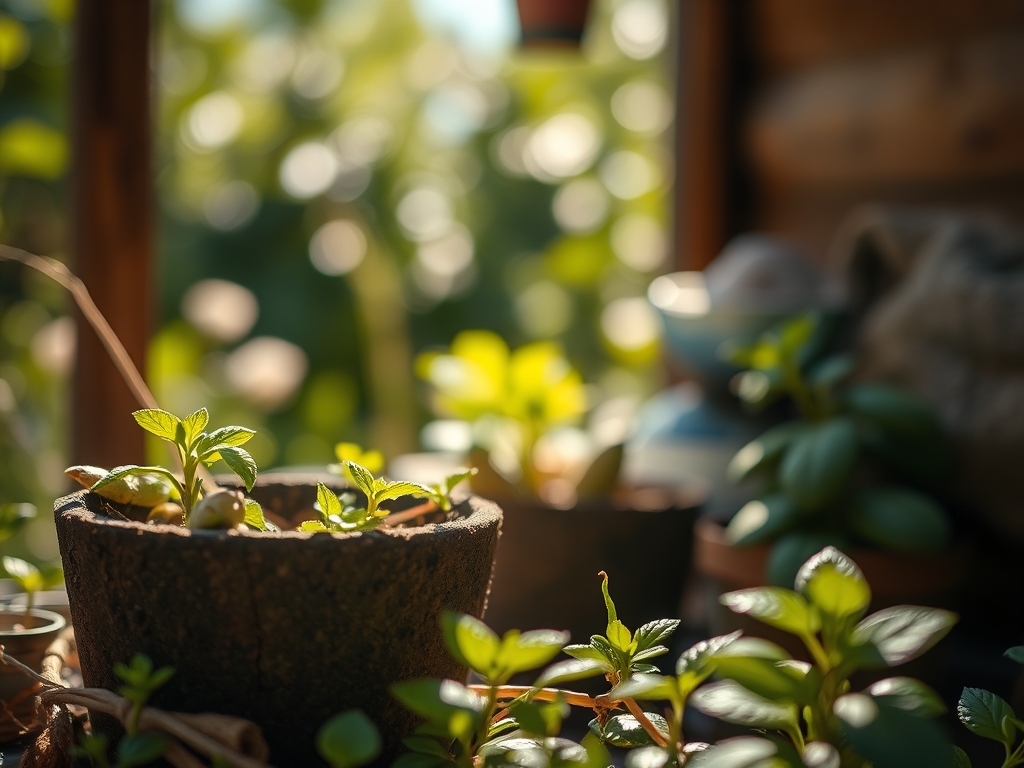
The smell of damp peat moss and the gritty texture of perlite under your fingernails define the workspace of a serious horticulturalist. Maintaining high turgor pressure in young seedlings requires a controlled environment where humidity and temperature remain stable. Learning how to build a potting shed is the fundamental step in transitioning from a casual gardener to a biological manager of plant health. This structure serves as the nerve center for seed germination; it is where the rhizosphere is first established and where delicate vascular systems are protected from fluctuating wind desiccations. A well constructed shed provides the thermal mass and organized storage necessary to manage complex soil chemistry and light cycles. By centralizing your propagation tools, you minimize the time between transplanting and root establishment. This efficiency reduces transplant shock and ensures that the transition from vegetative growth to reproductive maturity occurs on a precise biological schedule.
Materials:
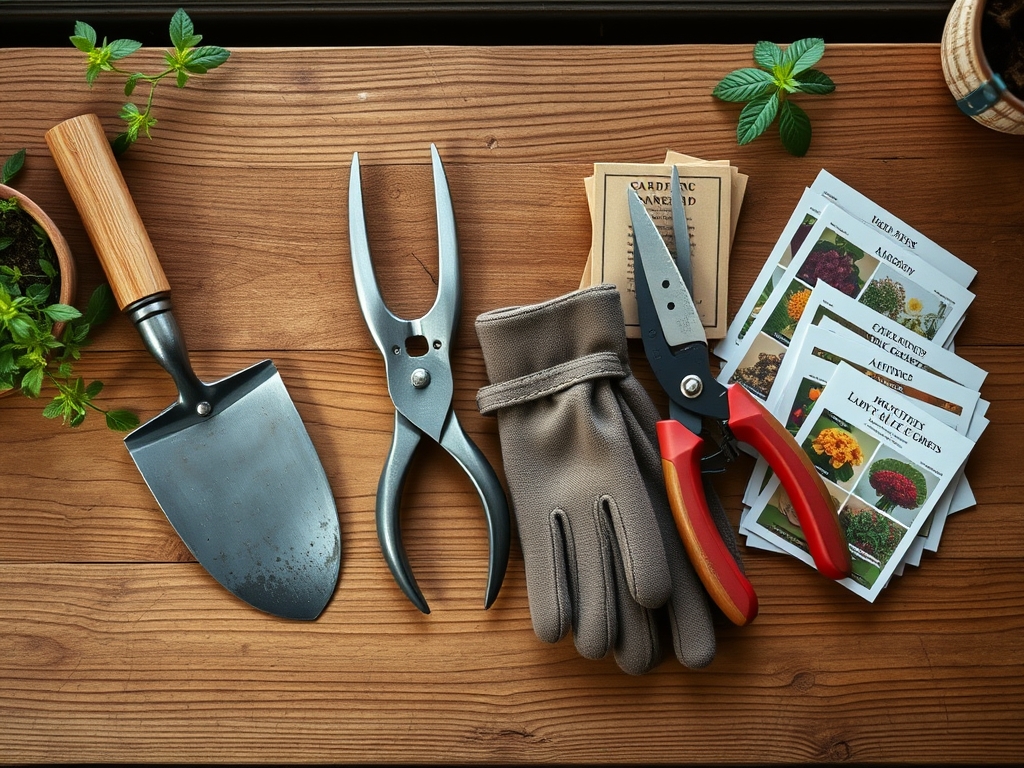
Construction requires a foundation that prevents moisture wicking into your substrate. Use pressure-treated lumber for the base to resist fungal decay. For the interior, prioritize surfaces that can be sanitized to prevent the spread of soil-borne pathogens like Pythium.
The heart of the shed is the potting bench, which must be stocked with specific soil amendments. A standard friable loam should be the baseline; it consists of 40 percent sand, 40 percent silt, and 20 percent clay. Maintain a soil pH between 6.0 and 7.0 for most temperate species to ensure maximum nutrient bioavailability. Keep high-quality fertilizers on hand with specific NPK ratios. Use a 10-10-10 balanced fertilizer for general maintenance, but stock a 5-10-10 ratio for root development and a 20-10-10 ratio for rapid foliage growth. High Cation Exchange Capacity (CEC) materials like vermiculite or aged compost are essential for retaining positively charged ions like Calcium (Ca2+) and Magnesium (Mg2+).
Timing:
Construction and seasonal planning must align with your local USDA Hardiness Zone. In Zones 5 through 7, the ideal window for building is the late dormant season, typically between January and March. This ensures the structure is operational before the first frost-free date. Understanding the biological clock of your crops is vital. Most annuals require a 12 to 14 hour photoperiod to remain in the vegetative stage. As you plan your shed layout, account for the transition to the reproductive stage, which is often triggered by changes in light duration or thermal accumulation (Growing Degree Days). A potting shed allows you to manipulate these variables, starting seeds 6 to 8 weeks before the last expected frost to maximize the growing season.
Phases:
Sowing
Begin by sterilizing all trays with a 10 percent bleach solution to eliminate dormant spores. Fill cells with a seed-starting mix that has a low electrical conductivity (EC) to avoid burning delicate radicles. Sow seeds at a depth generally two times their diameter. Maintain a consistent soil temperature of 65 to 75 degrees Fahrenheit using heat mats.
Pro-Tip: Utilize bottom heat to encourage rapid germination. This works because of thermomorphogenesis, where specific temperature signals accelerate metabolic enzymes within the seed coat, breaking dormancy faster than ambient air heating.
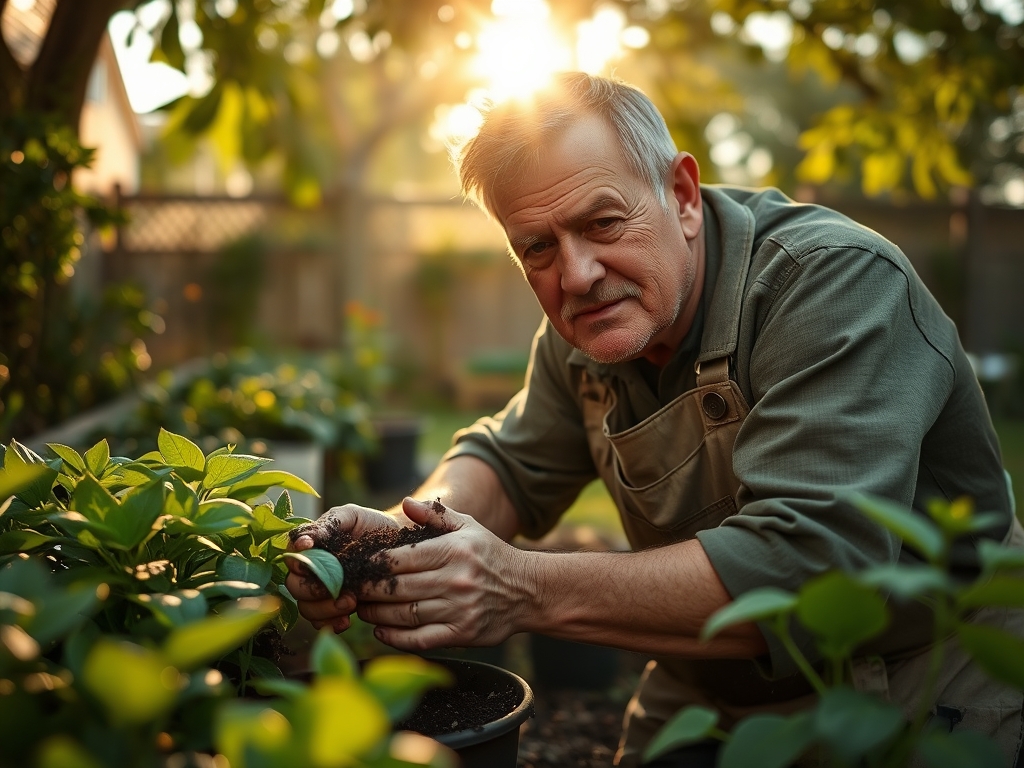
Transplanting
Move seedlings when the first set of true leaves appears. This stage signifies that the plant has moved beyond its endosperm energy reserves and is now performing active photosynthesis. Handle plants by the cotyledons, never the stem, to avoid crushing the vascular cambium. Ensure the new potting medium is pre-moistened to facilitate immediate capillary action between the root ball and the new soil.
Pro-Tip: When transplanting, avoid disturbing the root tips to maintain mycorrhizal symbiosis. These beneficial fungi extend the reach of the root system, increasing the surface area for phosphorus uptake and water absorption.
Establishing
Once transplanted, focus on structural integrity. If plants become "leggy," increase light intensity. Gradually harden off the plants by exposing them to outdoor conditions for increasing intervals over 7 to 10 days. This process thickens the waxy cuticle on the leaves, reducing transpiration rates when the plant is finally moved to the field.
Pro-Tip: Pinching off the terminal bud of certain species can stimulate lateral growth. This is due to auxin suppression; by removing the primary source of the hormone auxin at the tip, you neutralize apical dominance and allow axillary buds to develop.
The Clinic:
Physiological disorders often mimic infectious diseases but are caused by environmental stress.
Symptom: Interveinal chlorosis on young leaves.
Solution: This indicates an Iron (Fe) deficiency, often caused by a pH above 7.0. Lower the pH using elemental sulfur or chelated iron drench.
Symptom: Purpling of the underside of leaves.
Solution: This is a classic sign of Phosphorus (P) deficiency. It often occurs in cold soils where P becomes chemically locked. Increase soil temperature to above 60 degrees Fahrenheit.
Symptom: Blossom end rot in fruiting crops.
Solution: This is a Calcium (Ca) transport issue. It is rarely a lack of Calcium in the soil but rather inconsistent moisture preventing the plant from moving Calcium through the xylem.
Fix-It for Nitrogen Chlorosis: If older leaves turn uniform pale yellow, the plant is scavenging Nitrogen to support new growth. Apply a high-nitrogen liquid fertilizer (NPK 30-10-10) to restore chlorophyll synthesis immediately.
Maintenance:
A potting shed requires rigorous upkeep to remain a sterile and efficient environment. Use a soil moisture meter daily to check the volumetric water content of your containers; aim for 60 to 80 percent field capacity. Most established container plants require 1.5 inches of water per week, delivered directly to the substrate to keep the foliage dry and prevent fungal sporulation.
Keep your bypass pruners and hori-hori knife sharp and rust-free. Sharpen blades at a 20-degree angle using a whetstone. Sanitize tools with isopropyl alcohol after every use to prevent the mechanical transmission of viruses. Monitor the shed's ventilation; stagnant air leads to high humidity, which can cause "damping off," a condition where fungal pathogens attack the succulent stem tissues of seedlings at the soil line.
The Yield:
Harvesting is the culmination of precise horticultural management. For leafy greens, harvest in the early morning when turgor pressure is at its peak. This ensures the cells are fully hydrated, providing a crisp texture. Use a sharp, sterilized knife to make clean cuts, which allows the parent plant to seal the wound quickly and reduces the risk of infection.
For flowering species, harvest when the first one or two florets on a spike are open. Immediately plunge the stems into 110 degree Fahrenheit water containing a carbohydrate source (sugar) and an acidifier (citric acid). This "pulsing" technique forces the solution up the xylem, extending the post-harvest life by maintaining hydraulic conductance and preventing premature senescence.
FAQ:
What is the best orientation for a potting shed?
Place the longest side with the most windows facing South. This maximizes solar heat gain and provides the necessary photosynthetically active radiation (PAR) for early spring seed starting in the Northern Hemisphere.
How do I prevent mold in my potting soil?
Ensure adequate airflow by using a circulation fan. Keep humidity levels below 60 percent. Avoid overwatering; allow the top 0.5 inch of the substrate to dry out between irrigation cycles to disrupt the fungal life cycle.
What is the ideal workbench height?
Construct the bench to be 36 to 38 inches high. This ergonomic height prevents lumbar strain during long periods of precision work, such as pricking out seedlings or performing delicate graft unions on fruit stock.
How do I track soil nutrient levels?
Perform a professional soil test every six months. Use a conductivity (EC) meter to measure the total dissolved salts in your liquid fertilizer runoff. Keep the EC between 1.2 and 2.0 mS/cm for most active growth phases.