9 Critical Steps to Install a Root Barrier
The scent of damp, disturbed earth signals the beginning of a high stakes structural intervention. When a tree's turgor pressure remains high, its roots expand with relentless force, capable of exerting hundreds of pounds of pressure per square inch against concrete foundations. Mastering the steps to install a root barrier requires more than manual labor; it demands an understanding of the rhizosphere and the mechanical limits of HDPE (High-Density Polyethylene) membranes. You are not just digging a trench. You are redirecting the hydraulic energy of a living organism to protect the integrity of the built environment.
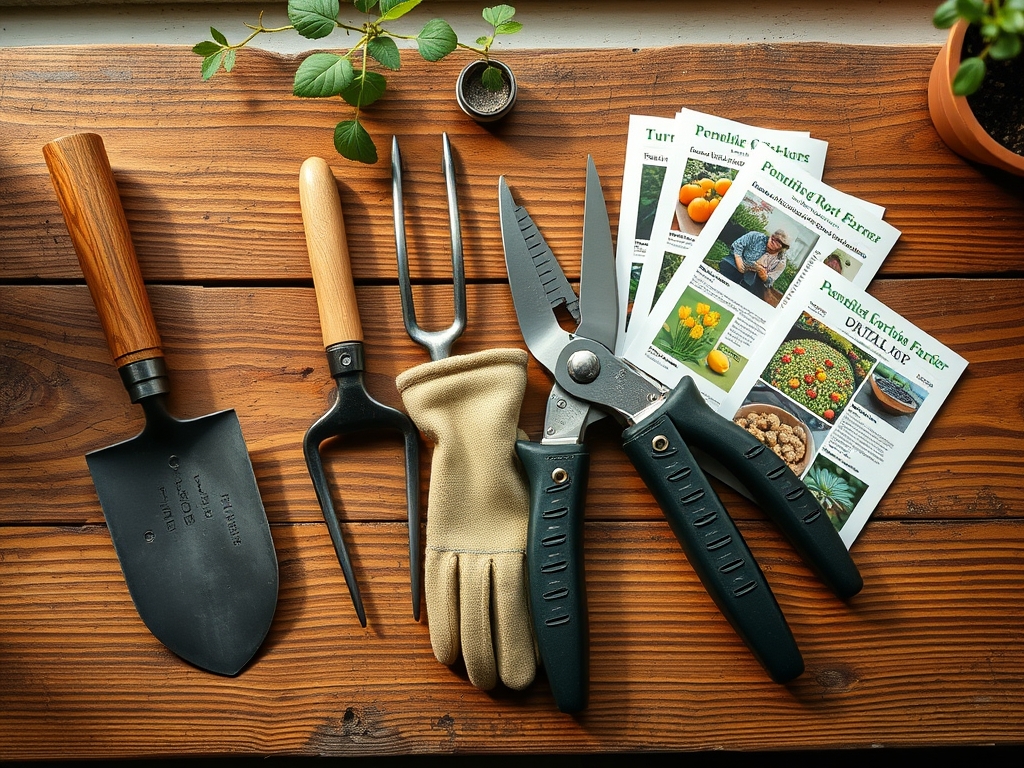
Materials:
The success of this installation depends on the interaction between the barrier material and the surrounding soil chemistry. For the backfill, aim for a **friable loam** with a **Cation Exchange Capacity (CEC) between 15 and 25**. This ensures the soil can hold essential cations like calcium and magnesium without becoming waterlogged.
The soil pH should be maintained between 6.0 and 7.0 to optimize nutrient availability. If the soil is overly alkaline, the tree may suffer from iron chlorosis. Use a specialized NPK starter blend of 5-10-5 during the backfill process to encourage deep vertical root growth rather than lateral spread. You will need HDPE panels at least 0.060 inches thick, a sharpened spade, and a marking chalk to delineate the utility lines.
Timing:
Timing the installation is critical to minimize physiological stress. The ideal window occurs during the dormant season, typically between late autumn and early spring, depending on your USDA Hardiness Zone. In Zones 4 through 7, perform the installation after the first hard frost but before the ground freezes solid. In warmer Zones 8 through 10, the "Biological Clock" of the tree dictates a mid winter installation when the plant has transitioned from the vegetative stage to a state of senescence.
Avoid installation during the spring flush when auxin levels are at their peak and the tree is allocating all energy to new leaf production. Severing roots during this high demand period can lead to a sudden drop in turgor pressure, causing permanent wilting or dieback in the upper canopy.
Phases:

Sowing the Strategy
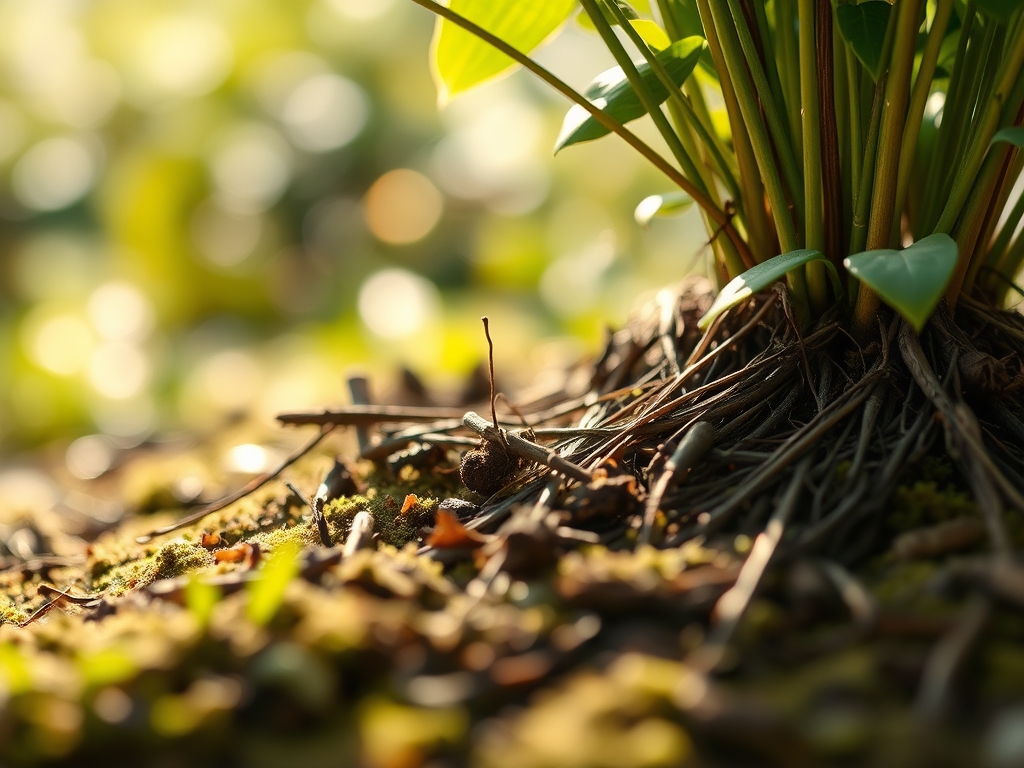
Before the first shovel hits the dirt, map the Critical Root Zone (CRZ). This is generally calculated as one foot of radius for every inch of trunk diameter at breast height. The barrier should be placed at least 3 to 5 feet away from the trunk to ensure structural stability. Dig a trench 18 to 24 inches deep, ensuring you bypass the primary lateral root zone.
Pro-Tip: Always leave 2 inches of the barrier protruding above the soil line. This prevents epicormic roots from growing over the top of the barrier, a biological phenomenon where the plant seeks the path of least resistance to find oxygen and moisture.
Transplanting and Placement
Insert the HDPE panels into the trench. Ensure the vertical ribs on the panels face the tree. These ribs are designed to redirect roots downward, preventing them from circling and eventually girdling the tree. Overlap the panels by at least 6 inches to prevent root penetration through the seams.
Pro-Tip: Apply a thin layer of mycorrhizal inoculant to the cut root ends. This encourages mycorrhizal symbiosis, allowing the tree to recover lost nutrient uptake capacity through a fungal network that extends far beyond the physical root tips.
Establishing the Boundary
Backfill the trench in 6 inch lifts, compacting each layer to eliminate air pockets. Air pockets can cause root desiccation or allow opportunistic pathogens to colonize the wounded root tissue. Use a soil moisture meter to ensure the backfill reaches a consistent saturation point without becoming anaerobic.
Pro-Tip: Maintain high soil moisture for 14 days post installation. This prevents cavitation in the xylem vessels, which occurs when the tree attempts to pull water through a reduced root system under high atmospheric demand.
The Clinic:
Monitoring the tree after the installation is mandatory to detect physiological disorders.
- Symptom: Marginal leaf scorch (browning edges).
- Solution: This indicates a localized water deficit. Increase irrigation at the drip line to 2 inches per week.
- Symptom: Yellowing of young leaves with green veins (Iron Chlorosis).
- Solution: The soil pH may have spiked during backfilling. Apply a chelated iron drench to lower the pH and restore chlorophyll production.
- Symptom: Premature leaf drop.
- Solution: This is a stress response to root loss. Prune back the non-structural canopy by 10 percent to balance the shoot to root ratio.
Fix-It for Nitrogen Chlorosis: If the older leaves turn pale green or yellow, the tree is scavenging nitrogen to support new growth. Apply a quick release 10-0-0 fertilizer to the soil surface to boost nitrogen levels during the recovery phase.
Maintenance:
Post installation care requires precision. For the first two growing seasons, provide 1.5 inches of water per week delivered directly to the drip line. Use a hori-hori knife to check for "volunteer" roots attempting to bridge the barrier every six months.
If you notice any roots attempting to crest the barrier, use bypass pruners to make a clean, 45 degree cut. This stimulates the production of callus tissue, which seals the wound against decay. Use a soil moisture meter monthly at a depth of 12 inches to ensure the barrier is not creating a "bathtub effect" where water traps on one side, leading to root rot.
The Yield:
While a root barrier does not produce a harvestable crop, the "yield" is measured in the longevity of the tree and the preservation of nearby hardscapes. A successful installation ensures the tree reaches its full photoperiod potential without causing structural damage. To maintain "day-one" health, avoid heavy fertilization for one year following the procedure. This allows the tree to focus energy on root regeneration rather than excessive top growth which the compromised root system may not be able to support.
FAQ:
How deep should a root barrier be?
Most residential applications require a depth of 18 to 24 inches. This depth intercepts the majority of lateral roots, which typically reside in the top two feet of soil where oxygen levels are highest.
Will a root barrier kill my tree?
If installed outside the Critical Root Zone and during dormancy, the risk is minimal. Removing more than 25 percent of the total root mass, however, can lead to structural instability or systemic decline.
Can I use plywood as a barrier?
No. Organic materials like wood will succumb to microbial decomposition within a few seasons. Use 0.060 inch HDPE or higher to ensure a lifespan of 20 to 50 years against aggressive root systems.
When is the best time to install?
The optimal window is late winter. This coincides with the tree's lowest metabolic demand and precedes the spring cytokinin surge, allowing the tree to begin the healing process as it enters the active growing season.
Do I need to seal the panel joints?
Mechanical seals or a 6 inch overlap are required. Roots can penetrate gaps as small as 1/16th of an inch, expanding over time to breach the barrier entirely. Proper overlapping is non-negotiable for long term success.