10 Secure Steps to Anchor Wall Brackets
The scent of damp, decaying organic matter signals a high microbial activity in the rhizosphere; a sign that the growing season has begun. When vertical space is the only option for expansion, structural integrity becomes a biological necessity. Ensuring the steps to anchor wall brackets are executed with precision prevents mechanical failure under the weight of saturated substrate. A single gallon of wet soil can weigh upwards of 12 pounds. Without a secure anchor, the turgor pressure maintaining the upright posture of your specimens will be compromised by a collapsing support system. Success requires a marriage of physics and botany.
Materials:
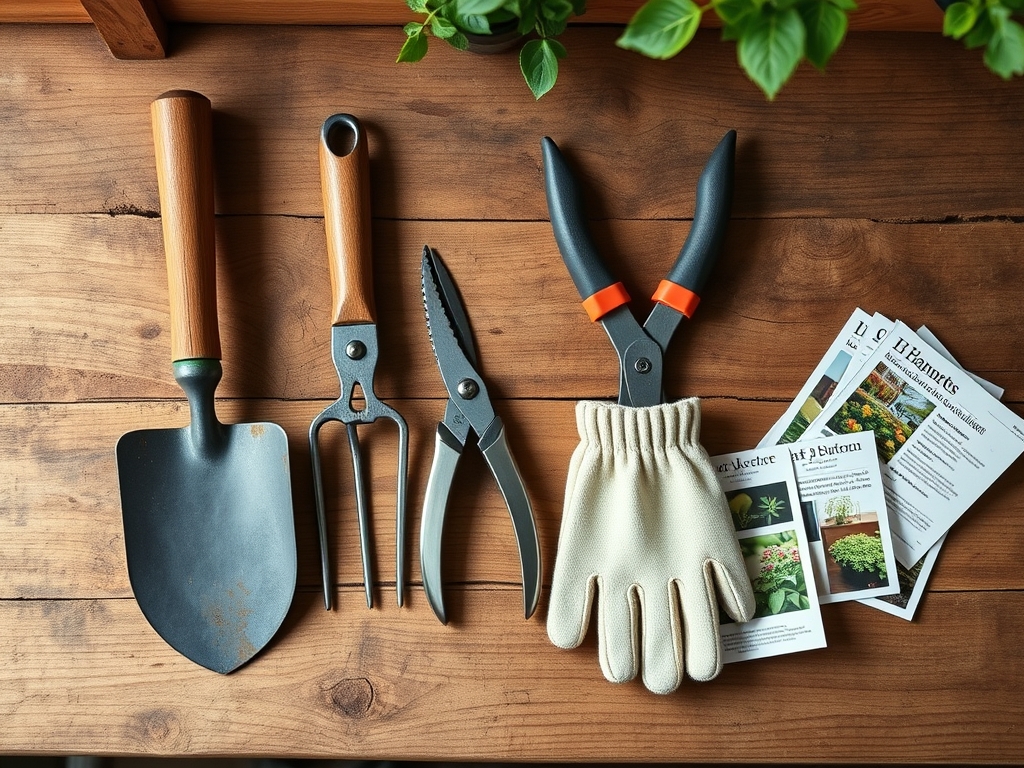
The foundation of any containerized system is the substrate. For wall-mounted brackets, you require a **friable loam** with a high Cation Exchange Capacity (CEC) to retain nutrients against leaching. Aim for a soil pH between **6.0 and 6.8** to ensure maximum bioavailability of micronutrients.
Your nutrient regimen must be precise. For vegetative growth, utilize an NPK ratio of 10-5-5 to stimulate chlorophyll production and leaf expansion. If the goal is floral or fruit production, pivot to a 5-10-10 formula to provide the phosphorus and potassium necessary for reproductive development. The hardware must match this quality; use 316-grade stainless steel lag bolts and expansive masonry anchors if mounting to brick or concrete.
Timing:
Installation should occur during the dormant season or early spring, specifically between Hardiness Zones 4 and 9 when the risk of hard frost has passed but before the photoperiod triggers rapid vegetative expansion. In Zone 7, this window typically opens in mid-March.
The biological clock of the plant dictates this schedule. Transitioning a plant from a nursery pot to a wall-mounted system causes temporary transplant shock. By anchoring brackets before the plant reaches its peak growth phase, you allow the root system to establish itself without the stress of high evapotranspiration rates common in mid-summer.
Phases:
Sowing and Site Selection
Identify the light requirements of your species. Most fruiting plants require at least six hours of direct solar radiation. Use a masonry drill bit sized exactly to the diameter of your wall anchors to prevent mechanical "creep" over time.
Pro-Tip: Proper spacing prevents fungal pathogens. Maintaining airflow reduces the humidity around the foliage, which prevents the germination of powdery mildew spores.
Transplanting
When moving the plant into the mounted container, inspect the root ball for circling roots. Use a hori-hori knife to make three to four vertical shallow cuts. This mechanical disruption breaks apical dominance in the roots and stimulates lateral branching.
Pro-Tip: This process utilizes the plant's natural auxin suppression. By cutting the root tips, you remove the source of auxin that inhibits lateral growth, forcing the plant to develop a more robust, fibrous root system within the new container.
Establishing
Once the bracket is secured and the plant is housed, the first 14 days are critical. The plant must maintain high turgor pressure to recover from the move. Monitor the soil moisture daily using a soil moisture meter to ensure the root zone stays consistently damp but not anaerobic.
Pro-Tip: Mycorrhizal symbiosis can be encouraged by inoculating the substrate during this phase. These fungi extend the reach of the root system, increasing the surface area for water and phosphorus absorption by up to 100 times.
The Clinic:
Physiological disorders often mimic infectious diseases. Accurate diagnosis is required before intervention.
Symptom: Interveinal chlorosis on new growth.
Solution: This typically indicates an Iron (Fe) deficiency, often caused by a pH level above 7.0. Lower the pH using elemental sulfur to increase iron solubility.
Symptom: Marginal leaf burn or "scorching."
Solution: This suggests Potassium (K) deficiency or salt accumulation. Flush the substrate with a volume of water equal to two times the container volume to leach excess salts.
Symptom: Drooping foliage despite wet soil.
Solution: This is likely root rot caused by anaerobic conditions. Improve drainage by adding perlite or coarse sand to the mix to increase macropore space.
Fix-It for Nitrogen Chlorosis: If older leaves turn uniform pale yellow, apply a water-soluble fertilizer with an NPK of 20-0-0 at half strength. Nitrogen is a mobile nutrient; the plant will translocate it from old growth to support new meristematic activity.
Maintenance:
Precision is the hallmark of a professional. Most wall-mounted containers lose moisture faster than ground-level beds due to increased airflow and evaporation. Provide 1.5 inches of water per week at the drip line. Do not spray the foliage directly; this increases the risk of bacterial leaf spot.
Use bypass pruners to remove any necrotic tissue or spent blooms. This prevents the plant from diverting energy into seed production, a process known as senescence, and instead keeps it in a productive vegetative or flowering state. Every 90 days, check the tension on your wall brackets. The weight of the plant increases as it matures, and thermal expansion can loosen anchors in wood or masonry.
The Yield:
For edible crops, harvest during the coolest part of the day, typically just after dawn. This ensures the cells are at maximum turgor, providing a crisp texture. Use sharp snips to make clean cuts; jagged tears create entry points for pathogens.
To maintain "day-one" freshness, immediately submerge the cut ends of herbs or leafy greens in cool water or move them to a refrigerated environment at 34 to 40 degrees Fahrenheit. This slows the metabolic rate and respiration of the harvested tissue, extending shelf life significantly.
FAQ:
How deep should I drill for wall anchors?
Drill the hole 1/4 inch deeper than the length of the anchor. This ensures the bolt can be fully seated without bottoming out against masonry dust or debris left in the channel.
What is the best NPK for wall-mounted flowers?
Use a 15-30-15 high-phosphorus "bloom booster" every two weeks. Phosphorus is essential for ATP production, providing the cellular energy required for the plant to produce and sustain complex floral structures.
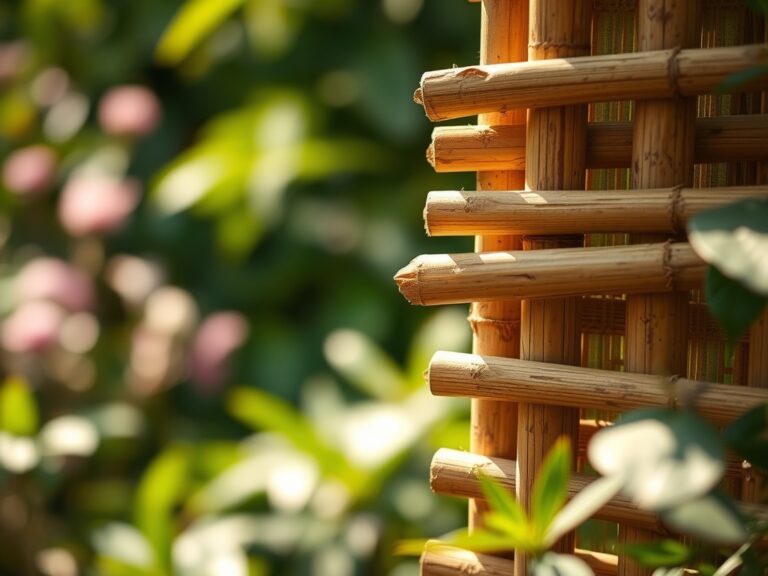
Can I anchor brackets into a wooden fence?
Yes, but you must use stainless steel wood screws that penetrate at least 1.5 inches into the structural post. Avoid anchoring only into thin fence pickets, as they lack the density to hold heavy, wet soil.
How do I know if my soil pH is wrong?
Use a digital pH probe. If the reading is outside the 6.0 to 7.0 range, the plant will experience "nutrient lockout." Even if nutrients are present, the chemical bond to the soil particles becomes too strong for roots to break.