9 Practical Ways How to Build a Garden Tool Shed
The smell of damp earth after a rain is more than a scent; it is the olfactory signature of geosmin produced by actinomycetes in a healthy rhizosphere. When plant turgor pressure is high, the leaves stand rigid, signaling a state of cellular hydration that allows for maximum photosynthetic efficiency. Maintaining this physiological balance requires the right infrastructure. Learning how to build a garden tool shed is the primary step in organizing the mechanical and chemical inputs necessary for a high-performing landscape. A dedicated structure prevents the degradation of expensive steel tools and protects sensitive organic fertilizers from UV-induced nutrient leaching.
Materials:
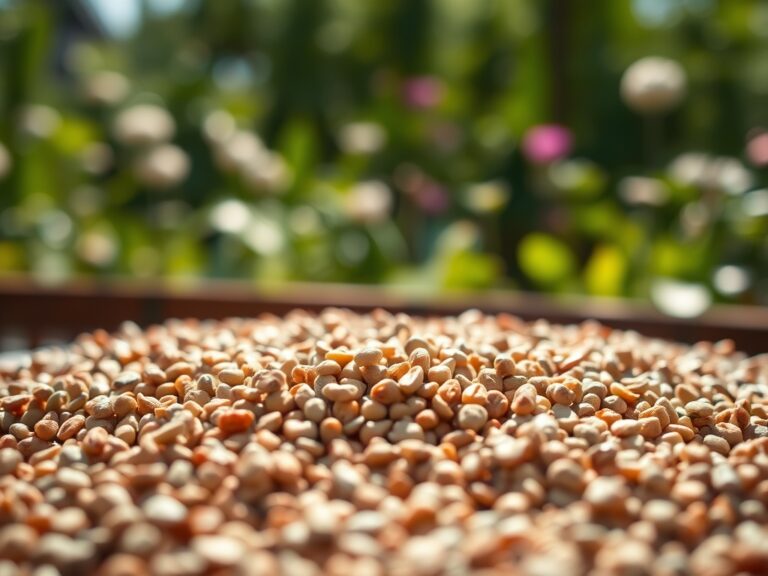
A shed foundation must interact correctly with the local soil profile. Before construction, test the soil pH and Cation Exchange Capacity (CEC). If the site consists of a **friable loam** with a pH between 6.0 and 7.0, a simple gravel pad is sufficient. However, in heavy clay soils with high water retention, a raised pressure-treated timber frame is required to prevent wood rot. Inside the shed, store your soil amendments according to their chemical composition. Nitrogen-heavy fertilizers like blood meal with an **NPK ratio of 12-0-0** must be kept in airtight containers to prevent volatilization. Phosphorus sources like bone meal (**NPK 3-15-0**) and potassium-rich kelp meal (**NPK 1-0-2**) should be stored in cool, dry conditions to maintain their molecular stability. The physical texture of your storage area should be non-porous to prevent the absorption of spilled liquid seaweed or fish emulsion.
Timing:
Construction should align with the dormant season of your specific Hardiness Zone. In Zones 5 through 7, the window between the first hard frost and the spring thaw is ideal for building. This timing ensures that heavy foot traffic and construction materials do not compact the soil during the active growing season. Compaction destroys the macropores required for oxygen diffusion to root systems. Understanding the biological clock of your garden is essential. As perennials transition from the vegetative stage to senescence in late autumn, the reduction in auxin production signals the plant to move carbohydrates to the root zone. By building your shed during this period, you avoid disturbing the delicate hormonal shifts that occur during the spring flush or the reproductive stages of mid-summer.
Phases:

Sowing the Foundation
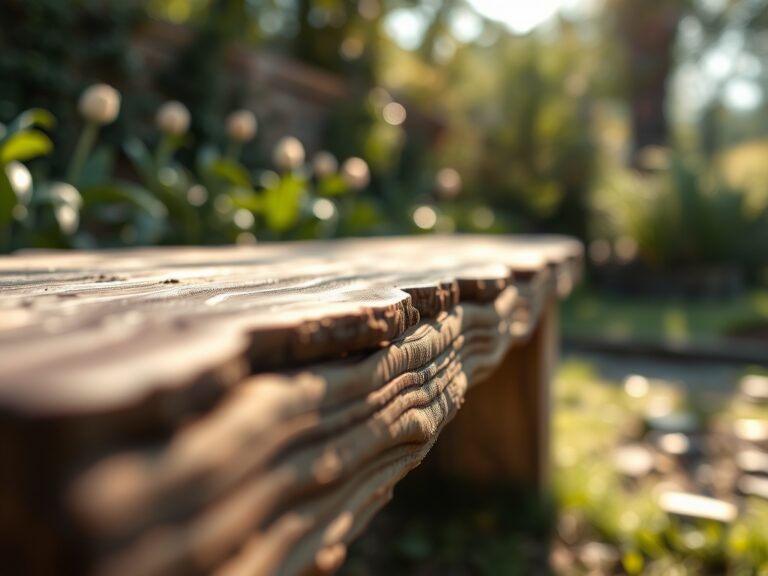
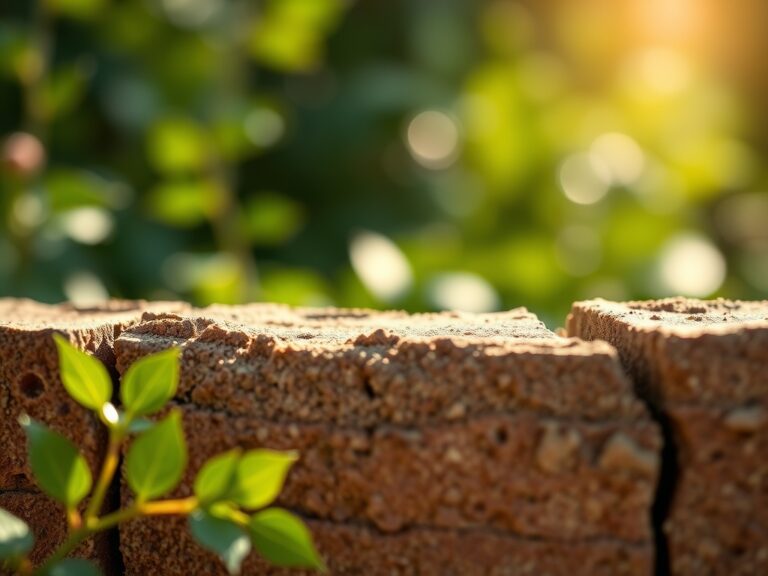
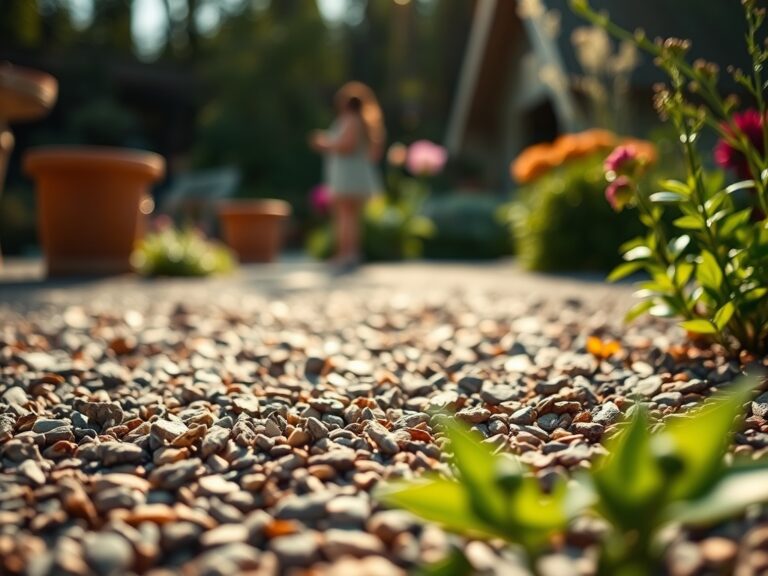
The first phase of how to build a garden tool shed involves site preparation. Excavate the top 6 inches of turf and organic matter. Replace this with 4 inches of crushed limestone to create a level, well-draining base. This prevents the "wicking" effect where moisture travels from the soil into the wooden floor joists.
Pro-Tip: Ensure the site is away from the drip line of large trees to avoid damaging the mycorrhizal symbiosis. These fungal networks extend far beyond the canopy and are vital for the uptake of phosphorus and micronutrients.
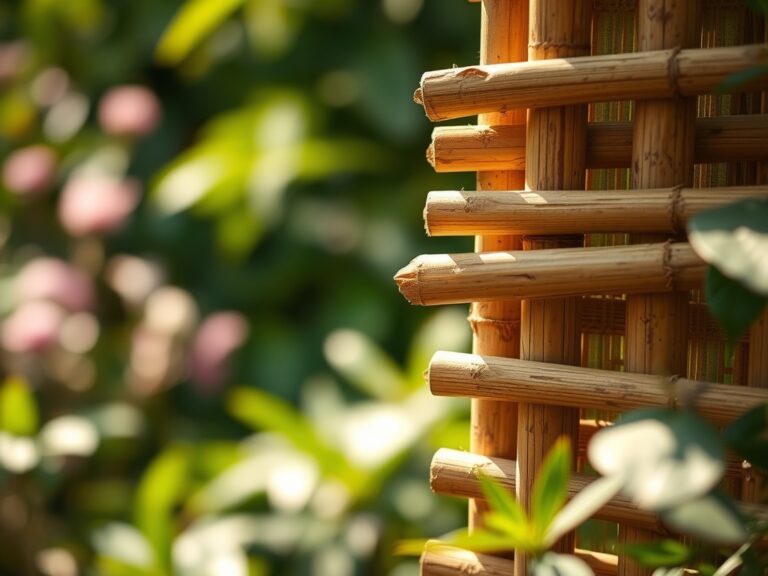
Transplanting the Structure
When assembling the walls and roof, use galvanized fasteners to resist corrosion from high humidity. If you are adding a green roof to the shed, ensure the load-bearing capacity can handle 30 pounds per square foot of wet substrate. Use a growing medium that is 70 percent inorganic matter to ensure long-term structural integrity and drainage.
Pro-Tip: Align the shed to avoid casting a permanent shadow over sun-loving crops. Excessive shade triggers phototropism, causing plants to become "leggy" as they stretch toward light, which weakens the cell walls and reduces overall yield.
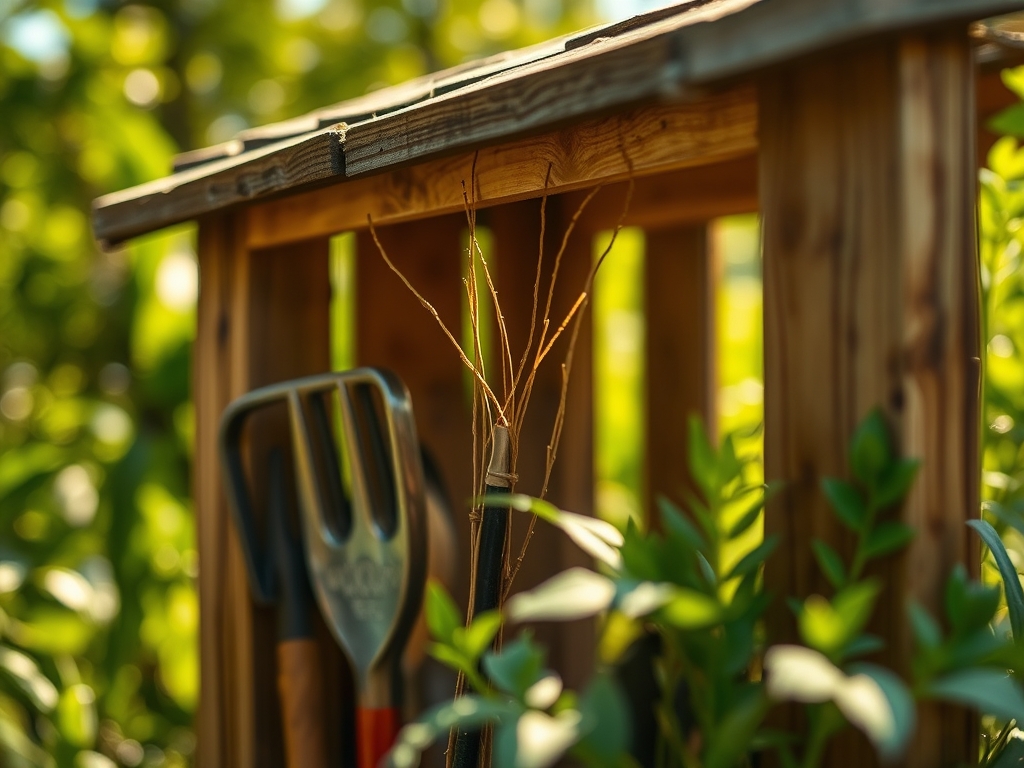
Establishing the Interior
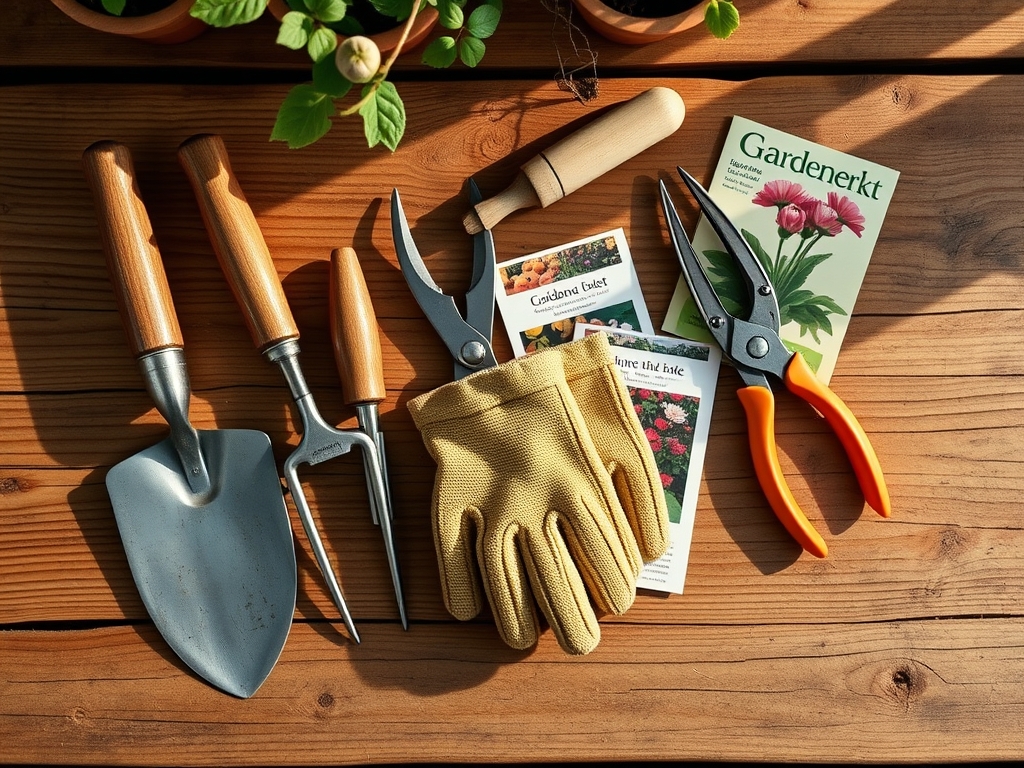
The final phase is the installation of vertical storage. Use heavy-duty hooks to keep steel blades off the floor. This prevents the oxidation of the metal. Organize your tools by frequency of use. Keep your hori-hori knife and bypass pruners at eye level for quick access during daily scouting.
Pro-Tip: Store pruning tools in a way that allows for easy sterilization. Removing pathogens from blades prevents the spread of systemic infections like fire blight, which travels through the vascular tissue via apical dominance pathways.
The Clinic:
Physiological disorders in the garden often stem from poor tool maintenance or improper storage of inputs.
- Symptom: Interveinal chlorosis on young leaves.
- Solution: This indicates a micronutrient deficiency, often Iron or Manganese. Ensure your shed stores chelated minerals in a temperature-controlled environment to prevent chemical breakdown.
- Symptom: Leaf necrosis and stunted growth.
- Solution: Check for Nitrogen deficiency (N). Apply a liquid fertilizer with an NPK of 5-1-1. Store these liquids on the lowest shelf of your shed to prevent leaks from contaminating other supplies.
- Symptom: Blossom end rot in Solanaceous crops.
- Solution: This is a Calcium transport issue, not necessarily a soil deficiency. Use a soil moisture meter stored in your shed to ensure consistent irrigation, which is required for Calcium uptake via the transpiration stream.
Maintenance:
A well-built shed facilitates a rigorous maintenance schedule. Every tool must be cleaned after use to prevent the transfer of soil-borne pathogens. Use a wire brush to remove debris, then wipe the blade with a 70 percent isopropyl alcohol solution. For irrigation, aim for 1.5 inches of water per week delivered directly to the drip line. Use your soil moisture meter to verify that the moisture has penetrated the top 6 to 8 inches of the soil profile. Sharpen your bypass pruners monthly using a diamond whetstone to ensure clean cuts that heal quickly. Ragged cuts increase the surface area for fungal spores to colonize the wound.
The Yield:
The ultimate goal of learning how to build a garden tool shed is to maximize your harvest. For edible crops, timing is determined by the accumulation of heat units or sugar content (Brix levels). Harvest leafy greens in the early morning when turgor pressure is at its peak. This ensures the cells are fully hydrated, extending the shelf life of the produce. Use a sharp, sterilized knife from your shed to make clean harvests. Post-harvest, move the produce immediately to a cool environment to slow the rate of respiration and prevent the degradation of vitamins and enzymes.
FAQ:
What is the best foundation for a garden shed?
A gravel pad consisting of 4 to 6 inches of compacted crushed stone provides the best drainage. This prevents moisture from accumulating under the floor joists, which protects the wood from fungal decay and maintains structural integrity over time.
Can I build a shed near large trees?
Avoid building within the critical root zone. Construction compacts the soil, reducing the oxygen available to the rhizosphere. This can lead to root senescence and a decline in the tree's ability to transport water and nutrients to the canopy.
How do I prevent rust on my garden tools?
Store tools vertically in a dry, well-ventilated shed. After cleaning, apply a thin coat of linseed oil to steel blades. This creates a hydrophobic barrier that prevents oxygen and moisture from reacting with the metal to form iron oxide.
What size shed do I need for a standard garden?
An 8×10 foot structure is usually sufficient for storing a mower, long-handled tools, and bags of amendments. Ensure the doorway is wide enough for your largest equipment to prevent damage to the door frame and the machinery.
How does shed placement affect plant growth?
A shed acts as a windbreak and a thermal mass. While it can protect delicate plants from harsh winds, it also creates a rain shadow. Monitor the soil moisture levels on the leeward side of the shed using a soil moisture meter.