9 Useful Ways How to Use Aloe Vera for Burns
The smell of damp earth and crushed succulent tissue signals the presence of a healthy Aloe barbadensis Miller specimen. A prime leaf exhibits high turgor pressure, feeling firm to the touch due to the pressurized mucilage stored within the parenchymal cells. This internal gel contains acemannan and glucomannan; these polysaccharides are the primary reason why learning how to use aloe vera for burns is a foundational skill in botanical first aid. High-quality gel requires a plant grown in optimal conditions where the rhizosphere is rich in minerals and free from stagnant water. When the epidermis is sliced, the clear fillet should be thick and odorless. Yellowish exudate, known as aloin, must be avoided as it acts as a chemical defense mechanism for the plant. Successful application begins with the cultivation of a robust, nutrient-dense specimen capable of producing the bioactive compounds necessary for epidermal recovery.
Materials:
To produce high-quality medicinal gel, the substrate must be a **friable loam** with a high sand or perlite content to ensure rapid drainage. The ideal **soil pH ranges from 7.0 to 8.5**, as Aloe prefers slightly alkaline conditions. For container growth, use a terracotta pot to facilitate gas exchange through the porous walls. Nutrient requirements are specific; avoid high-nitrogen fertilizers which can lead to weak, watery growth. A balanced **NPK ratio of 10-40-10** or a low-nitrogen formulation like **5-10-10** is preferred to encourage root development and secondary metabolite production. The **Cation Exchange Capacity (CEC)** should be moderate, ensuring the availability of calcium and magnesium, which are vital for cell wall integrity in the succulent leaves.
Timing:
Aloe vera thrives in USDA Hardiness Zones 8 through 11. In these regions, the plant can remain outdoors year-round. In colder climates, the "Biological Clock" is dictated by light intensity and temperature. The plant enters a semi-dormant state when temperatures drop below 55 degrees Fahrenheit. Harvesting for burn treatment should occur during the vegetative stage, ideally during the morning hours when turgor pressure is at its peak. Avoid harvesting during the reproductive stage when the plant is producing a terminal inflorescence, as energy is diverted from leaf gel production to seed development. The transition from vegetative to reproductive stages is triggered by a specific photoperiod and a rise in ambient temperatures above 70 degrees Fahrenheit.
Phases:

Sowing and Propagation
Aloe is rarely grown from seed due to slow maturation rates. Instead, utilize rhizomatous offsets, commonly called "pups." Sever these from the mother plant using a sterilized hori-hori knife once they reach 20 percent of the parent plant's size. Allow the wound to callous for 48 to 72 hours to prevent fungal pathogens from entering the vascular system.
Pro-Tip: Callousing prevents root rot (Phytophthora) by allowing the plant to form a protective layer of suberin. This is a form of active defense where the plant seals its vascular bundles to prevent moisture loss and pathogen entry.
Transplanting
Place the calloused offset into a dry, sandy medium. Do not apply water for the first seven days. This forced drought encourages the plant to search for moisture, stimulating the growth of new adventitious roots. Ensure the crown of the plant is situated exactly at the soil line to prevent crown rot.
Pro-Tip: Delayed watering leverages auxin suppression. By withholding water, you encourage the downward movement of auxins to the root tips, promoting vigorous subterranean expansion before the plant focuses on leaf production.
Establishing
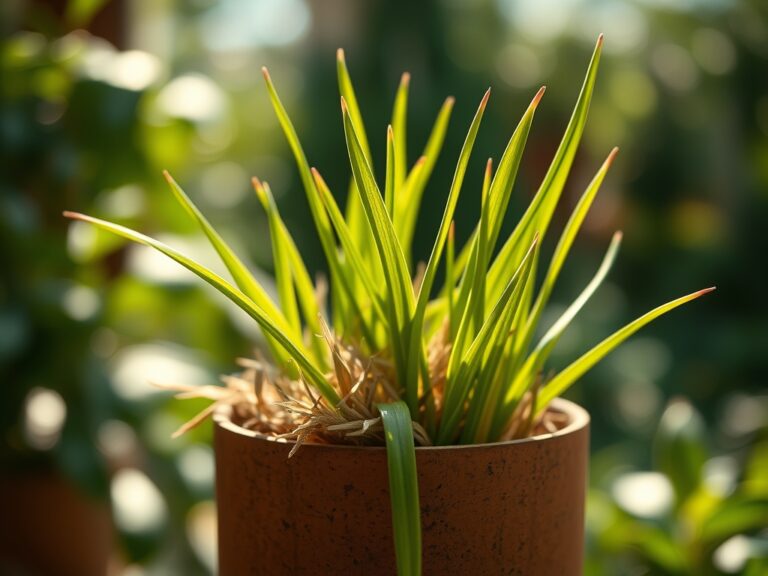
Once established, the plant requires a minimum of six hours of direct sunlight daily. Monitor the leaf color; a bronze or reddish hue indicates stress from excessive UV radiation or heat, while a pale green color suggests a lack of light. Maintain a consistent temperature between 65 and 85 degrees Fahrenheit for optimal metabolic activity.
Pro-Tip: Aloe utilizes Crassulacean Acid Metabolism (CAM). It opens its stomata at night to minimize water loss while fixing carbon dioxide. This specialized photosynthesis allows the plant to maintain high turgor pressure even in arid conditions.
The Clinic:
Physiological disorders in Aloe often manifest through changes in leaf morphology.
- Symptom: Soft, mushy leaf bases and a foul odor.
- Solution: This indicates root rot from overwatering. Remove the plant from the substrate, prune necrotic roots with bypass pruners, and repot in a dry medium with higher perlite content.
- Symptom: Thin, curled leaves.
- Solution: This is a sign of under-hydration. The plant is consuming its own internal water reserves. Increase watering frequency to once every two weeks, ensuring the soil dries completely between cycles.
- Symptom: Yellowing of older leaves (Chlorosis).
- Solution: This is often a Nitrogen deficiency. Apply a diluted, low-nitrogen liquid fertilizer. If the yellowing is localized to new growth, it may indicate a Iron or Magnesium deficiency caused by a pH imbalance.
Fix-It: For Nitrogen chlorosis, apply a 5-10-10 water-soluble fertilizer at half strength. Ensure the soil pH is not above 8.5, as high alkalinity can lock out essential micronutrients like zinc and manganese.
Maintenance:
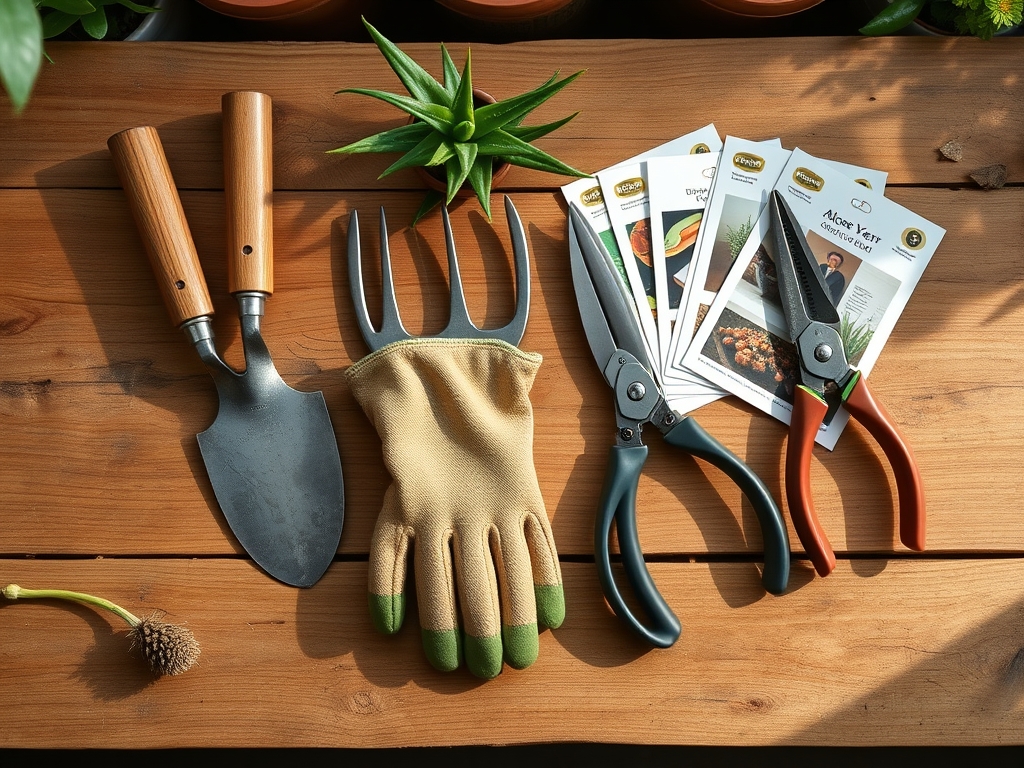
Precision is required for maintaining a medicinal Aloe garden. Use a soil moisture meter to ensure the root zone is dry before adding water. Generally, apply 1.0 to 1.5 inches of water every two to three weeks, directing the flow at the drip line rather than into the center of the rosette. Use a hori-hori knife to remove spent flower stalks or damaged outer leaves. Always sterilize tools with 70 percent isopropyl alcohol between plants to prevent the spread of systemic diseases. Clean the leaves with a damp cloth to remove dust, which can block stomata and reduce photosynthetic efficiency.
The Yield:
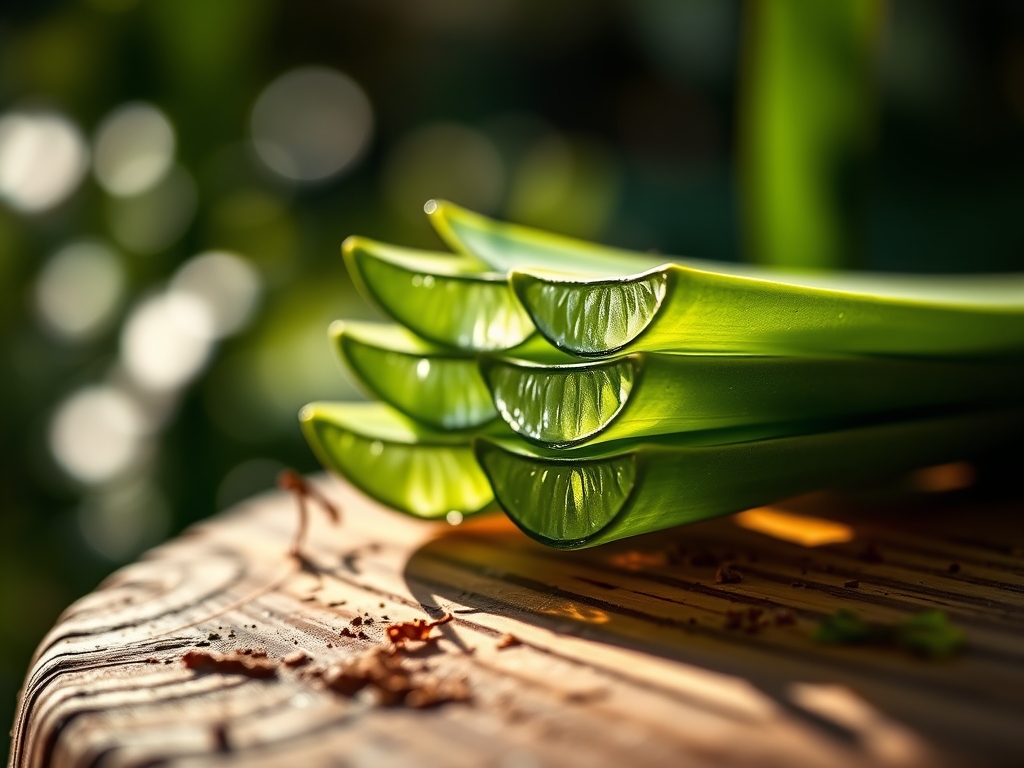
When considering how to use aloe vera for burns, the harvest technique is critical. Select the outermost, most mature leaves. Use a sharp, sterile blade to cut the leaf as close to the main stem as possible without damaging the trunk. For "day-one" freshness, place the cut end of the leaf in a container for 15 minutes to allow the yellow aloin sap to drain. Once drained, the leaf can be wrapped in beeswax wrap and refrigerated for up to two weeks. For immediate use, fillet the leaf to remove the green epidermis, leaving only the clear, gelatinous inner parenchyma. This gel can be applied directly to first or second-degree burns to reduce heat and promote cellular regeneration.
FAQ:
How do I apply aloe to a burn?
Fillet a mature leaf to extract the clear gel. Apply a thick layer directly to the affected area. Do not rub the gel in; let it sit on the skin to provide a cooling barrier and promote hydration.
Can I use aloe on deep wounds?
No. Aloe is indicated for superficial, first-degree, and minor second-degree burns. For deep punctures or third-degree burns, seek professional medical attention. Aloe is best for soothing heat and supporting the re-epithelialization process of the skin.
How often should I reapply the gel?
Reapply the fresh gel every two to three hours or as soon as the previous layer has dried. Consistent application maintains a moist environment, which is scientifically proven to accelerate the healing of burned epidermal tissue.
Why is my aloe gel yellow?
The yellow fluid is aloin, a latex found just under the leaf skin. It is a potent laxative and can be a skin irritant. Always drain this yellow sap for 15 minutes before extracting the clear medicinal gel for burns.
Does store-bought aloe work as well?
Fresh gel contains higher concentrations of bioactive enzymes and long-chain polysaccharides. Many commercial products contain alcohol, fragrances, or preservatives that can further irritate a fresh burn. Freshly harvested gel from a healthy plant is the gold standard.