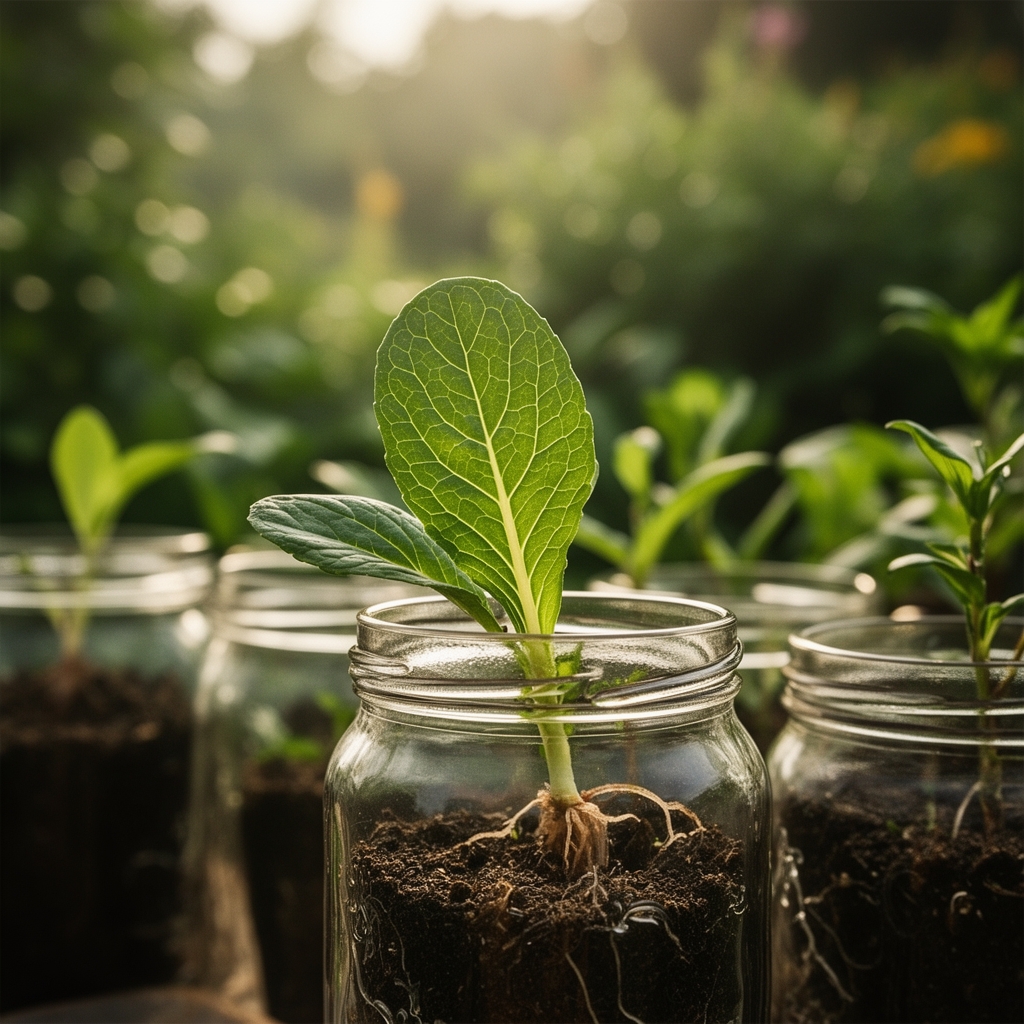
8 Vital Steps to Sprouting Seed Jars
The glass jar on your kitchen counter holds more than dormant seeds. It contains concentrated enzymes, living proteins, and mineral complexes that activate within 8 to 12 hours of contact with water. Mastering the steps to sprouting seed jars transforms raw legumes and grains into bioavailable nutrition while reducing phytic acid by 40 to 70 percent. Each sprouted seed produces auxin-rich shoots that deliver folate, vitamin C, and concentrated chlorophyll in ratios no mature plant can match.
Materials
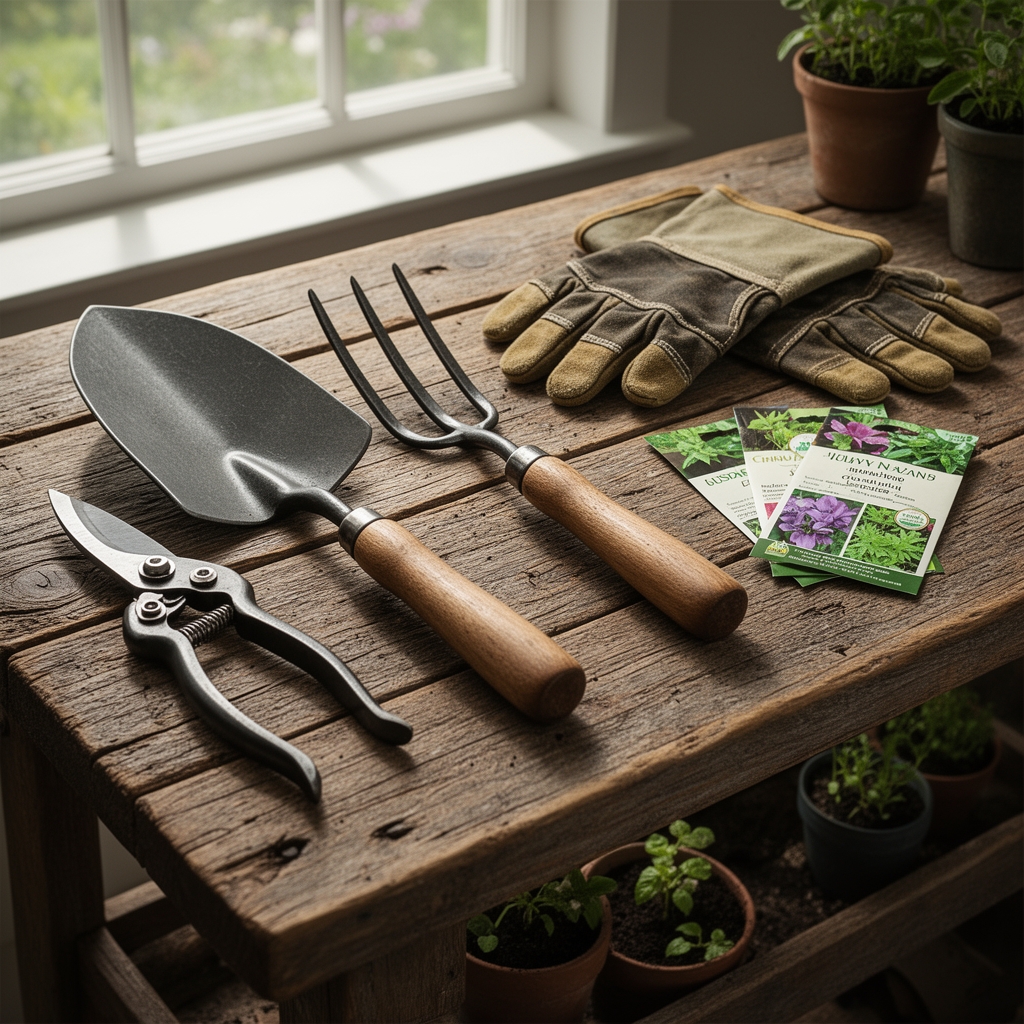
Select wide-mouth mason jars with 32-ounce or 64-ounce capacity. The glass must be food-grade borosilicate to withstand thermal shock during rinsing cycles. Secure mesh lids with 100-micron stainless steel screening to prevent seed loss while allowing gas exchange. Avoid plastic screening materials that harbor biofilm and restrict oxygen diffusion.
Choose certified organic seeds with germination rates above 85 percent. Alfalfa (Medicago sativa), mung bean (Vigna radiata), and radish (Raphanus sativus) respond well to jar sprouting. Test seed lots by soaking 10 seeds for 24 hours. Germination below 8 out of 10 indicates poor viability or fungal contamination.
Use filtered water with pH between 6.0 and 7.0. Municipal water treated with chloramine inhibits germination and introduces sodium hypochlorite residues that damage embryonic tissue. Install a carbon block filter rated for chloramine removal at 0.5-micron filtration. Water hardness between 60 and 120 ppm provides calcium and magnesium without excessive cation buildup that restricts imbibition.
Prepare a 3 percent hydrogen peroxide solution (10 ml per liter) for initial seed disinfection. This concentration eliminates surface mold spores without penetrating the seed coat to damage the embryo. Commercial sprouting powders marketed as 4-4-4 organic amendments are unnecessary. Seeds contain endogenous nitrogen, phosphorus, and potassium reserves mobilized during germination.
Timing
Sprouting cycles operate independently of hardiness zones and frost dates. Maintain ambient temperatures between 65°F and 75°F for optimal enzyme activity. Temperatures below 60°F slow metabolism and increase susceptibility to Fusarium and Rhizopus mold. Temperatures above 80°F denature heat-sensitive proteins and accelerate spoilage.
Begin sprouting cycles during periods of stable indoor humidity between 40 and 60 percent. Winter heating systems that drop humidity below 30 percent desiccate tender shoots. Summer humidity above 70 percent encourages bacterial slime formation on root hairs.
Plan harvest schedules around the specific maturation rates of each species. Alfalfa reaches optimal harvest at 5 to 6 days with 1.5-inch shoots. Mung beans complete their cycle in 3 to 4 days with 0.75-inch radicles. Radish sprouts develop characteristic peppery glucosinolates at 4 to 5 days with fully expanded cotyledons.
Phases
Sowing Phase
Measure seeds by volume, not weight. Fill jars to one-quarter capacity to allow room for 400 to 600 percent expansion during germination. Add filtered water to cover seeds by 2 inches. Soak small seeds like alfalfa for 4 to 6 hours. Soak large seeds like chickpeas for 10 to 12 hours. Extended soaking beyond these windows leaches water-soluble B vitamins and creates anaerobic conditions that trigger fermentation.
Drain soak water completely through the mesh lid. Rinse seeds three times with fresh water to remove enzyme inhibitors and saponins released during imbibition. Invert jars at a 45-degree angle in a dish rack to maintain drainage and air circulation.
Pro-Tip: Add 0.5 grams of soluble kelp extract (0-0-1 NPK with 60+ trace minerals) to the final soak water. Cytokinins in kelp accelerate cell division during the lag phase of germination.
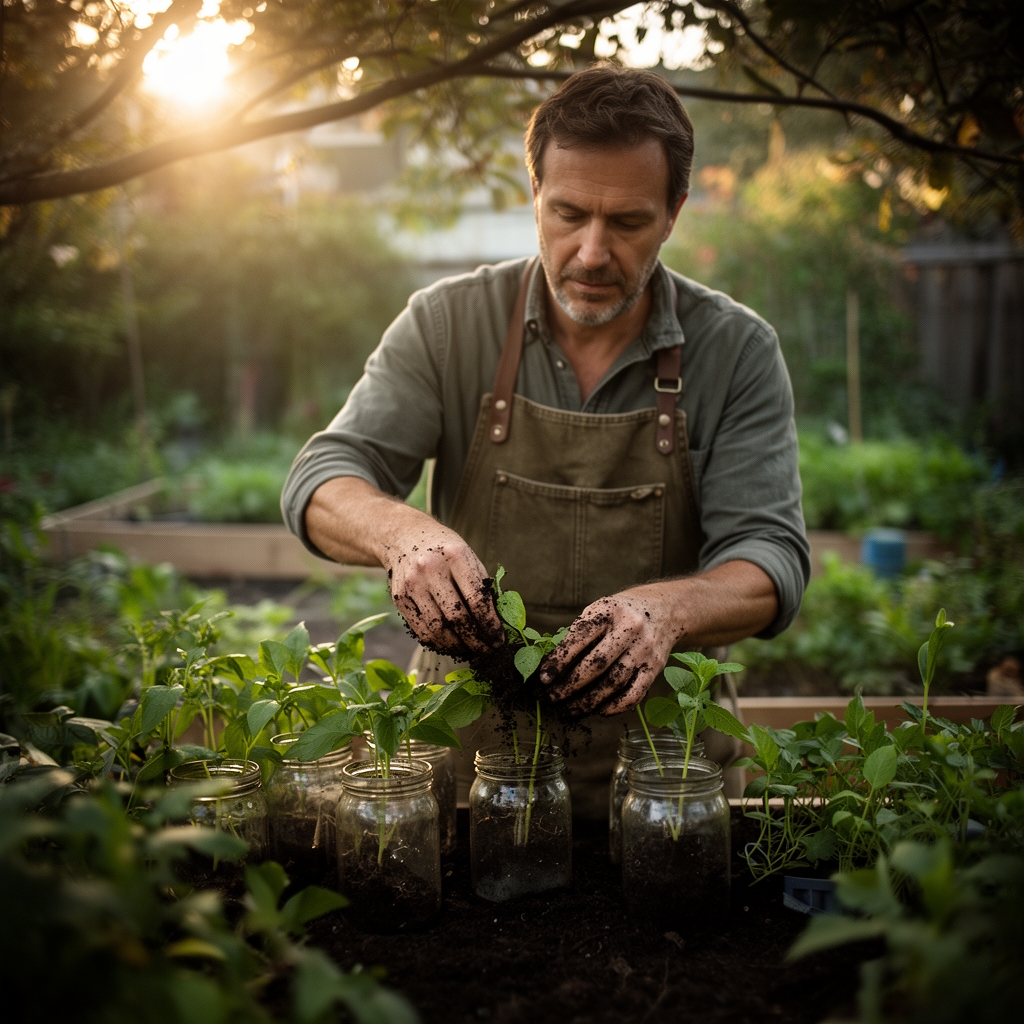
Transplanting Phase
Rinse sprouts every 8 to 12 hours with cool filtered water. Morning and evening rinse cycles prevent desiccation while flushing metabolic wastes. Rotate jar position to ensure even light distribution. Indirect light near a north-facing window stimulates chlorophyll synthesis without overheating tender tissues.
Monitor root development through the glass. Healthy radicles appear white to cream-colored with fine root hairs. Brown or gray discoloration indicates oxygen deprivation or bacterial contamination. Adjust rinse frequency to every 6 hours if ambient temperature exceeds 75°F.
Pro-Tip: Expose sprouts to 15 minutes of direct sunlight 12 hours before harvest. Controlled light stress increases anthocyanin production by 25 to 30 percent, deepening purple and red pigmentation in radish varieties.
Establishing Phase
Harvest when shoots reach target length and cotyledons fully open. Remove sprouts from jars and submerge in a bowl of cool water. Unsprouted seeds and loose hulls float to the surface for easy removal. Drain sprouts in a salad spinner or colander for 10 minutes.
Store harvested sprouts in perforated plastic containers lined with paper towels. Refrigerate at 38°F to 42°F. Properly stored sprouts maintain crisp texture and enzyme activity for 5 to 7 days.
Pro-Tip: Rinse sprouts in water adjusted to pH 5.5 with food-grade citric acid (0.5 grams per liter). Slight acidity inhibits coliform bacteria while preserving ascorbic acid content.
Troubleshooting
Symptom: White fuzzy growth on seed surfaces and jar walls.
Solution: Distinguish between root hairs and mold. Root hairs grow uniformly from radicles in straight, fine strands. Mold appears as cottony masses with irregular branching. True mold requires immediate disposal. Increase rinse frequency and improve air circulation to prevent recurrence.
Symptom: Foul odor resembling sulfur or ammonia.
Solution: Bacterial fermentation from inadequate drainage or excessive heat. Discard affected batch. Sterilize jars in boiling water for 10 minutes. Reduce seed quantity by 25 percent to improve air penetration through the seed mass.
Symptom: Sprouts remain short with thick, stubby shoots.
Solution: Insufficient water during rinse cycles. Increase rinse duration to 60 seconds with vigorous agitation. Ensure complete drainage between rinses. Stubby growth also indicates seed dormancy from improper storage. Source fresh seeds from suppliers with high turnover.
Symptom: Yellow or pale sprouts lacking green coloration.
Solution: Inadequate light exposure during final 24 hours. Chlorophyll synthesis requires photon flux density of 50 to 100 micromoles per square meter per second. Position jars 12 to 18 inches from indirect light sources.
Symptom: Slimy coating on sprouts with poor texture.
Solution: Pseudomonas or Erwinia bacterial colonization. Water temperature during rinses exceeded 80°F. Use water between 60°F and 70°F. Add 1 ml of 3 percent hydrogen peroxide per liter to rinse water for one cycle to suppress bacterial populations.
Maintenance
Rinse jars every 8 to 12 hours with 16 ounces of filtered water per quart of sprout volume. Maintain room temperature between 68°F and 72°F. Position jars away from direct heat sources and drafty windows.
Clean mesh lids weekly with hot water and dish soap. Soak lids in white vinegar (5 percent acetic acid) for 20 minutes monthly to dissolve mineral deposits. Replace mesh screens every 6 months to prevent permanent biofilm establishment.
Rotate seed varieties every two weeks to prevent palate fatigue and provide nutritional diversity. Alternate between legumes (high protein), brassicas (glucosinolates), and grasses (chlorophyll) for complete micronutrient coverage.
FAQ
How much seed produces one serving of sprouts?
Two tablespoons of alfalfa seed yields 1.5 to 2 cups of finished sprouts. One-quarter cup of mung beans produces 2 to 2.5 cups. Expansion ratios vary by species and soak duration.
Can I sprout seeds from the garden center?
No. Garden seeds receive fungicide treatments with thiram or captan that persist through sprouting. These compounds cause gastrointestinal irritation. Purchase seeds certified for food sprouting from dedicated suppliers.
Do sprouts require fertilizer?
Seeds contain complete nutrition for germination. Endosperm reserves provide nitrogen, phosphorus, and potassium through the cotyledon stage. External fertilization introduces contamination risk without benefit.
How do I increase sprout yield?
Use jars with greater diameter rather than height. Wide jars improve oxygen distribution and reduce compaction in the seed mass. Maximum sustainable density is 0.25 grams of seed per square centimeter of jar cross-section.
What causes bitter flavor in mature sprouts?
Harvest timing beyond peak maturity. Lignification begins 24 hours after cotyledon expansion, creating woody texture and bitter alkaloids. Harvest alfalfa at 5 days, not 7. Taste-test daily to identify optimal harvest windows for specific varieties.