8 Trendy Ways How to Build a Gabion Wall
The smell of damp earth after a heavy rain often signals the failure of poorly retained slopes; the soil loses its structure as water overcomes the shear strength of the substrate. Learning how to build a gabion wall provides a mechanical solution to this hydraulic pressure. These wire-mesh cages filled with stone allow for immediate drainage while maintaining the structural integrity of the landscape. When properly integrated, they serve as a porous skeleton that prevents the loss of turgor pressure in nearby plantings by managing groundwater runoff.
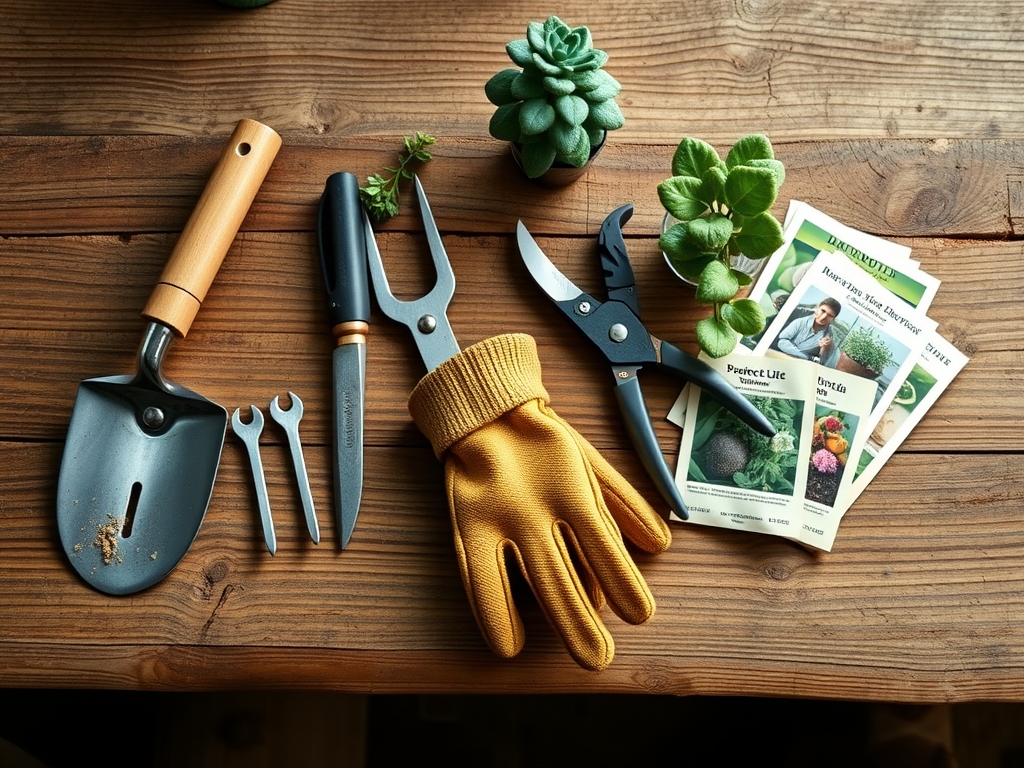
Materials:
The success of a gabion structure depends on the interaction between the metal containment and the backfill soil. For the surrounding rhizosphere, target a **pH level between 6.0 and 7.0**. The ideal substrate is a **friable loam** consisting of 40 percent sand, 40 percent silt, and 20 percent clay. This balance ensures a high **Cation Exchange Capacity (CEC)**, allowing the soil to retain essential nutrients.
When planting near the wall, use a controlled-release fertilizer with an NPK ratio of 10-10-10 for general establishment. If the wall supports heavy feeders, a 5-10-5 ratio encourages root development over excessive foliage. The stone fill should be non-friable rock, such as granite or basalt, with a diameter of 3 to 8 inches to prevent migration through the mesh.
Timing:
Construction should occur when the soil is workable and not saturated. In Hardiness Zones 4 through 7, the window opens after the final spring frost when the soil temperature reaches a consistent 55 degrees Fahrenheit. This timing aligns with the "Biological Clock" of local flora; as plants transition from the dormant phase to the vegetative stage, their root systems are most aggressive in seeking the stability provided by the new wall.
Avoid installation during the late autumn senescence period. Disturbing the soil when plants are preparing for dormancy can lead to root desiccation. The goal is to have the wall settled before the photoperiod shortens, ensuring that any stabilizing vegetation has at least six weeks of active growth to anchor the surrounding earth.
Phases:
Sowing the Foundation
Excavate a trench to a depth of 6 to 12 inches depending on the wall height. Level the base with a compacted crushed stone layer. This prevents the wall from sinking into the subsoil.
Pro-Tip: Proper leveling prevents geotropism-induced stress in nearby plants. If the wall leans, it can compress the root zone on one side, forcing the plant to expend energy correcting its vertical growth rather than developing a robust root system.
Transplanting and Assembly
Place the galvanized steel baskets in the trench. Connect the panels using spiral binders or C-rings every 3 inches. Fill the cages in 12-inch lifts, placing the most aesthetic stones toward the face. Install internal stiffeners at every third lift to prevent the mesh from bulging under the weight.
Pro-Tip: Use a mycorrhizal inoculant when backfilling the soil behind the cages. This fosters mycorrhizal symbiosis, a fungal relationship that increases the surface area of plant roots, allowing for better water uptake in the well-drained environment created by the gabion.
Establishing the Grade
Backfill the area behind the wall with your friable loam. Compact the soil in 6-inch layers to remove air pockets. If you are integrating "living gabions," insert pocket plantings directly into the stone voids using a mixture of peat and compost.
Pro-Tip: Direct the foliage of pocket plants outward to manage phototropism. By positioning the crown toward the light source, you reduce the risk of auxin accumulation on the shaded side of the stem, which can cause weak, leggy growth that fails to thrive in the rocky substrate.
The Clinic:
Physiological disorders often arise when the drainage of a gabion wall is mismatched with the needs of the surrounding vegetation.
- Symptom: Interveinal chlorosis (yellowing leaves with green veins).
- Solution: This indicates a Manganese or Iron deficiency often caused by high alkalinity in the rock fill. Test the runoff water; if the pH is above 7.5, apply elemental sulfur to the backfill.
- Symptom: Leaf marginal necrosis (browning edges).
- Solution: This suggests Potassium deficiency or salt accumulation. Flush the root zone with 2 inches of water and apply a high-potassium sulfate supplement.
- Symptom: Stunted growth and purpling of lower leaves.
- Solution: This is a classic sign of Phosphorus deficiency. In the cool soils often found behind stone walls, phosphorus becomes less mobile. Use a liquid 0-20-0 fertilizer for immediate uptake.
Fix-It: For general Nitrogen chlorosis (uniform paling of the entire leaf), apply blood meal or a high-nitrogen urea fertilizer. Ensure the application is at the drip line to avoid leaching through the porous gabion face.
Maintenance:
A gabion wall requires minimal structural maintenance, but the biological interface needs precision. Use a soil moisture meter twice weekly to check the hydration levels behind the wall. The increased drainage means the soil will dry out faster than in a standard garden bed. Aim for 1.5 inches of water per week delivered via drip irrigation at the base of the plants.
Pruning is essential for "living" walls. Use bypass pruners to remove dead or diseased wood, making cuts at a 45-degree angle above a lateral bud. For invasive weeds that take root in the stone gaps, a hori-hori knife is the professional choice for extracting the entire taproot without disturbing the internal rock alignment. Check the wire mesh annually for signs of corrosion, though 9-gauge galvanized steel typically lasts 40 to 50 years in non-saline environments.
The Yield:
If your gabion wall incorporates edible herbs like rosemary or thyme in the crevices, harvest timing is critical for oil concentration. Harvest in the morning after the dew has evaporated but before the sun reaches its zenith. This preserves the turgor of the cells and the potency of the volatile oils.
Use sharp snips to take only the top one-third of the plant. This prevents apical dominance from inhibiting lower growth and encourages a bushier habit. For post-harvest freshness, place woody stems in a cool, dark environment immediately. This slows the rate of respiration and prevents the leaves from wilting before they can be utilized.
FAQ:
What is the best stone for a gabion wall?
Use hard, angular rocks like granite, limestone, or river rock. Ensure the stones are larger than the mesh openings, typically 3 to 8 inches, to prevent spilling and ensure structural density.
Do I need a concrete foundation for a gabion?
No. Gabions are flexible structures. A 6-inch base of compacted gravel or crushed stone is sufficient. This allows the wall to move with the freeze-thaw cycle without cracking.
How do I prevent weeds from growing in the stones?
Install a heavy-duty geotextile fabric between the rock fill and the backfill soil. This prevents fine soil particles from migrating into the stones, which starves weed seeds of the substrate needed for germination.
Can I build a gabion wall on a slope?
Yes. For slopes, step the baskets back into the hillside at a 6 to 10-degree angle. This "batter" uses gravity to push the weight of the wall into the slope, increasing stability.
How long does a gabion basket last?
Galvanized steel baskets typically last 40 to 50 years. In high-moisture or coastal environments, using PVC-coated wire can extend the lifespan by protecting the metal from oxidation and salt spray.