5 Useful Ways How to Build a Cold Frame
The smell of damp, decomposing leaf mold and the high turgor pressure of a crisp spinach leaf define the success of a winter harvest. Understanding how to build a cold frame is the difference between a dormant, frozen plot and a productive microclimate that defies the frost line. This structure acts as a passive solar incubator; it traps long-wave radiation while shielding the rhizosphere from desiccating winds. By manipulating the thermal mass of the soil, you can extend the growing season by up to eight weeks. A cold frame is not merely a box; it is a precision tool for managing the biological clock of cool-season crops. Proper construction requires an understanding of solar angles and thermal conductivity. You must align the structure to maximize irradiance during the low-arc winter sun. This guide provides the technical specifications for five distinct construction methods designed to maintain internal temperatures 10 to 20 degrees Fahrenheit above the ambient air. Success depends on structural integrity and the chemical composition of the growing medium contained within.
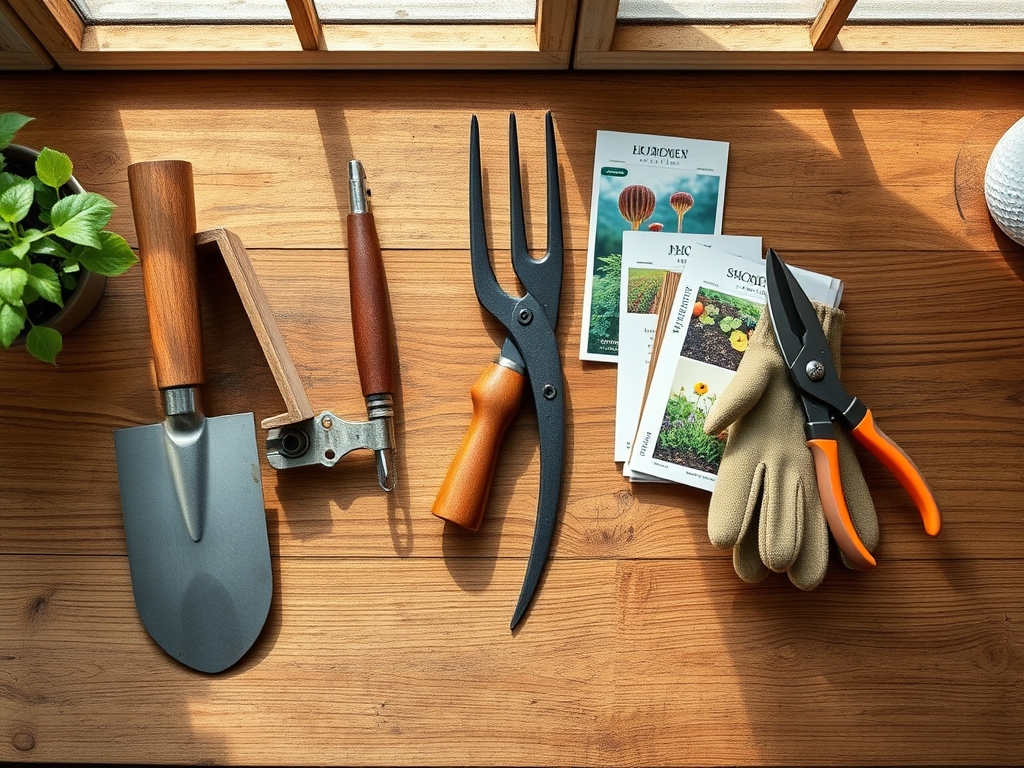
Materials:
The foundation of a cold frame is the substrate. You require a friable loam with a **Cation Exchange Capacity (CEC) of 15 to 25 cmol/kg**. This ensures the soil can hold and exchange essential nutrients like potassium and magnesium. The ideal soil pH for a cold frame environment is **6.2 to 6.8**.
For the physical structure, select materials based on their R-value (thermal resistance). Reclaimed 2×12 cedar or pressure-treated lumber (rated for ground contact) provides the best balance of durability and insulation. The glazing or "light" should be double-walled polycarbonate or 3mm tempered glass.
To fuel initial growth, incorporate a balanced organic fertilizer with an NPK ratio of 5-10-5. High phosphorus levels are critical for root establishment in cold soils where microbial activity slows. Use a soil moisture meter to ensure the substrate maintains a volumetric water content of 25 percent. Avoid heavy clays; they compact under the weight of winter precipitation and suffocate the root zone by reducing oxygen availability.
Timing:
Hardiness Zones 4 through 7 benefit most from cold frame utilization. You must calculate your construction and sowing dates based on the First Average Frost Date. Typically, the "Biological Clock" of a plant shifts from vegetative growth to a state of semi-dormancy when daylight drops below 10 hours per day (the Persephone Period).
For spring extension, install the cold frame 4 to 6 weeks before the last frost. This allows the soil to pre-heat. In autumn, sow seeds in late August or September so plants reach 75 percent maturity before the photoperiod collapses. During this transition, the plant focuses on starch accumulation rather than new leaf production. Monitoring the Growing Degree Days (GDD) within the frame allows for precise harvest predictions.
Phases:

Sowing
Direct sow seeds into the friable loam at a depth of three times the seed diameter. Ensure the soil temperature is at least 45 degrees Fahrenheit for brassicas and 35 degrees Fahrenheit for mache or spinach. Use a hori-hori knife to create clean furrows, preventing soil compaction.
Pro-Tip: Maintain consistent moisture to trigger imbibition. This is the physical process where the seed coat absorbs water; it activates enzymes that break down stored starches into energy for the embryo.
Transplanting
When moving seedlings into the frame, minimize root disturbance to prevent transplant shock. Dig a hole twice the size of the root ball. Ensure the root flare sits exactly at the soil line. Firm the soil to eliminate air pockets that can freeze and kill delicate root hairs.
Pro-Tip: Inoculate the transplant hole with mycorrhizal fungi. This symbiotic relationship increases the surface area of the root system; it allows the plant to access phosphorus and water that would otherwise be unavailable in cold, dense soil.
Establishing
As the plants grow, ventilation is mandatory. If internal temperatures exceed 75 degrees Fahrenheit, the plants may experience heat stress or premature senescence. Use an automatic solar vent opener to regulate the internal atmosphere.
Pro-Tip: Monitor for phototropism, where plants lean excessively toward the light source. Rotate the frame or use reflective interior surfaces to ensure even distribution of auxins; these hormones regulate cell elongation and prevent leggy, weak stems.
The Clinic:
Physiological disorders in a cold frame often stem from poor gas exchange or temperature fluctuations.
-
Damping Off (Pythium spp.):
- Symptom: Seedlings collapse at the soil line; stems appear pinched and water-soaked.
- Solution: Increase airflow and reduce surface moisture. Dust the soil surface with cinnamon or charcoal to inhibit fungal spores.
-
Edema:
- Symptom: Small, corky blisters on the underside of leaves.
- Solution: This occurs when the plant absorbs water faster than it can transpire. Reduce watering frequency and ensure the frame is vented during humid mornings.
-
Nitrogen Chlorosis:
- Symptom: Uniform yellowing of older leaves while veins remain slightly green.
- Fix-It: Apply a water-soluble fish emulsion with a 5-1-1 NPK ratio. Nitrogen is highly mobile; it leaches easily in the high-moisture environment of a cold frame.
-
Tip Burn (Calcium Deficiency):
- Symptom: Necrosis on the edges of young leaves.
- Fix-It: This is often a transport issue rather than a soil deficiency. Ensure consistent soil moisture to allow the plant to move calcium through the xylem via transpiration.
Maintenance:
Precision maintenance is required to prevent crop failure. Provide 1.5 inches of water per week at the drip line. Use a soil moisture meter to verify that the root zone is not waterlogged. In mid-winter, water only during the morning of a sunny day to allow the leaf surfaces to dry before nightfall.
Use bypass pruners to remove any yellowing or necrotic foliage immediately. This prevents the spread of botrytis (gray mold). During extreme cold snaps (below 10 degrees Fahrenheit), drape an insulated frost blanket or old carpet over the glazing at night to retain the heat absorbed by the soil during the day. Remove the cover by 9:00 AM to allow for light penetration.
The Yield:
Harvesting in a cold frame requires a "cut-and-come-again" philosophy. For greens, use sharp shears to harvest only the outer leaves, leaving the apical meristem (the central growing point) intact. This allows the plant to continue regenerating throughout the winter.
The best time to harvest is early morning when turgor pressure is at its peak. This ensures the cells are fully hydrated, providing a crisp texture. To maintain "day-one" freshness, immediately submerge harvested greens in 34-degree Fahrenheit water to remove field heat and slow the respiration rate. Store in a sealed container at high humidity.
FAQ:
What is the best orientation for a cold frame?
Face the frame toward the True South to capture maximum solar radiation. A slope of 30 to 45 degrees on the lid prevents snow accumulation and optimizes the angle of incidence for winter sunlight.
Can I use a cold frame in the summer?
Yes, but you must replace the glass lid with 40 percent shade cloth. This prevents lethal heat buildup while protecting young seedlings from intense UV radiation and heavy rain compaction.
How do I prevent the wood from rotting?
Use rot-resistant species like cedar, redwood, or black locust. Avoid using creosote-treated wood, as the fumes can be phytotoxic to young plants within the enclosed environment of the frame.
Do I need to add supplemental heat?
Generally, no. However, you can increase thermal mass by placing black-painted water jugs inside the frame. These absorb heat during the day and radiate it back to the plants during the night.
What is the ideal soil depth?
Maintain a minimum of 8 to 12 inches of high-quality substrate. This depth provides sufficient volume for root expansion and acts as a thermal buffer against rapid temperature swings in the air.