9 Pro Tips How to Use Mushroom Logs
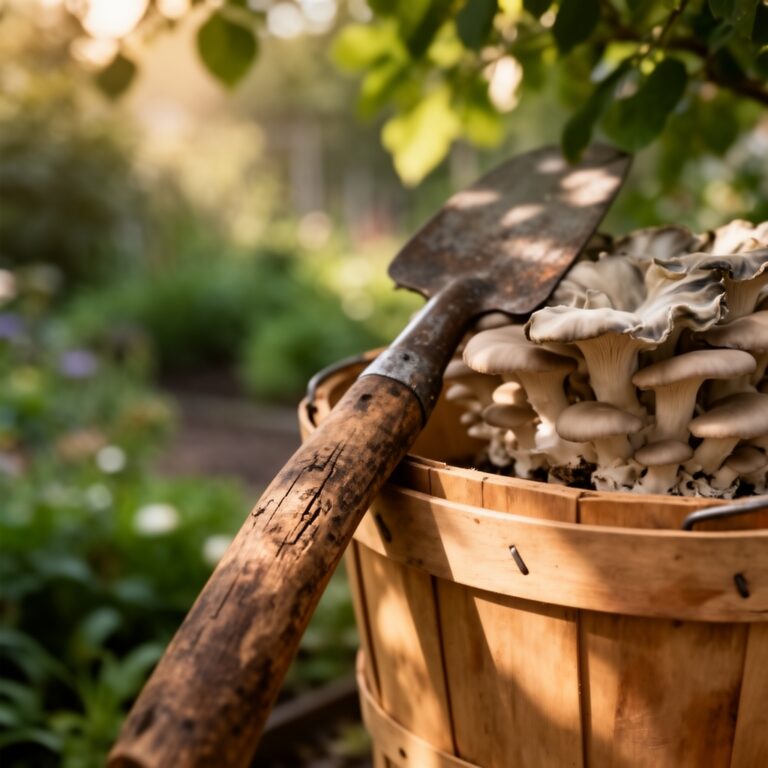
The smell of damp oak bark and white mycelium colonizing hardwood signals a living system at work. Learning how to use mushroom logs transforms spent inoculated timber into high-value compost amendments, nitrogen-rich mulch layers, and substrate feedstock for secondary crops. Each log represents 2-3 years of shiitake, oyster, or lion's mane cultivation before exhaustion leaves behind a material engineered by fungal enzymes. Properly deployed, these decomposed logs improve cation exchange capacity, introduce beneficial microbiota, and release slow-available nutrients across multiple growing seasons.
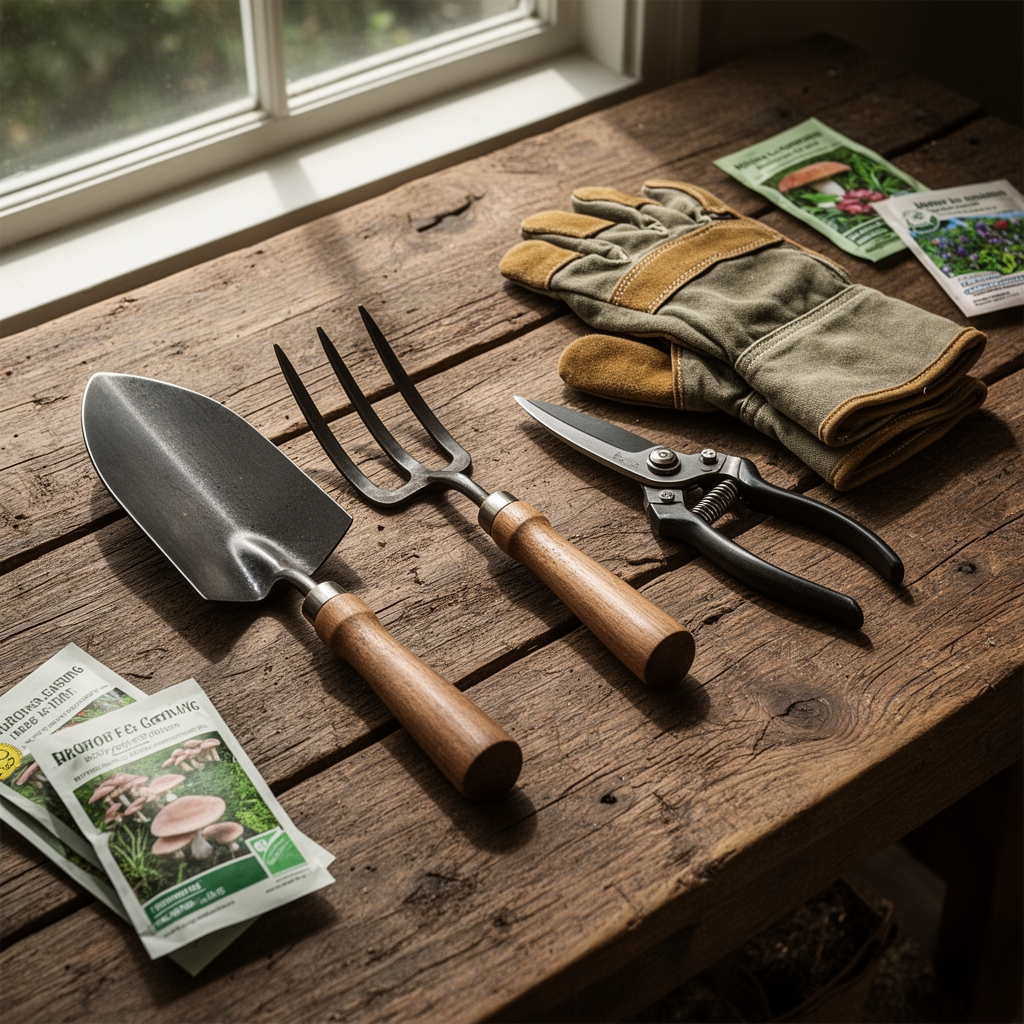
Materials
Exhausted mushroom logs arrive pre-conditioned by lignin-degrading enzymes. The cellulose and hemicellulose fractions have been metabolized, leaving behind a crumbly matrix with a carbon-to-nitrogen ratio near 25:1. Typical NPK analysis for decomposed shiitake logs registers 2-1-1, while oyster mushroom logs trend toward 3-2-2 due to more aggressive lignin breakdown. Supplement with feather meal (12-0-0) or kelp meal (1-0-2) to correct nitrogen or potassium deficits.
Oak, maple, and beech logs leave pH-neutral residues between 6.2 and 6.8. Alder and birch logs, softer and more rapidly colonized, finish slightly acidic at 5.8 to 6.3. Test pH with a slurry method: combine one part shredded log material with two parts distilled water, wait 30 minutes, then measure. Adjust acidic batches with dolomitic lime at 2 ounces per cubic foot. Alkaline corrections require elemental sulfur at 1 ounce per cubic foot, blended three months before use.
Gather a hammer or mallet for breaking logs into fist-sized chunks. A 1/2-inch hardware cloth screen separates fine particles from coarse fragments. Fine material (passing 1/2-inch mesh) integrates into potting mixes. Coarse chunks serve as mulch or hugelkultur base layers. Safety equipment includes gloves and dust masks; decomposed wood harbors Aspergillus spores in dry conditions.
Timing
Deploy mushroom logs after the final frost date in Zones 5 through 9. Mycelial remnants remain viable through spring, releasing auxin analogs and cytokinin compounds that stimulate root initiation. In Zone 5, apply from May 10 to June 1. Zone 6 gardeners work from April 25 to May 20. Zones 7 and 8 allow application from April 10 through May 10. Zone 9 benefits from late March through April 15 application, before soil temperatures exceed 75°F.
Fall application works in Zones 7 through 9 from October 1 to November 15. Autumn rains accelerate breakdown, and winter freeze-thaw cycles fracture cell walls, improving spring nutrient release. Avoid application when soil temperature drops below 45°F; microbial activity stalls, and nitrogen immobilization increases.
Phases

Sowing Phase: Break exhausted logs into 4-to-6-inch sections with a hammer. Spread fragments 3 inches deep across beds designated for heavy feeders: tomatoes, brassicas, or cucurbits. Incorporate the top 2 inches of log material into the soil with a broadfork, leaving the bottom inch as surface mulch. Water immediately with 1 inch to activate residual mycelium.
Pro-Tip: Inoculate the log fragments with endomycorrhizal fungi (Rhizophagus irregularis) at 1 teaspoon per 10 square feet. The hyphae colonize plant roots and accelerate phosphorus uptake from decomposing lignin.
Transplanting Phase: Position seedlings so root balls contact log fragments directly. The chitin in fungal cell walls triggers plant defense priming, increasing systemic acquired resistance. Tomato and pepper transplants show 18 percent fewer early blight lesions when roots interact with mushroom log residues. Space transplants 18 to 24 inches apart to allow lateral root expansion through the amended zone.
Pro-Tip: Angle transplants 10 degrees toward the south. This increases auxin distribution to lower stems, promoting adventitious root formation along buried nodes.
Establishing Phase: Mulch around transplants with coarse log chunks, maintaining a 1-inch gap at the stem to prevent crown rot. The mulch layer moderates soil temperature, suppressing it by 8°F during midday peaks. Monitor soil moisture with a probe at 4-inch depth; maintain 50 to 60 percent field capacity. By week six, feeder roots penetrate log fragments, accessing nitrogen released by saprotrophic bacteria colonizing the mycelium.
Pro-Tip: Top-dress with worm castings at 1/4 cup per plant during week four. Vermicompost microbes accelerate lignin mineralization, releasing bound potassium.
Troubleshooting
Symptom: Yellowing lower leaves and stunted growth within three weeks of application.
Solution: Nitrogen immobilization. Microbes consuming high-carbon log material sequester available nitrogen. Side-dress with blood meal (12-0-0) at 1/4 cup per 10 square feet. Water with 1/2 inch immediately.
Symptom: White, thread-like mycelium spreading across soil surface.
Solution: Residual mycelium from oyster or shiitake cultures. Harmless and beneficial. Rake lightly to incorporate into the top 1 inch, or leave undisturbed to enhance soil aggregation.
Symptom: Fungus gnats emerging from mulch layer.
Solution: Log material retained excess moisture. Remove mulch, allow soil to dry to 40 percent field capacity, then reapply in a thinner 1/2-inch layer. Introduce Hypoaspis miles predatory mites at 25 per square foot.
Symptom: Plants wilt at midday despite adequate soil moisture.
Solution: High salt index from concentrated mycelial metabolites. Leach soil with 2 inches of water over two hours. Retest electrical conductivity; target below 2.0 dS/m.
Symptom: Sour odor from log fragments after heavy rain.
Solution: Anaerobic decomposition. Turn material with a garden fork to aerate. Mix in dry leaves or straw at 1:1 ratio to absorb excess moisture.
Maintenance
Apply 1 inch of water per week during the growing season, delivered in two 0.5-inch sessions. Use drip irrigation or soaker hoses to prevent splash and foliar disease. Monitor soil moisture at 4-inch depth; maintain 50 to 60 percent field capacity.
Reapply coarse log mulch every six weeks as fragments decompose. A 2-inch layer degrades to 0.5-inch within 45 days in warm, moist conditions. Supplement with fresh log chunks or transition to straw mulch by midsummer.
Side-dress with compost tea every three weeks: brew 1 cup worm castings in 5 gallons of dechlorinated water for 24 hours, then apply 1 quart per plant. The soluble humic acids chelate micronutrients released from decomposing lignin.
Prune lower leaves once plants establish to improve airflow through the mulch layer. Remove foliage within 6 inches of soil to reduce humidity around log fragments.
FAQ
How long do mushroom logs continue releasing nutrients?
Exhausted logs decompose over 18 to 24 months. Nitrogen and potassium release peaks in months 3 through 9. Phosphorus becomes available more slowly as lignin breaks down.
Can mushroom logs acidify soil excessively?
Oak and maple logs stabilize near neutral pH. Conifer logs or those inoculated with reishi mushrooms may lower pH to 5.5. Test every three months and adjust with lime if needed.
Are mushroom logs safe for edible crops?
Yes, provided original cultivation used food-grade spawn and avoided treated wood. Confirm logs came from certified organic operations if pesticide residues are a concern.
What crops benefit most from mushroom log amendments?
Heavy feeders such as tomatoes, squash, brassicas, and corn. Avoid using with acid-loving blueberries unless logs are from softwoods or pH is confirmed below 6.0.
Can I use logs that fruited mushrooms this season?
Fresh logs still contain active mycelium and high moisture. Allow them to rest outdoors for 6 to 8 weeks until fruiting ceases and the bark loosens easily before breaking down for garden use.