6 Simple Ways How to Eat Lambs Quarters
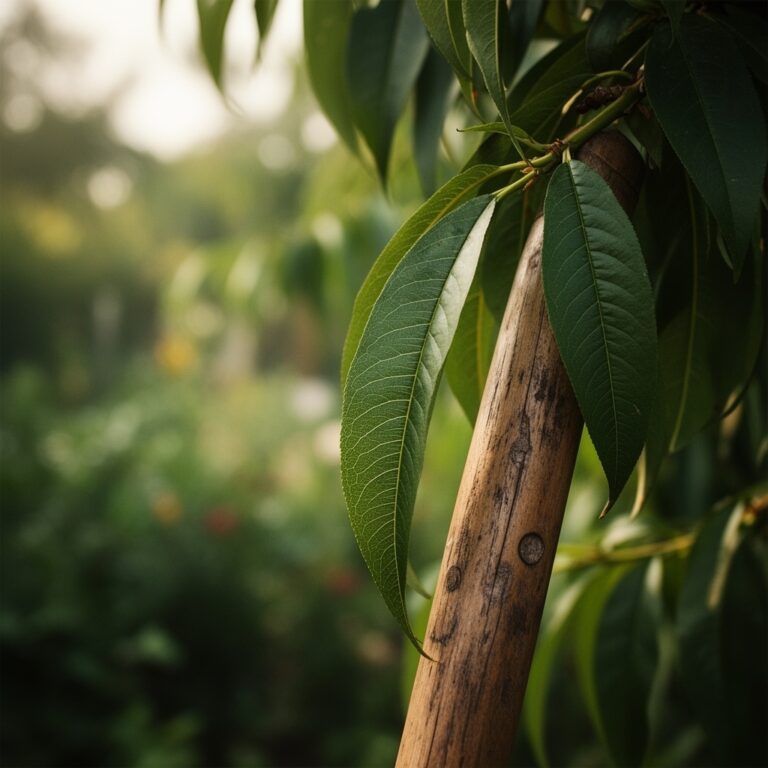
Lambs quarters (Chenopodium album) emerges in disturbed soil each spring with tender, diamond-shaped leaves dusted in a fine white powder that resembles flour. This cosmopolitan weed rivals spinach in iron content and surpasses it in calcium, vitamin A, and protein density. Learning how to eat lambs quarters transforms your approach to seasonal eating, turning garden volunteers into primary greens. The young shoots taste mild and faintly saline, with none of the oxalic acid bite found in mature spinach. Each leaf concentrates mineral nutrients through deep taproots that mine subsoil layers for phosphorus and trace elements.
Materials
Lambs quarters thrives without deliberate cultivation, yet soil amendments accelerate growth and improve flavor. A balanced organic fertilizer at 4-4-4 NPK supports vigorous leafing without excessive nitrate accumulation. Compost aged six months provides stable organic matter that raises cation exchange capacity to 12-18 meq/100g, ideal for nutrient retention. Soil pH between 6.0 and 7.5 suits this species, though it tolerates ranges from 5.5 to 8.2. Mycorrhizal fungi inoculants colonize roots within 14 days, extending phosphorus uptake by 200 percent in loam soils. Kelp meal at 2 pounds per 100 square feet supplies trace minerals and natural cytokinins that promote lateral branching. For container growing, blend equal parts finished compost, perlite, and coconut coir to achieve a medium that drains within 90 seconds yet holds 40 percent water by volume.
Timing
Lambs quarters germinates when soil temperatures reach 50°F at a two-inch depth, typically two weeks after the last frost date. In USDA Hardiness Zones 3-5, direct sowing occurs from mid-April through early May. Zones 6-7 gain a four-week window starting in late March. Zones 8-10 support year-round cultivation with reduced productivity during 90°F summer peaks. Seeds remain viable in the soil seed bank for 40 years, ensuring spontaneous germination after tillage or rain events. Harvest begins 25-30 days after emergence when plants reach 6-8 inches in height. A second flush follows within 10 days if stems are cut one inch above the crown. Fall sowings in September yield tender rosettes through the first hard freeze at 28°F.
Phases
Sowing
Broadcast seeds at 20-30 per square foot across prepared beds raked to a fine tilth. Press seeds into surface contact without covering; light stimulates germination. Maintain soil moisture in the top half-inch through capillary action using shade cloth that reduces evaporation by 60 percent. Germination occurs within 3-7 days at 68-75°F. Thin seedlings to 4-inch spacing when true leaves appear, using thinnings in salads.
Pro-Tip: Inoculate seed beds with Rhizophagus irregularis spores at 100 propagules per square foot one week before sowing to establish symbiotic networks before root expansion.
Transplanting
Lambs quarters rarely requires transplanting due to rapid establishment, but starting indoors extends the harvest window. Sow in 2-inch cells filled with sterile seed-starting mix 4 weeks before the last frost. Transplant when seedlings develop four true leaves and roots circle the cell bottom. Harden off over 5 days by reducing water and increasing sun exposure incrementally. Set transplants at the same depth they grew in cells, spacing 8 inches apart in rows 12 inches wide. Water with a dilute fish emulsion solution at 1 tablespoon per gallon to reduce transplant shock and supply immediately available nitrogen.
Pro-Tip: Transplant during overcast afternoons when stomatal conductance drops below 200 mmol/m²/s, minimizing water stress during establishment.
Establishing
Roots penetrate 18-24 inches within three weeks, anchoring plants against wind and accessing deep moisture reserves. Side-dress with composted manure at 1 pound per plant when stems reach 10 inches, applying it in a 6-inch ring around the base. Mulch with 2 inches of straw to suppress competing weeds and moderate soil temperature fluctuations. Pinch terminal buds at 12 inches to redirect auxin distribution toward lateral shoots, doubling harvestable leaf mass. Plants transition to flowering when day length exceeds 14 hours, reducing leaf tenderness. Remove flower spikes immediately to prolong the vegetative phase by three weeks.
Pro-Tip: Apply foliar sprays of liquid kelp at 1 ounce per gallon every 10 days to boost chlorophyll density and enhance the mineral profile of harvested leaves.
Troubleshooting
Symptom: Purplish leaf undersides and stunted growth indicate phosphorus deficiency, common in cold soils below 55°F.
Solution: Apply bone meal at 3 pounds per 100 square feet and cover beds with clear plastic for 7 days to raise soil temperature by 8-10°F.
Symptom: White powdery coating on leaf surfaces signals powdery mildew (Erysiphe spp.), prevalent during humid mornings with dry afternoons.
Solution: Spray with a 0.5 percent potassium bicarbonate solution weekly and increase plant spacing to improve air circulation rates above 3 mph.
Symptom: Irregular holes with slime trails reveal slug feeding, most active when soil moisture exceeds 60 percent field capacity.
Solution: Scatter diatomaceous earth in a 4-inch band around plant bases and hand-pick slugs during evening inspections.
Symptom: Yellow mottling between veins suggests nitrogen immobilization in high-carbon mulch layers.
Solution: Side-dress with blood meal at 2 pounds per 100 square feet and water deeply to move nitrogen into the root zone.
Symptom: Wilted leaves despite adequate soil moisture indicate root aphid colonies feeding on taproots.
Solution: Drench soil with insecticidal soap diluted to 2 percent concentration, applying 1 gallon per square foot of bed space.
Maintenance
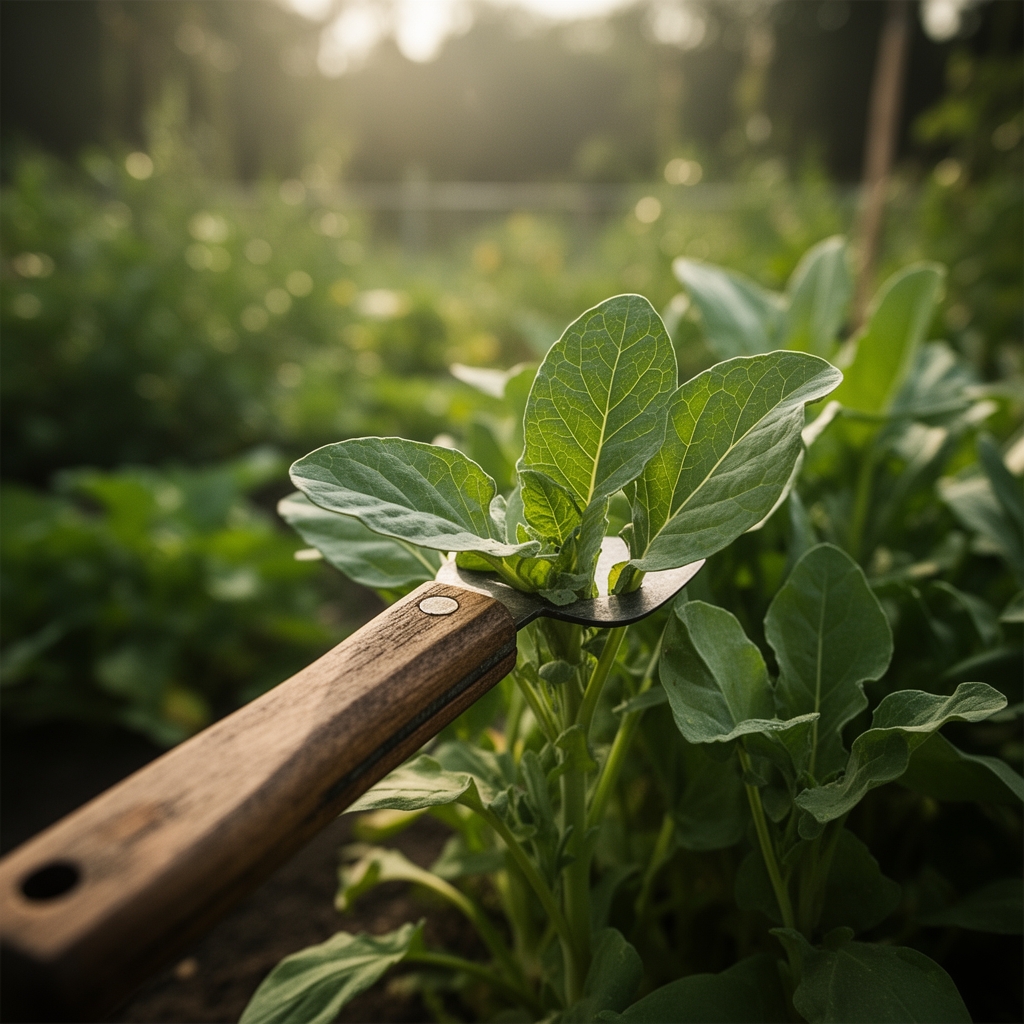
Apply 1 inch of water per week when rainfall totals fall short, measured by rain gauges placed at plant height. Water in early morning to allow foliage to dry before nightfall, reducing fungal disease incidence by 70 percent. Harvest leaves and tender stem tips when plants reach 6-10 inches, cutting no more than one-third of total biomass per session. Successive harvests every 5-7 days maintain plants in juvenile vegetative stages where protein content peaks at 4.2 grams per 100 grams fresh weight. Remove any flower stalks within 24 hours of emergence to redirect carbohydrate allocation toward leaf production. Side-dress with compost tea at 1 gallon per 10 square feet monthly to replenish microbial populations that mineralize organic nitrogen.
FAQ
When is the best time to harvest lambs quarters?
Harvest in early morning after dew dries but before midday heat causes turgor loss. Leaves picked between 7 AM and 10 AM retain 15 percent more vitamin C than those harvested in afternoon.
Can you eat lambs quarters raw?
Yes. Young leaves under 3 inches long have tender cell walls and mild flavor ideal for salads. Mature leaves benefit from light steaming for 90 seconds to reduce saponin content and improve digestibility.
How do you store harvested lambs quarters?
Rinse leaves in cold water, spin dry, and store in perforated bags at 34-38°F. Properly stored greens maintain quality for 7 days with minimal vitamin degradation.
Do lambs quarters need fertilizer?
This species scavenges nutrients efficiently, but additions of 4-4-4 organic fertilizer at 2 pounds per 100 square feet increase yield by 40 percent and improve mineral density in edible tissues.
What parts of lambs quarters are edible?
All aerial parts are edible: leaves, stems, flower buds, and immature seeds. Seeds collected when flower heads dry can be winnowed and cooked like quinoa, yielding a complete protein source with all nine essential amino acids.