9 Pro Tips How to Find Tasting Tomatoes
The difference between a mealy, flavorless tomato and one that bursts with acid, sugar, and umami comes down to variety selection, soil chemistry, and harvest timing. Commercial growers prioritize shelf life and shipping durability, sacrificing flavor compounds that degrade within hours of picking. Home gardeners who learn how to find tasting tomatoes gain access to heirloom and hybrid cultivars never seen in supermarkets, varieties bred for Brix levels above 8 and balanced titratable acidity. The path to exceptional flavor begins with understanding that taste is a function of genetics, terroir, and precise cultural practices.
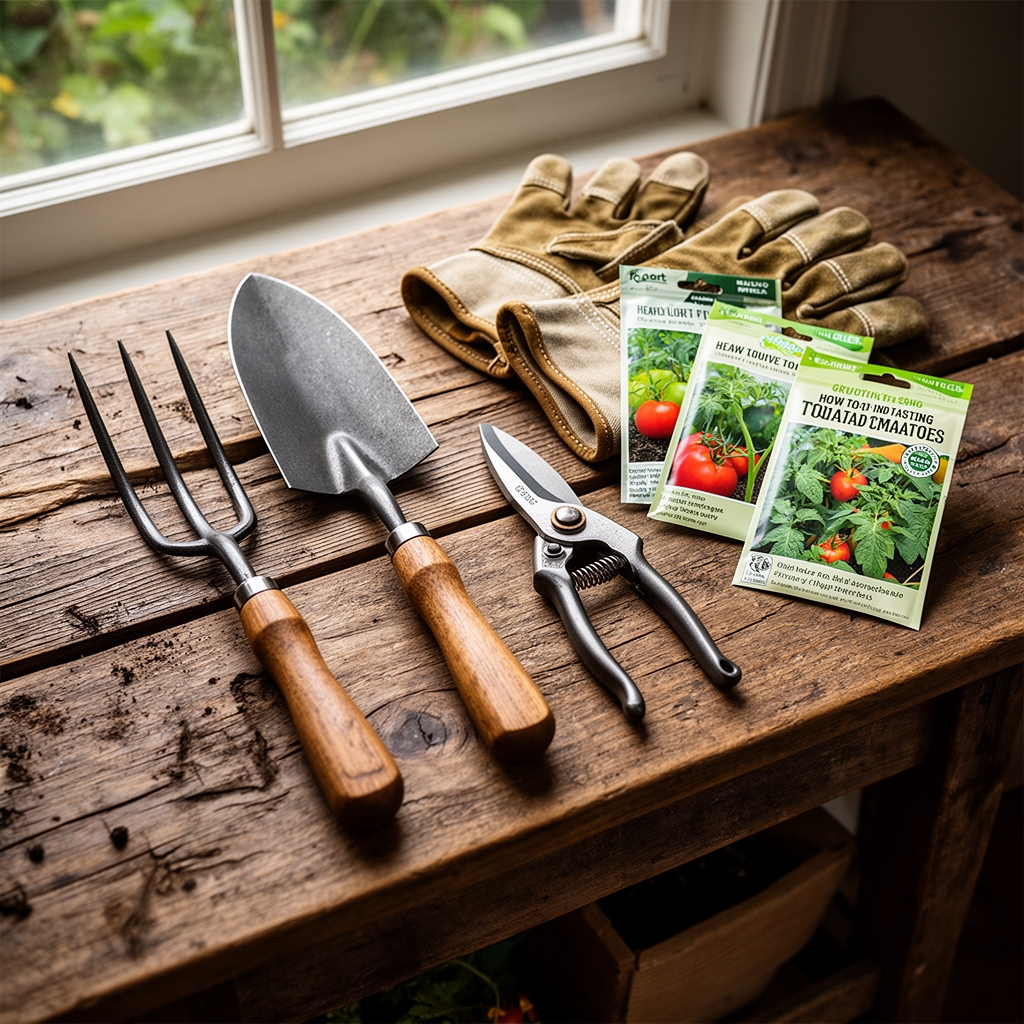
Materials
Soil pH between 6.2 and 6.8 optimizes nutrient availability for flavor precursor synthesis. Test cation exchange capacity; loamy soils with CEC values of 10-20 meq/100g retain calcium and magnesium without waterlogging. Amend beds with a 4-4-4 or 5-5-5 organic fertilizer containing kelp meal, bone meal, and composted poultry manure. Avoid high-nitrogen formulations above 10-5-5, which push vegetative growth at the expense of fruit sugars.
Incorporate mycorrhizal fungi inoculant at transplant. Glomus intraradices colonizes root cortex cells, extending phosphorus uptake radius by 10-fold and enhancing synthesis of carotenoids and glutamate. Add 2 inches of aged compost to introduce beneficial Trichoderma species that outcompete soil-borne pathogens. Mulch with straw or shredded leaves to maintain consistent soil moisture, critical for preventing blossom-end rot and calcium transport interruption.
Select varieties based on proven flavor chemistry. 'Sungold' and 'Black Krim' register Brix readings of 8-9, double the supermarket standard. 'Brandywine' and 'Cherokee Purple' offer high glutamate content, the umami driver. 'Green Zebra' provides citric acid balance. Obtain seed from reputable sources with germination rates above 85% and disease indexing for Tobacco Mosaic Virus and Fusarium races 1, 2, and 3.
Timing
Begin seeds indoors 6-8 weeks before last frost date. Consult USDA Hardiness Zone data; Zone 5 gardeners start mid-March, Zone 8 gardeners by late January. Germination occurs at soil temperatures between 70-80°F. Provide 14-16 hours of light daily at 6 inches above seedling canopy using full-spectrum LEDs or T5 fluorescents.
Transplant when soil temperature stabilizes above 60°F at 4-inch depth and nighttime air temperatures remain above 50°F. Cold stress below 50°F halts auxin distribution, causing catfacing and poor fruit set. In Zone 6, this window opens mid-May; Zone 9 gardeners transplant by early March. Harden seedlings over 7-10 days, gradually increasing UV exposure and reducing water frequency to thicken cuticle layers.
Phases
Sowing Phase: Fill 2-inch cells with sterile seed-starting mix, pH 6.0-6.5. Plant seeds 1/4 inch deep. Maintain 75°F bottom heat using heating mats. Germination completes in 5-7 days. Apply half-strength liquid kelp (0-0-1 NPK) at day 10 to stimulate root hair proliferation.
Pro-Tip: Brush seedlings gently twice daily with your hand to simulate wind stress. This thigmomorphogenesis triggers ethylene production, producing stems 30% thicker and more resistant to transplant shock.
Transplanting Phase: Dig holes 12 inches deep. Remove lower leaves and bury stems up to first true leaf set. Adventitious roots emerge along buried stem nodes, doubling root mass. Space indeterminate varieties 24-30 inches apart; determinates 18-24 inches. Install 6-foot stakes or cages immediately to avoid root disturbance later.
Pro-Tip: Add 1 tablespoon of Epsom salt (magnesium sulfate) to each planting hole. Magnesium activates enzymes in chlorophyll synthesis and improves phosphorus uptake efficiency by 15-20%.
Establishing Phase: Prune suckers below first flower cluster on indeterminate types to direct carbohydrates into fruit development. Maintain 1-2 main stems. Once plants reach 3 feet, remove lower leaves up to first fruit truss to improve air circulation and reduce Septoria leaf spot pressure.
Pro-Tip: Apply foliar calcium chloride spray at 0.5% concentration weekly during fruit sizing. Calcium moves via xylem only; foliar application prevents blossom-end rot during rapid growth flushes when transpiration cannot meet calcium demand.
Troubleshooting
Symptom: Blossom-end rot, dark sunken lesions on fruit base.
Solution: Maintain soil moisture within 1 inch per week. Calcium deficiency results from irregular watering, not soil depletion. Mulch heavily and avoid cultivating within 6 inches of stem.
Symptom: Cracking, concentric rings or radial splits.
Solution: Occurs when heavy rain or irrigation follows drought. Fruit epidermis cannot expand as fast as internal flesh. Harvest slightly early or provide shade cloth during heat waves above 90°F.
Symptom: Yellow shoulders, green or yellow areas near stem.
Solution: Potassium deficiency or excessive sun exposure. Side-dress with 0-0-20 potassium sulfate at 1 tablespoon per plant. Maintain some foliage cover over developing fruit.
Symptom: Hornworm defoliation, large green caterpillars.
Solution: Handpick at dawn. Apply Bacillus thuringiensis var. kurstaki (Btk) at 0.5-1.0 lb per acre every 7 days. Encourage parasitic Braconid wasps by planting dill and fennel nearby.
Maintenance
Water deeply once per week, delivering 1-1.5 inches measured by rain gauge. Drip irrigation maintains consistent moisture without wetting foliage, reducing fungal disease pressure. Cease nitrogen supplementation once first fruits set; excess nitrogen dilutes sugars and extends days to maturity.
Prune indeterminate varieties weekly. Remove suckers when 2-4 inches long by pinching at 45-degree angle. This wound orientation sheds water and reduces infection risk. Limit total fruit load to 4-5 per truss for larger, more concentrated flavor.
Harvest at full color but slightly firm. Sugars peak when fruit separates easily from stem with gentle upward twist. Never refrigerate below 55°F; cold storage degrades volatile compounds responsible for aroma. Store stem-side down at room temperature, consuming within 48 hours.
FAQ
How long does it take to grow flavorful tomatoes?
70-90 days from transplant for most heirloom varieties. Early types like 'Stupice' mature in 55-60 days but sacrifice some complexity.
Do tomatoes need full sun for best flavor?
Yes. 8-10 hours of direct sun maximizes photosynthesis and sugar production. Partial shade reduces Brix by 1-2 points.
What soil amendment improves taste most?
Compost increases microbial diversity, which chelates micronutrients like boron and zinc critical for enzyme function in flavor compound synthesis.
Can container tomatoes taste as good?
Yes, if container volume exceeds 10 gallons and includes mycorrhizal inoculant. Use 5-5-5 organic blend and water daily in summer heat.
Why do homegrown tomatoes taste better?
Harvest timing. Commercial tomatoes are picked green and gassed with ethylene. Home gardeners harvest at peak ripeness when sugars, acids, and volatiles reach maximum concentration.