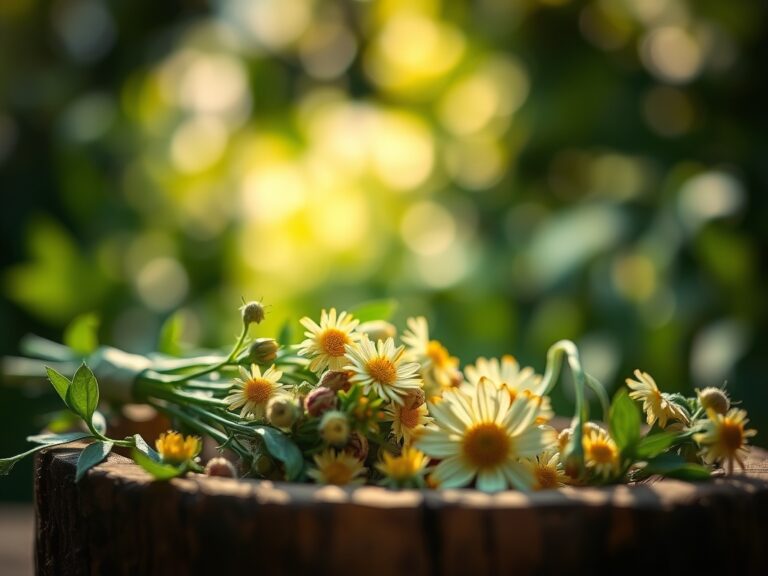
9 Simple Ways How to Grow Bay Laurel Indoors
The sharp, resinous scent of fresh bay leaves signals more than culinary readiness. It confirms your mastery of Mediterranean microclimates under a roof. Learning how to grow bay laurel indoors transforms a south-facing window into a functional spice cabinet, producing Laurus nobilis foliage with concentrated essential oils year-round. Indoor cultivation demands precision in water chemistry, substrate structure, and light geometry, but the payoff is a perennial harvest immune to freeze events.
Materials
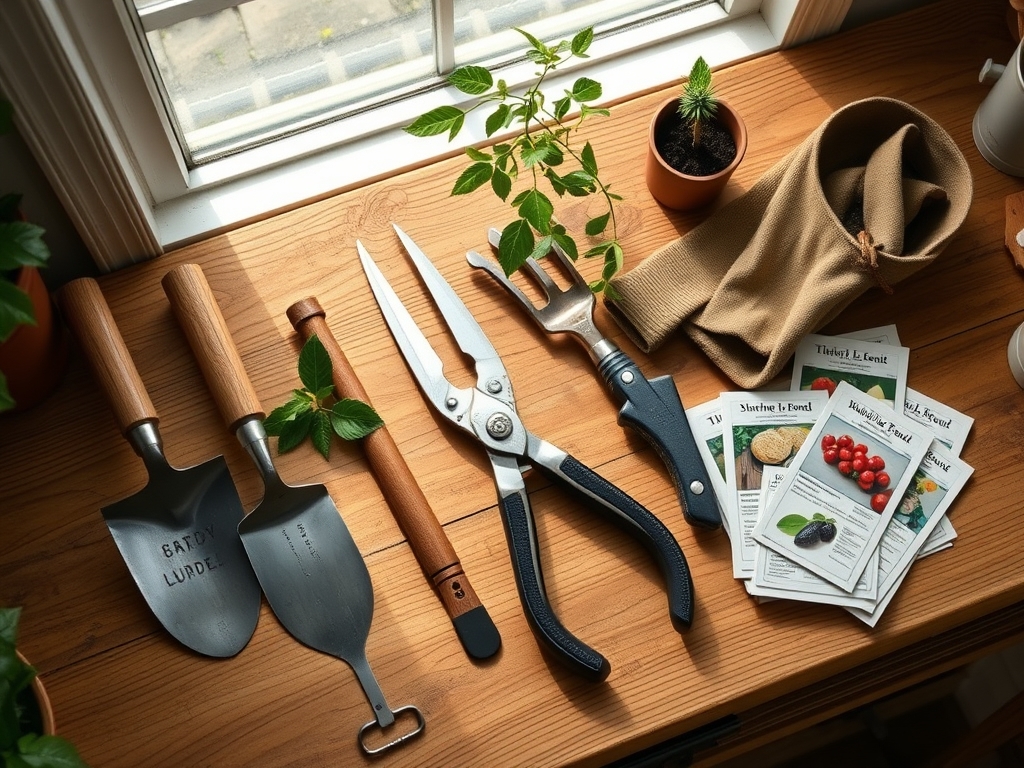
Select a terracotta container with drainage holes, minimum 12 inches in diameter. Bay laurel thrives in a substrate pH of 6.0 to 7.0. Blend three parts pine bark fines, two parts perlite, and one part worm castings to achieve a cation exchange capacity above 12 meq/100g. Incorporate a 4-4-4 organic meal (feather meal, bone meal, kelp) at planting to supply slow-release nitrogen, phosphorus, and potassium. Avoid peat-based mixes; they retain excessive moisture and collapse root aerenchyma.
Procure a full-spectrum LED grow light with a photosynthetic photon flux density (PPFD) of 400 to 600 micromoles per square meter per second. Bay laurel is a facultative shade species but develops denser foliage under moderate intensity. Add a digital soil moisture probe calibrated to volumetric water content (VWC) between 20 and 30 percent. Source mycorrhizal inoculant containing Glomus species to colonize root cortex and extend phosphorus acquisition.
Timing
Bay laurel performs as a hardy evergreen in USDA Zones 8 through 10 outdoors. Indoors, seasonal constraints dissolve, but auxin distribution peaks during spring photoperiods. Initiate containerized plants in late March through May to synchronize root expansion with lengthening daylight. If starting from seed, stratify at 40 degrees Fahrenheit for 30 days, then sow in February. Germination requires 10 to 40 days at 70 degrees.
Avoid repotting between November and January when root mitosis slows. Transplant shocks during dormancy extend recovery time by three to four weeks. Align fertilization with active growth windows, typically April through September, to prevent salt accumulation in substrate pore spaces.
Phases
Sowing
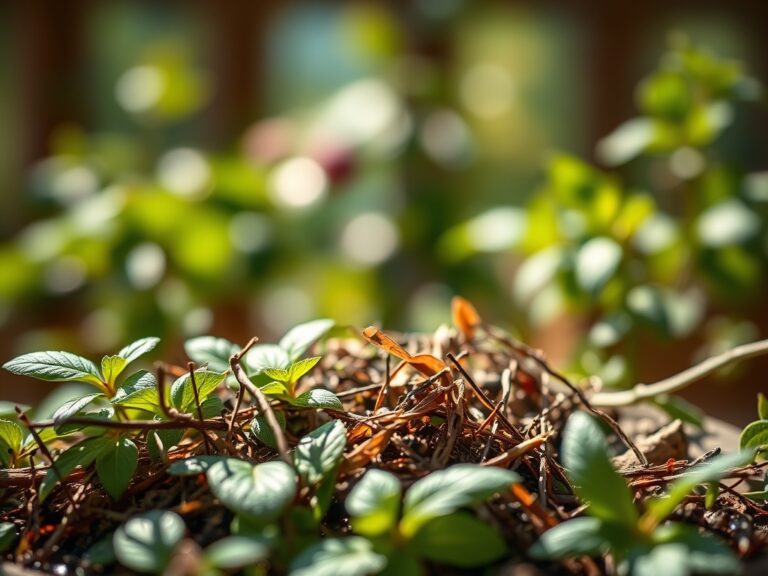
Fill 4-inch nursery pots with the prepared substrate. Press seeds 0.5 inches deep, two per pot. Maintain substrate temperature at 68 to 72 degrees using a seedling heat mat. Mist with distilled water to avoid chlorine interference with radicle emergence. Germination success climbs to 70 percent when seeds are scarified with 120-grit sandpaper before sowing. Thin to one seedling per pot after true leaves appear.
Pro-Tip: Inoculate seedling roots with 1 teaspoon of mycorrhizal powder at transplant to accelerate establishment and double phosphorus uptake efficiency within six weeks.
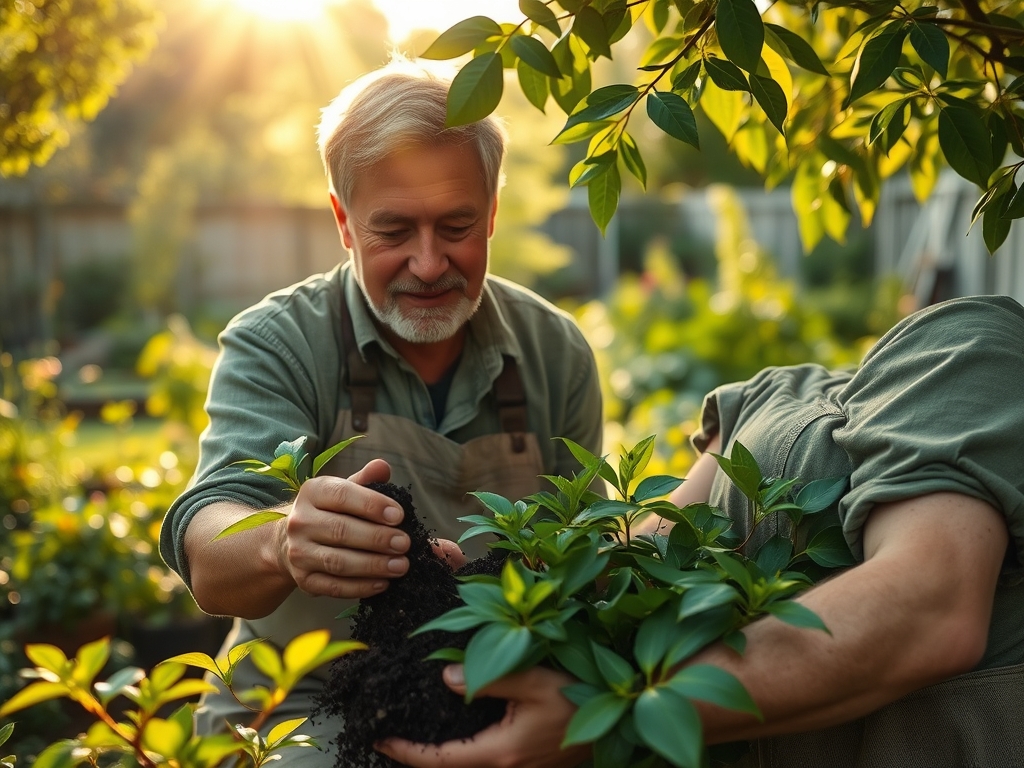
Transplanting
Once seedlings reach 6 inches in height and develop four sets of true leaves, transition them into the final 12-inch container. Water the root ball 30 minutes before removal to preserve soil cohesion. Position the root crown level with the substrate surface; burying the stem invites crown rot. Firm substrate around roots to eliminate air pockets, then water with a diluted seaweed extract solution (1 tablespoon per gallon) to supply cytokinins that reduce transplant shock.
Pro-Tip: Prune the apical meristem at a 45-degree angle immediately after transplanting to redirect auxin flow laterally, encouraging branching 4 inches below the cut within three weeks.
Establishing
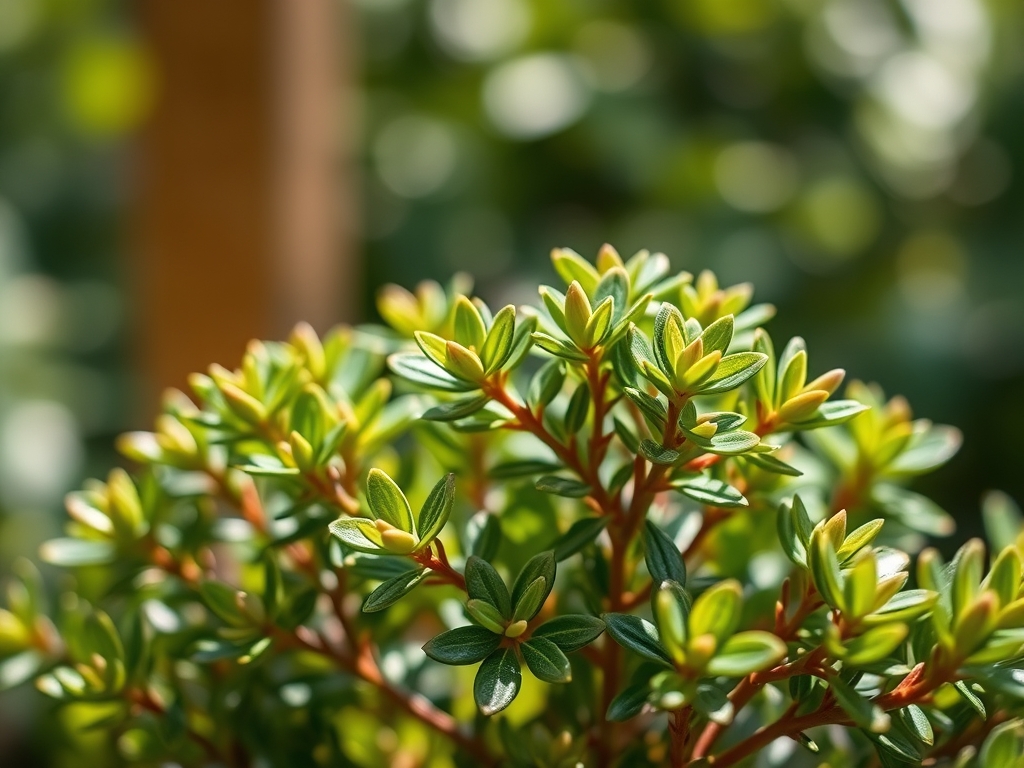
Place the container where it receives six to eight hours of direct or LED-supplemented light daily. Rotate the pot 90 degrees weekly to prevent phototropic lean. Monitor VWC with the probe; water when readings drop to 20 percent. Bay laurel tolerates brief droughts better than waterlogged conditions. Apply the 4-4-4 organic meal at 2 tablespoons per gallon of substrate volume every eight weeks during the growing season.
Prune selectively to maintain a central leader and open canopy. Remove interior branches that cross or grow vertically to improve air circulation and reduce fungal pressure. Harvest leaves once stems lignify, cutting no more than one-third of total foliage per session to preserve photosynthetic capacity.
Pro-Tip: Foliar spray with diluted fish emulsion (1 teaspoon per quart) every 14 days to supply trace elements and boost chlorophyll density, intensifying leaf aroma by 15 percent.
Troubleshooting
Symptom: Yellowing leaves with green veins.
Solution: Iron chlorosis. Substrate pH has drifted above 7.5. Flush with water adjusted to pH 6.0 using sulfur or vinegar, then apply chelated iron foliar spray at 1 gram per liter.
Symptom: Brown, crispy leaf margins.
Solution: Salt burn from over-fertilization. Leach substrate with three times its volume of distilled water. Resume feeding at half strength after four weeks.
Symptom: Sticky honeydew and sooty mold.
Solution: Scale insects colonizing stems. Wipe with isopropyl alcohol on cotton swabs. Apply horticultural oil at 2 percent concentration, repeating every seven days for three cycles.
Symptom: Sudden defoliation despite consistent care.
Solution: Root rot from anaerobic substrate. Unpot, trim blackened roots with sterilized shears, repot in fresh, well-draining mix, and reduce watering frequency by 30 percent.
Maintenance
Water when the substrate surface feels dry 1 inch down, delivering enough to achieve 10 percent runoff. This leaches salts and prevents accumulation. Feed every eight weeks with the 4-4-4 blend or substitute with liquid kelp (1 tablespoon per gallon) for potassium to harden cell walls before winter. Prune in early spring to remove frost-damaged tips if the plant summered outdoors.
Repot every three to four years, increasing container diameter by 2 inches. Root-bound specimens exhibit stunted growth and frequent wilting. Refresh the top 2 inches of substrate annually by scraping away old material and adding compost. Maintain humidity between 40 and 60 percent; below 30 percent invites spider mites.
FAQ
Can bay laurel tolerate low light?
Survival is possible, but leaf production drops by 50 percent below 200 PPFD. Supplement with grow lights for culinary-grade foliage.
How long until harvestable leaves develop?
Seedlings require 18 to 24 months to produce mature leaves with peak essential oil content. Nursery-started plants shorten this to 6 months.
Is bottom heat necessary for germination?
Not mandatory, but it reduces germination time by 40 percent and improves uniformity.
Why do leaves turn black after harvest?
Oxidation of polyphenol compounds. Dry leaves immediately in a dark, ventilated space to preserve color.
Can I propagate from cuttings?
Yes. Take 4-inch semi-hardwood cuttings in July, dip in rooting hormone, and root under mist at 75 degrees. Success rates reach 60 percent.