8 Basic Steps to Grow Chives in a Kitchen Garden
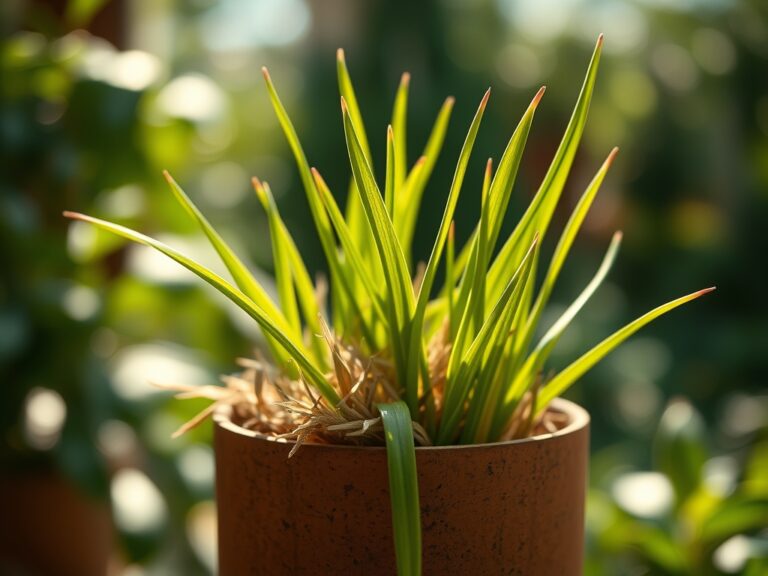
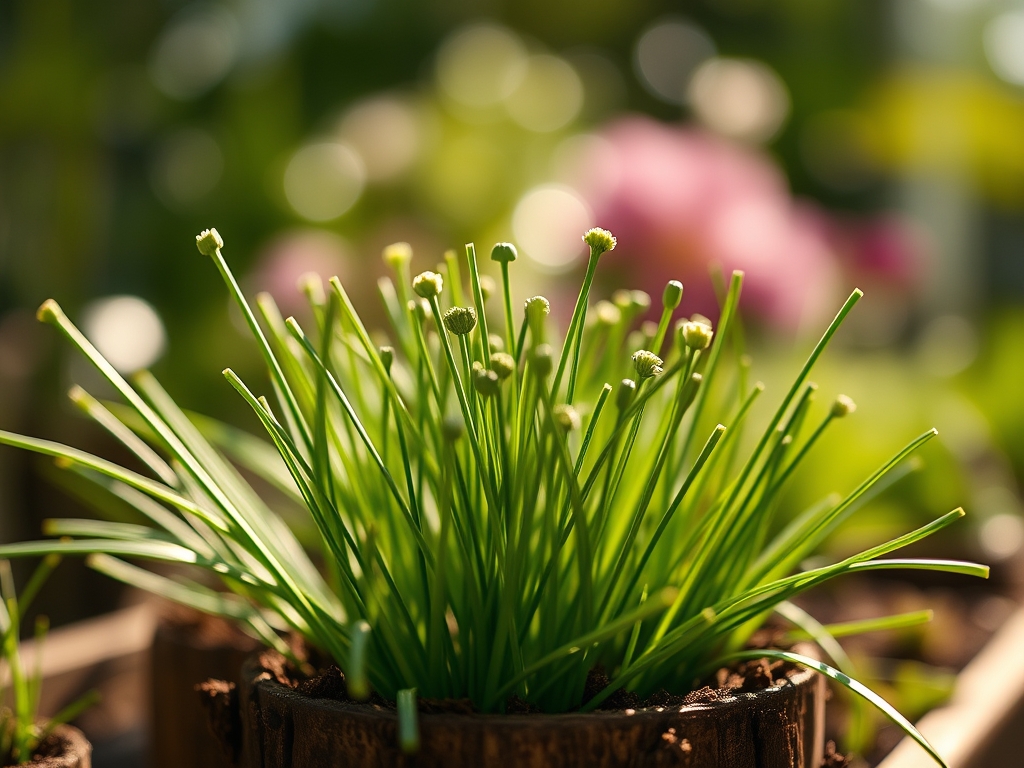
Chive stems rise from kitchen soil with the reliability of a metronome. Each hollow green shaft, measuring 10 to 12 inches at maturity, delivers sulfur-forward bite to eggs, potatoes, and soft cheese. The steps to grow chives in a kitchen garden begin with understanding that Allium schoenoprasum functions as a perennial bulb factory, producing offset clusters annually and tolerating harvest cycles every 14 days during active growth. This member of the Amaryllidaceae family evolved in limestone meadows across Europe and Asia, where pH values between 6.5 and 7.0 and consistent spring moisture shaped its cultural requirements.
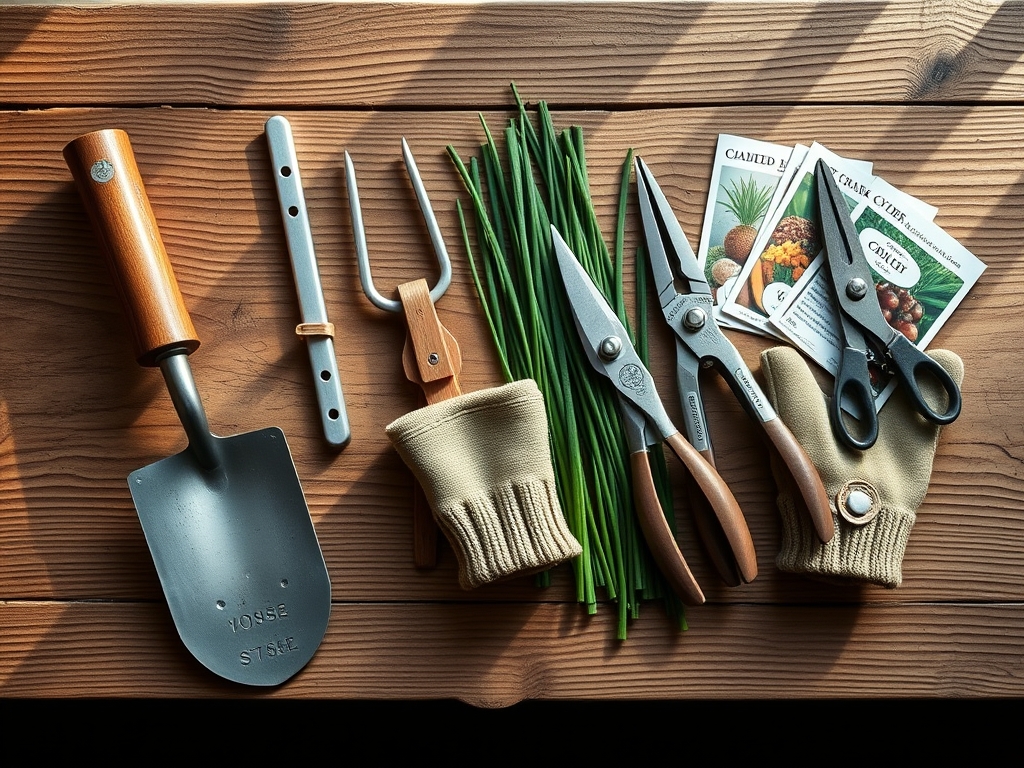
Materials
Soil amendments must target a pH range of 6.5 to 7.0. Test with a digital meter or laboratory analysis before planting. Incorporate 2 inches of finished compost to improve cation exchange capacity, which governs nutrient retention in clay and sandy loams alike.
Select a balanced organic fertilizer rated 4-4-4 or 5-5-5. Fish meal, kelp meal, and alfalfa pellets supply nitrogen for foliar production without the salt index spike associated with synthetic ammonium nitrate. Chives demand moderate phosphorus to support root division and potassium to regulate stomatal function during summer heat.
Procure healthy transplants or seed packets certified for germination rates above 75 percent. Obtain mycorrhizal inoculant powder containing Glomus species. These arbuscular fungi colonize chive roots, extending phosphorus uptake by a factor of three in low-fertility soils.
Prepare 6-inch terracotta or resin pots with drainage holes measuring at least 0.5 inches in diameter. Containers allow mobility and root-zone temperature control, critical when ambient air drops below 40 degrees Fahrenheit.
Timing
Chives thrive in USDA Hardiness Zones 3 through 9. Direct-seed outdoors two weeks before the last expected spring frost, when soil temperature stabilizes at 60 degrees Fahrenheit. In Zone 7, this window typically opens between March 15 and April 1. In Zone 5, delay until April 20 to May 5.
For transplants started indoors, sow seed 8 to 10 weeks before the frost-free date. Germination occurs in 10 to 14 days under 70-degree conditions with 16 hours of supplemental LED light calibrated to 100 micromoles per square meter per second.
Autumn planting succeeds in Zones 7 and warmer. Seed or transplant 6 weeks before the first fall frost to allow root establishment before dormancy. Mulch crowns with 2 inches of shredded hardwood bark to insulate bulbs through winter.
Phases
Sowing
Space seeds 0.25 inches apart in shallow furrows no deeper than 0.25 inches. Chive seeds require light exposure to trigger auxin distribution, the hormone cascade initiating radicle emergence. Cover lightly with vermiculite rather than soil to maintain moisture without blocking photoreceptors.
Water with a misting nozzle to deliver 0.5 inches daily until cotyledons emerge. Overwatering at this stage encourages Pythium damping-off, a fungal pathogen that collapses seedling stems at the soil line.
Pro-Tip: Dust seeds with mycorrhizal inoculant before sowing. Mix 0.25 teaspoons of powder per linear foot of furrow to ensure spore contact with emerging roots.
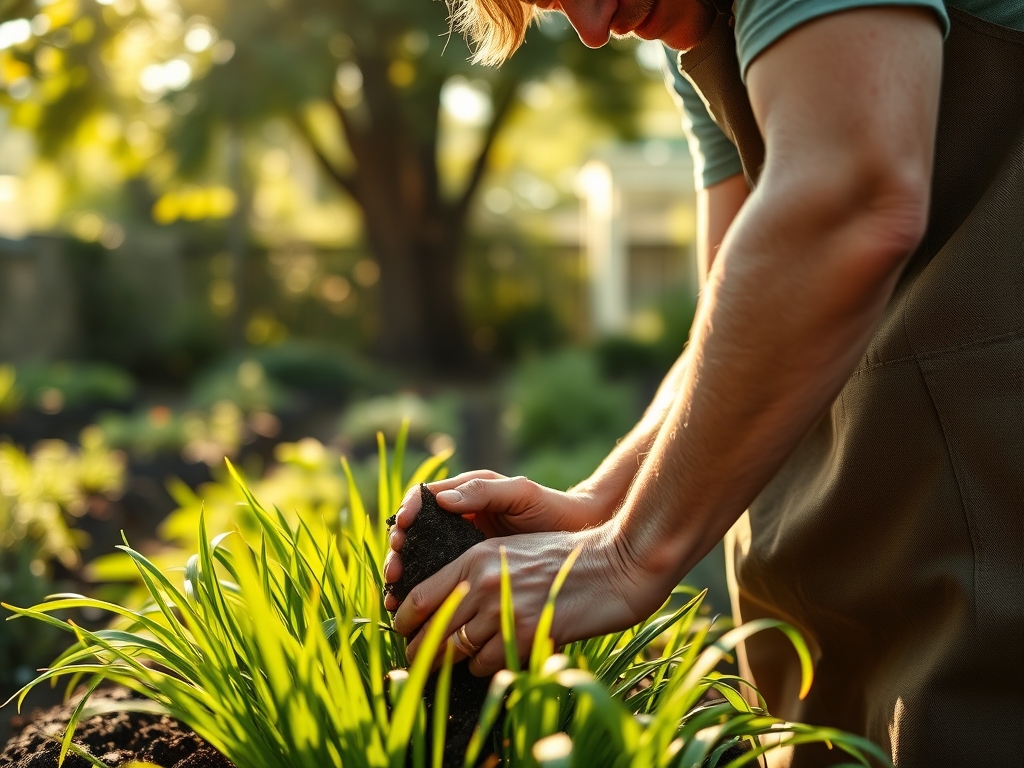
Transplanting
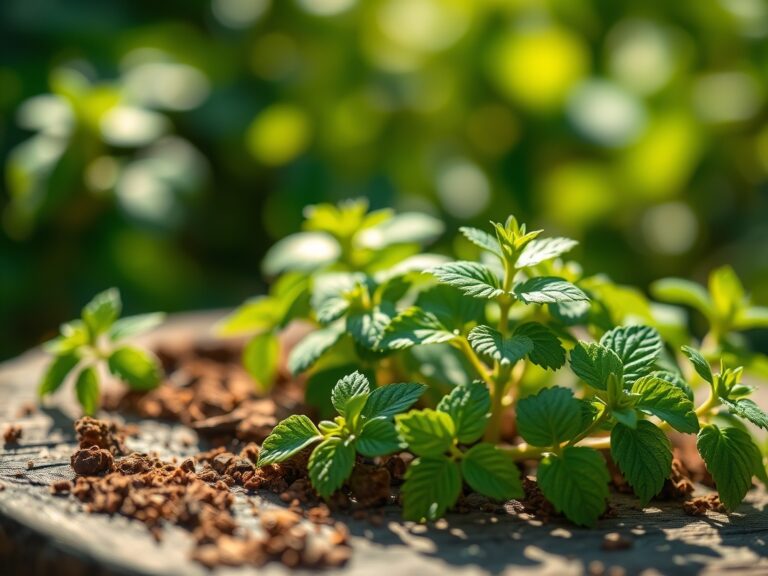
Thin seedlings to 4-inch spacing once true leaves appear, typically at 21 days post-germination. Transplant clusters of 5 to 8 seedlings together rather than separating individuals. This mimics natural clumping and accelerates canopy closure, reducing weed competition.
Dig planting holes 3 inches deep. Position the crown where stem meets root at soil grade. Planting too deep smothers basal plates, the compressed stem tissue generating new bulbs. Backfill with native soil amended with 1 tablespoon of bone meal per transplant to supply slow-release phosphorus.
Pro-Tip: Trim foliage to 3 inches immediately after transplanting. This reduces transpiration stress and redirects carbohydrate reserves into root expansion rather than leaf maintenance.
Establishing
Chives establish full root systems within 30 days under optimal moisture. Apply 1 inch of water weekly, delivered in two 0.5-inch irrigations spaced three days apart. Drip lines or soaker hoses prevent foliar wetting, which promotes Botrytis leaf blight in humid climates.
Side-dress with 2 tablespoons of 4-4-4 fertilizer per plant at 45 days, scratching granules into the top inch of soil. Nitrogen sustains the production of tubular leaves, each photosynthesizing surface generating sugars for bulb multiplication.
Pro-Tip: Pinch off flower buds as they form unless seed collection is desired. Flowering halts vegetative growth and redirects nitrogen into reproductive structures, reducing harvestable biomass by 40 percent over a 60-day period.
Troubleshooting
Symptom: Yellow leaf tips progressing to complete blade chlorosis.
Solution: Diagnose nitrogen deficiency. Apply liquid fish emulsion at 1 tablespoon per gallon of water as a foliar spray every 7 days until green color returns.
Symptom: White powdery coating on foliage, typically in late summer.
Solution: Powdery mildew (Erysiphe spp.) thrives in dry soil and high humidity. Increase air circulation. Spray with 1 tablespoon baking soda and 0.5 teaspoons horticultural oil per quart of water weekly.
Symptom: Stunted growth with purple-tinged leaves.
Solution: Phosphorus lockout caused by soil pH below 6.0. Amend with dolomitic lime at 5 pounds per 100 square feet. Retest pH after 30 days.
Symptom: Bulbs soft and foul-smelling.
Solution: Bacterial soft rot from waterlogged conditions. Improve drainage. Discard infected plants. Avoid overhead watering.
Maintenance
Harvest outer leaves with clean scissors, cutting 2 inches above the crown. Leave at least 3 inches of growth to sustain photosynthesis and bulb energy reserves. Frequency: every 14 days during active growth from April through October.
Divide clumps every 3 years in early spring. Lift entire clusters with a spading fork. Separate into sections containing 10 bulbs each. Replant immediately at original depth.
Fertilize established plants with 4-4-4 organic blend at 0.25 pounds per 10 square feet in early April and again in mid-July. Avoid high-nitrogen formulas after August 15, which stimulate tender growth vulnerable to frost damage.
FAQ
How long do chives take to grow from seed?
Harvest begins 60 days from germination when leaves reach 6 inches. Full maturity occurs at 90 days.
Can chives grow in partial shade?
Yes. Chives tolerate 4 hours of direct sun minimum but produce thinner stems and reduced yields compared to full-sun placements receiving 6-plus hours.
Do chives need fertilizer?
Annual applications of balanced organic fertilizer maintain productivity. Unfed plants survive but generate 50 percent less harvestable foliage.
How do you overwinter chives?
Mulch crowns with 3 inches of straw in Zones 3-5. In Zones 6-9, foliage dies back naturally. New growth emerges in March.
Why are my chives flowering?
Chives flower in response to lengthening photoperiods after 14 hours of daylight. Remove scapes to prolong leaf production or allow blooms for pollinator support.