8 Simple Steps to Pressing Garden Flowers
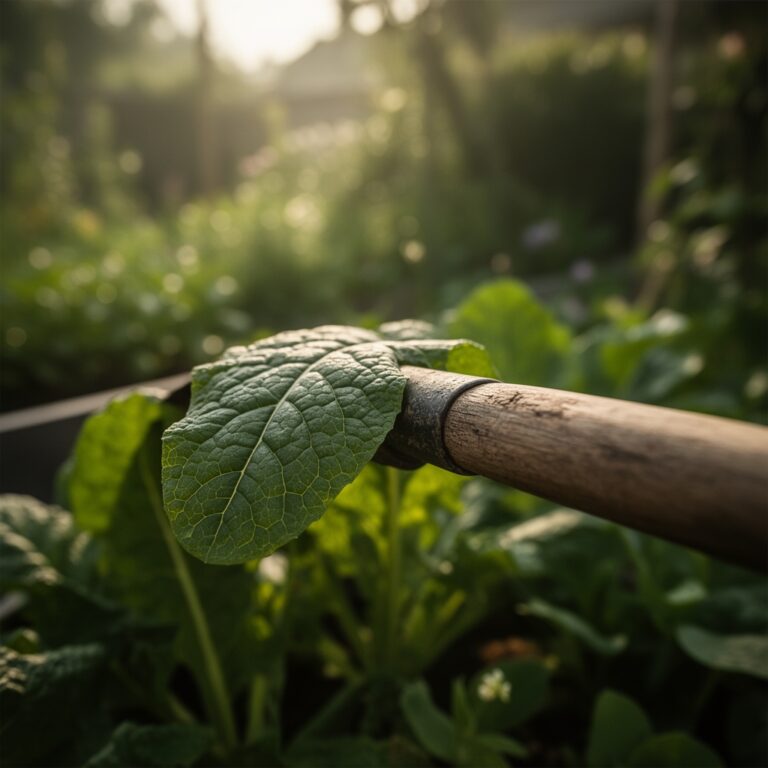
The smell of damp earth and the high turgor pressure of a healthy stem signify the peak moment for preservation. Successful botanical preservation requires more than a heavy book; it demands an understanding of cellular structure and moisture evaporation rates. By mastering the steps to pressing garden flowers, you lock in the morphological characteristics of a specimen at its physiological prime. This process halts the natural progression toward senescence and enzymatic breakdown.
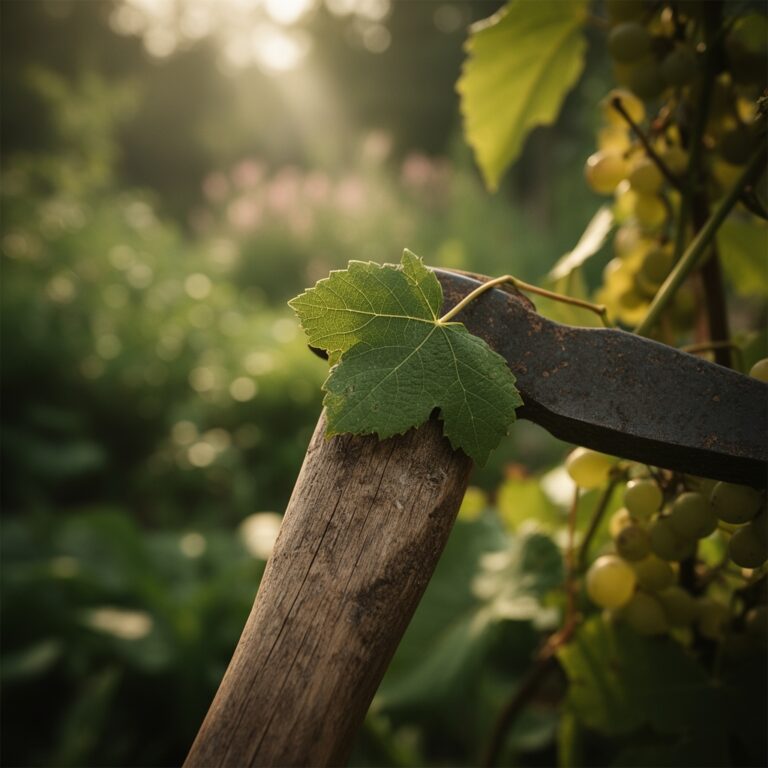
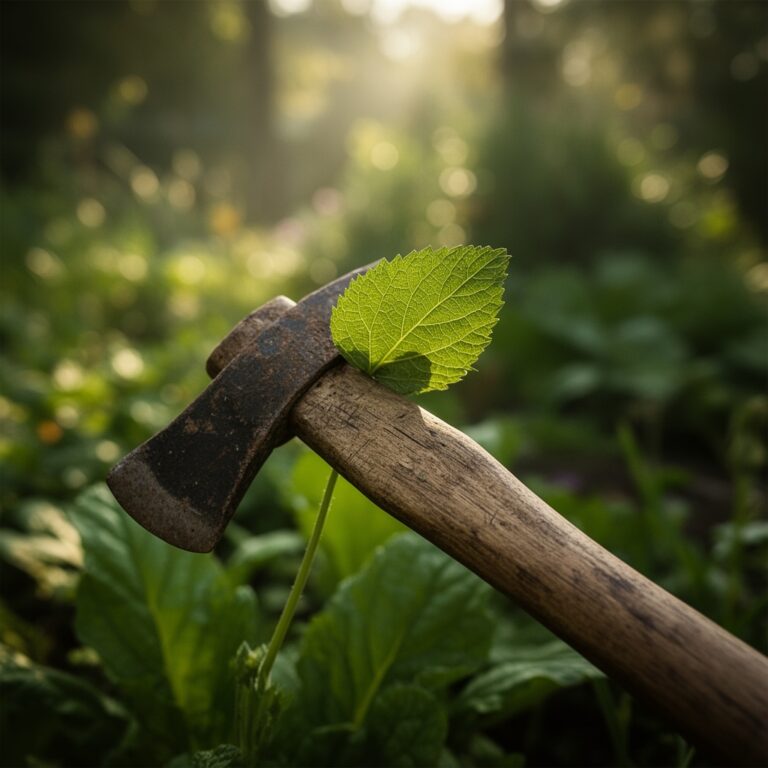
Materials:
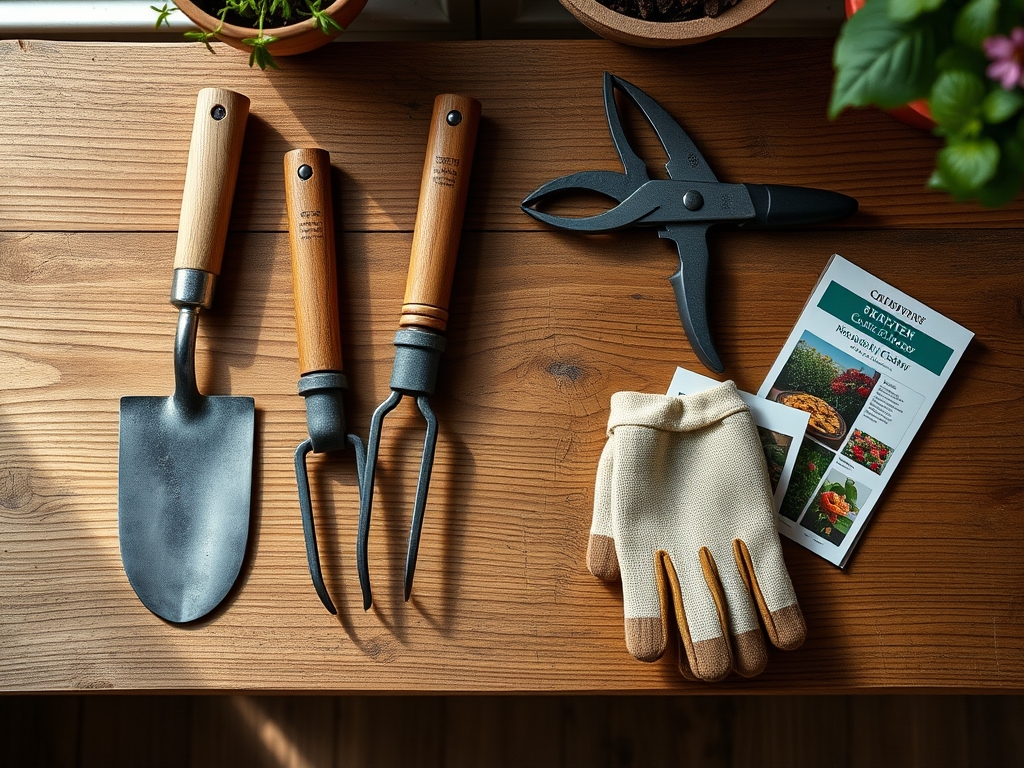
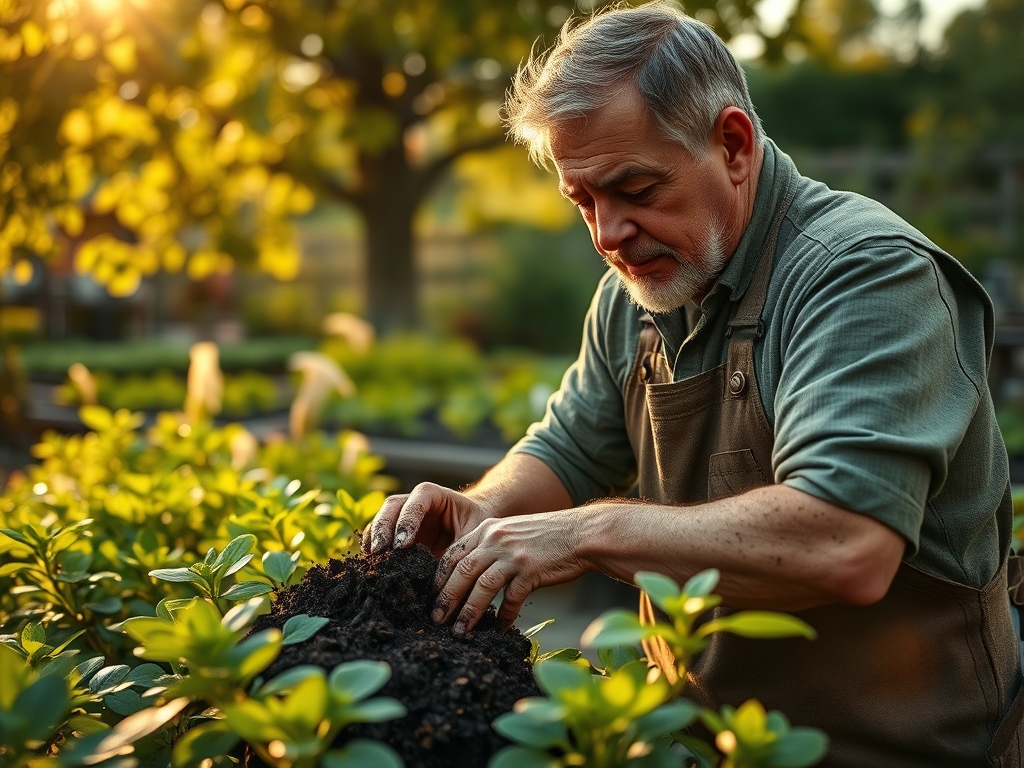
Quality specimens begin in the rhizosphere. For optimal flower production, maintain a soil pH between **6.0 and 7.0** to ensure maximum nutrient bioavailability. The ideal substrate is a friable loam with a high Cation Exchange Capacity (CEC), allowing the plant to readily access essential ions. Prior to the reproductive phase, use a fertilizer with an NPK ratio of **10-30-20**. High phosphorus levels promote robust bloom development and strengthen the vascular tissues. You will also need acid-free blotting paper, corrugated cardboard for ventilation, and a wooden flower press capable of exerting even, mechanical pressure.
Timing:
Timing is dictated by your Hardiness Zone and the specific photoperiod requirements of the species. In Zones 5 through 8, the window for spring ephemerals is narrow; you must harvest after the morning dew has evaporated but before the midday sun triggers transpiration stress. The biological clock of the plant transitions from vegetative growth to reproductive anthesis based on light duration and thermal units. Harvest exactly when the flower has just reached full expansion. If you wait until after pollination, the plant begins diverting energy to seed production, leading to rapid petal abscission and browning during the pressing process.
Phases:
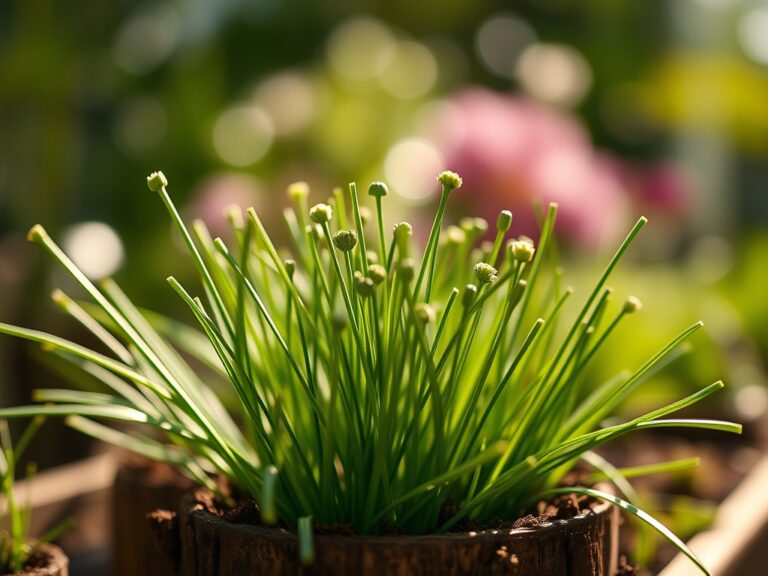
### Sowing and Cultivation
Start seeds in a sterile medium to prevent damping-off. Maintain a consistent temperature of **70 degrees Fahrenheit** for germination. Once the second set of true leaves appears, the plant is ready for hardening off.
**Pro-Tip:** Maintain consistent soil moisture to prevent a spike in abscisic acid. This hormone triggers stomatal closure and can lead to brittle petals that shatter during the pressing phase.
Transplanting
Move seedlings to the garden when the soil temperature consistently reaches 60 degrees Fahrenheit. Space plants according to their mature spread to ensure adequate airflow, which reduces the risk of fungal pathogens like Botrytis cinerea.
Pro-Tip: Inoculate the planting hole with mycorrhizal fungi. This symbiotic relationship expands the root surface area, increasing the uptake of water and phosphorus, which results in more resilient cell walls.
Establishing and Hydration
In the forty-eight hours prior to harvest, ensure the plant receives 1.5 inches of water. This maximizes cellular turgidity. Use a soil moisture meter to verify that the root zone is hydrated but not anaerobic.
Pro-Tip: Harvest in the early morning to take advantage of low transpiration rates. At this time, auxin levels are optimized for structural integrity, ensuring the specimen retains its anatomical shape under pressure.
The Clinic:
Physiological disorders can ruin a specimen before it ever reaches the press.
Symptom: Interveinal chlorosis (yellowing between green veins) on young leaves.
Solution: This indicates an Iron deficiency, often caused by a pH above 7.5. Lower the pH using elemental sulfur.
Symptom: Necrotic spots on petal margins.
Solution: This is often a sign of Potassium deficiency or Calcium localized deficiency. Ensure an NPK ratio of 10-10-20 during the budding stage to reinforce cell membranes.
Symptom: Distorted or "strappy" new growth.
Solution: This is frequently caused by drift from phenoxy herbicides or extreme heat stress. Provide 30 percent shade cloth if temperatures exceed 90 degrees Fahrenheit.
Fix-It for Nitrogen Chlorosis: If the entire leaf turns pale green or yellow, apply a water-soluble fertilizer with a high Nitrogen count (e.g., 20-10-10) to immediately boost chlorophyll production.
Maintenance:
Precision maintenance is the difference between a mediocre bloom and a museum-quality specimen. Deliver 1.5 inches of water per week directly at the drip line to avoid wetting the foliage, which can invite mildew. Use a hori-hori knife to remove competing weeds that steal nitrogen and moisture from the rhizosphere. For woody perennials, use bypass pruners to make clean, slanted cuts that promote rapid callousing. Monitor the soil regularly; if the soil moisture meter reads below 20 percent in the top four inches of soil, supplemental irrigation is mandatory.
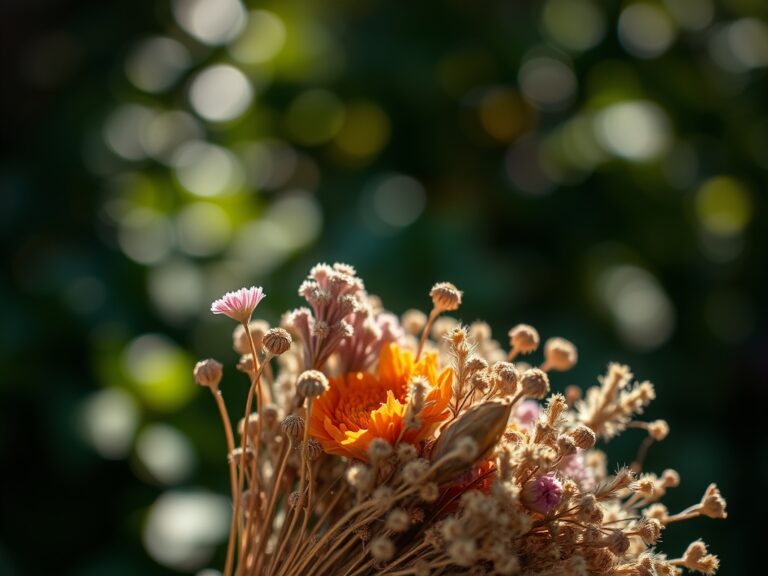
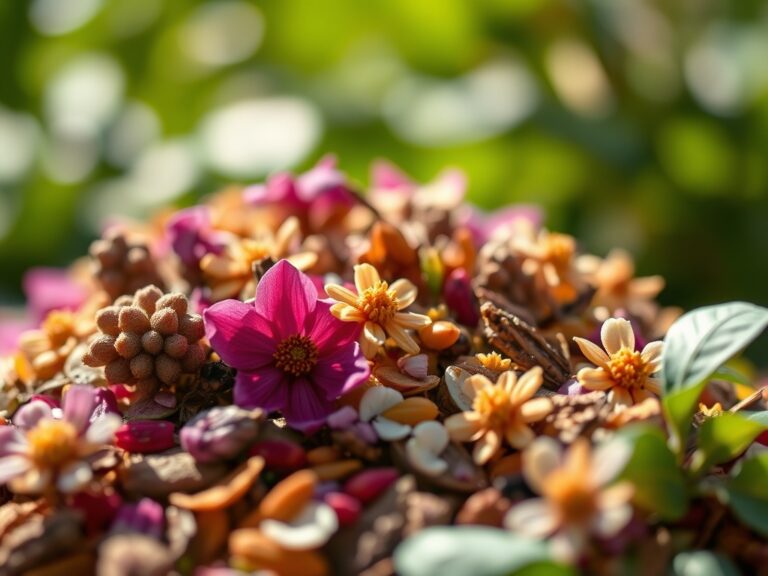
The Yield:
Harvesting for pressing requires a sharp blade and a steady hand. Cut the stem at a 45-degree angle and immediately submerge it in 110-degree Fahrenheit water. This "pulse" treatment breaks air bubbles in the xylem, ensuring the flower remains hydrated until it is placed in the press. Once inside the press, arrange the petals to display the diagnostic features of the species. Tighten the press bolts evenly. The specimen must remain under pressure in a dry, dark environment for 14 to 21 days. This duration allows for the complete sublimation of moisture from the cellular vacuoles without the degradation of pigments.
FAQ:
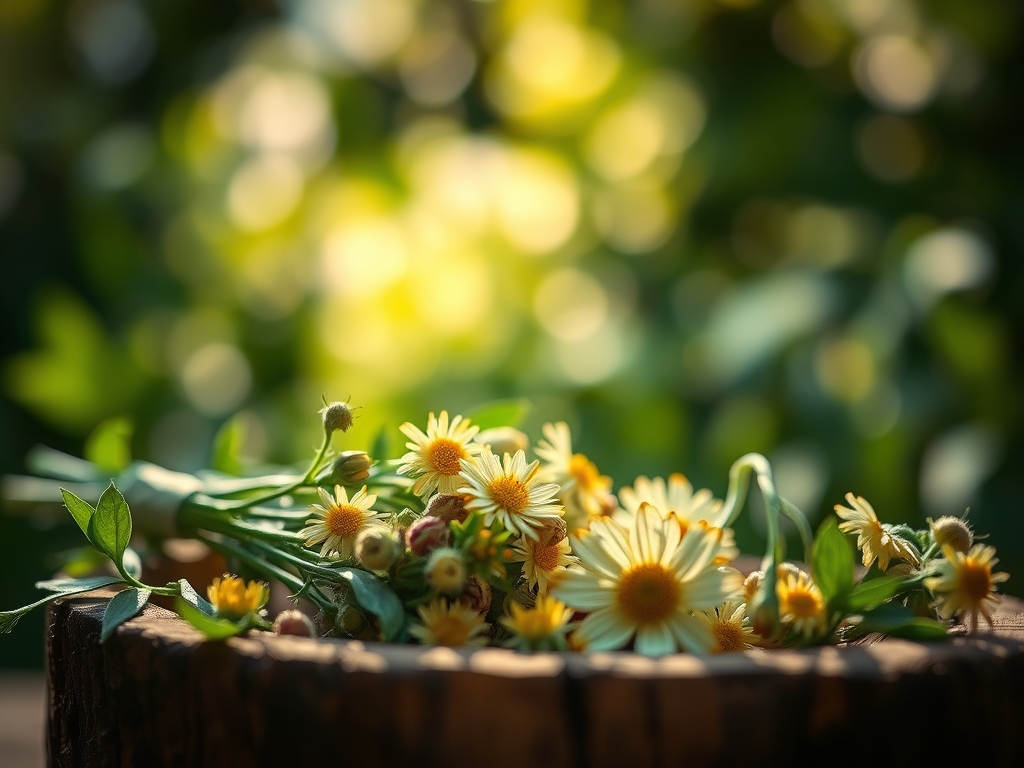
Which flowers are best for pressing?
Select species with naturally flat profiles like violas, daisies, or cosmos. Avoid succulents or thick-headed blooms like double-petaled roses, as their high moisture content and bulk lead to fungal growth and uneven drying within the press.
How do I prevent the flowers from browning?
Rapid moisture removal is essential. Use high-quality blotting paper and change it every 48 hours during the first week. This prevents the oxidation of phenolic compounds, which causes the tissue to turn brown or black.
Can I press flowers using a microwave?
Yes, use a specialized ceramic microwave press. Heat in 20-second intervals to prevent scorching. This method uses electromagnetic radiation to vibrate water molecules, driving them out of the plant tissue much faster than traditional air drying.
How long do pressed flowers last?
If stored away from direct UV light and maintained at a relative humidity below 50 percent, pressed specimens can last for decades. UV exposure triggers the breakdown of anthocyanins and carotenoids, leading to permanent color loss.