7 Vital Steps to Grow a Curry Leaf Plant
Crushing a fresh leaf from the Murraya koenigii releases a volatile oil profile dominated by caryophyllene and linalool. This pungent aroma signals high turgor pressure and a healthy metabolic state. To master the steps to grow a curry leaf plant, one must treat the specimen as a tropical woody perennial rather than a standard culinary herb. Success requires managing specific environmental variables including soil temperature, light intensity, and moisture levels within the rhizosphere. This guide details the physiological requirements for sustained growth and foliar production.
Materials:
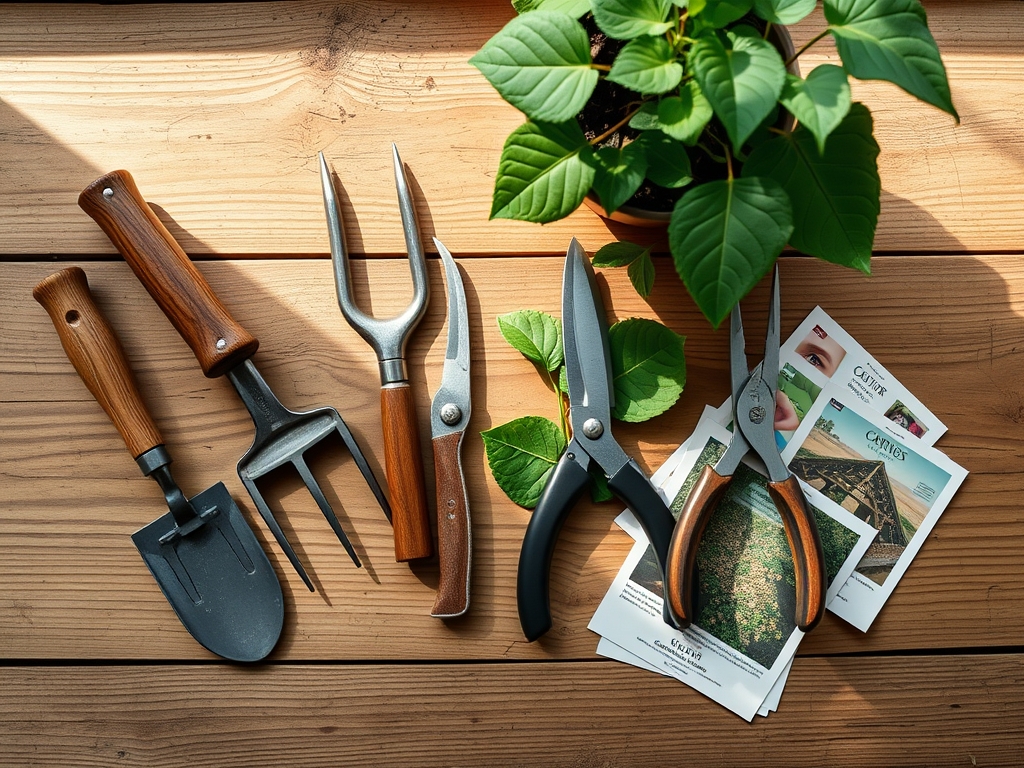
Cultivating this species requires a substrate with a high Cation Exchange Capacity (CEC) to ensure nutrient availability. The ideal soil is a **friable loam** with a **pH range between 6.0 and 7.0**. Avoid heavy clays that restrict oxygen to the roots. You will need:
- Substrate: A mix of 50 percent compost, 30 percent coarse sand or perlite, and 20 percent peat moss.
- Fertilizer: A water-soluble NPK ratio of 20-10-10 for vegetative growth.
- Trace Elements: Chelated iron and magnesium sulfate (Epsom salts) to prevent interveinal chlorosis.
- Containers: Terracotta pots with a minimum 12-inch diameter for drainage and gas exchange.
Timing:
The Murraya koenigii is native to the Indian subcontinent and thrives in USDA Hardiness Zones 9 to 12. In cooler climates, the plant must be moved indoors when ambient temperatures drop below 55 degrees Fahrenheit. The biological clock of the plant is governed by the photoperiod. During the spring equinox, the plant exits its semi-dormant winter state and begins rapid vegetative expansion. Sowing seeds should occur immediately after harvest; the seeds are recalcitrant and lose viability within 10 to 14 days of removal from the fruit.
Phases:
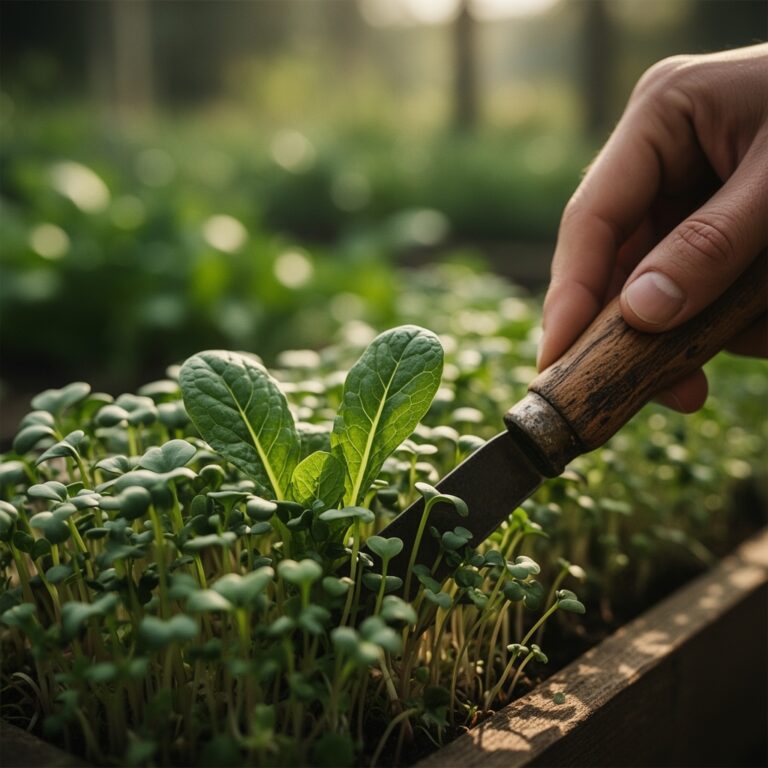
Sowing and Germination
Remove the dark purple pulp from the seed to prevent fungal pathogens. Plant the green embryo 0.5 inches deep in a sterile seed-starting mix. Maintain a constant soil temperature of 75 to 80 degrees Fahrenheit using a heating mat. Germination typically occurs within 15 to 21 days.
Pro-Tip: Maintain high humidity around the seedling to prevent desiccation. Biological Why: High humidity reduces the vapor pressure deficit (VPD), allowing the young plant to maintain turgor while its root system is still underdeveloped.
Transplanting
Transplant the seedling once it has developed two sets of true leaves. Use a hori-hori knife to lift the root ball, ensuring you do not disturb the delicate taproot. Place the plant at the same depth it was in the nursery pot to avoid stem rot.
Pro-Tip: Inoculate the soil with mycorrhizal fungi during transplanting. Biological Why: Mycorrhizal symbiosis expands the surface area of the root system, significantly increasing the uptake of phosphorus and micronutrients.
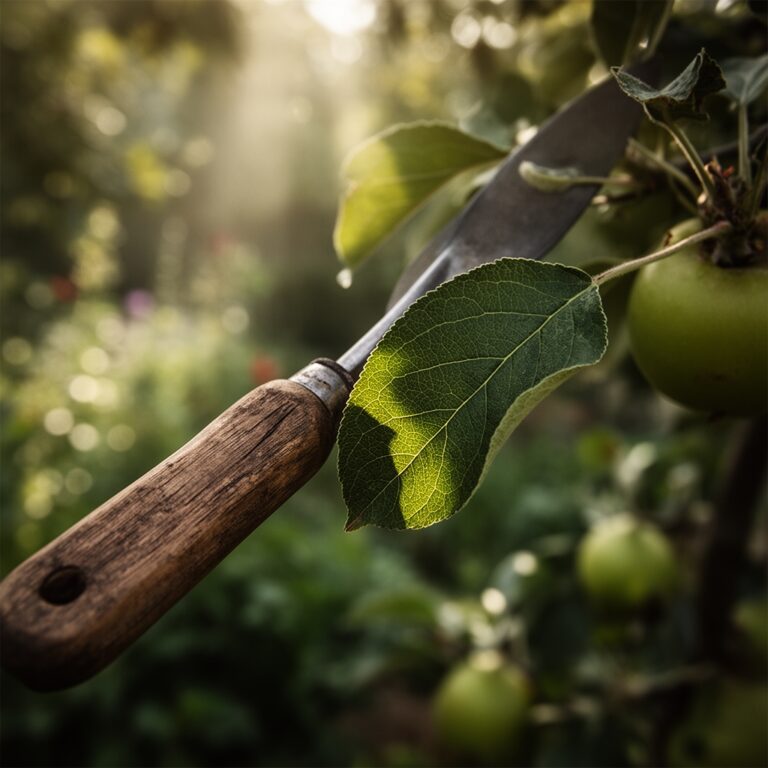
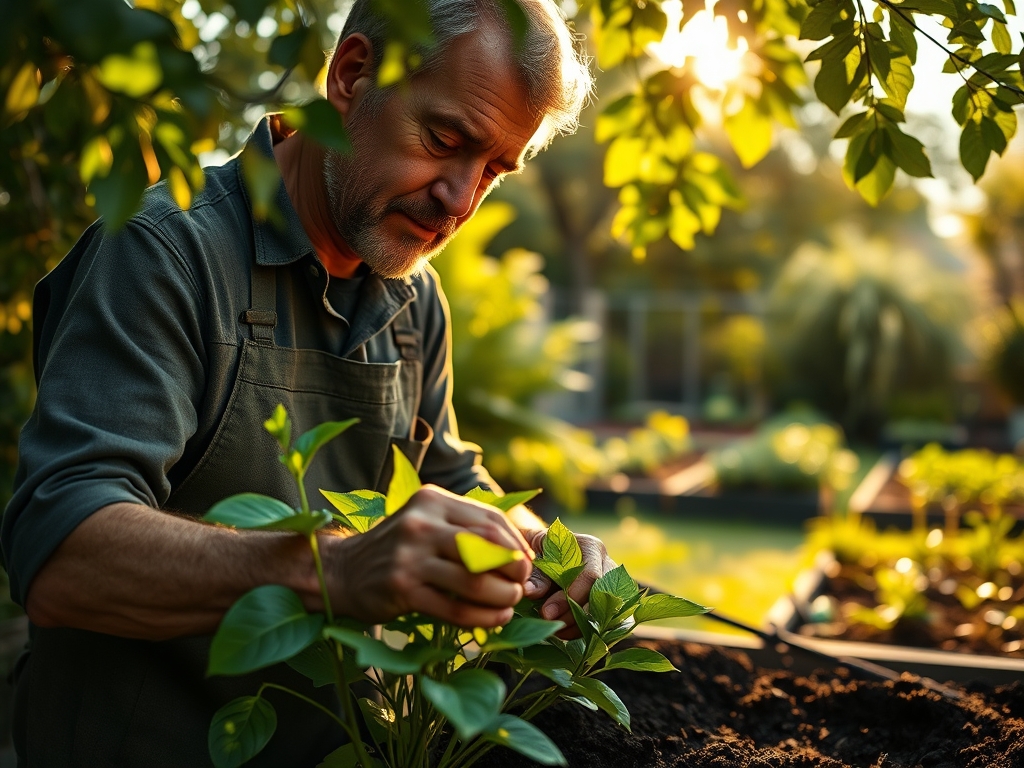
Establishing and Pruning
Once the plant reaches 12 inches in height, pinch off the terminal bud. This action disrupts apical dominance and encourages lateral branching. Use sharp bypass pruners to make clean cuts at a 45-degree angle just above a leaf node.
Pro-Tip: Prune during the early morning hours. Biological Why: Pruning triggers auxin suppression in the tip, which redistributes growth hormones to axillary buds, resulting in a bushier canopy and more leaf surface area for photosynthesis.
The Clinic:
Physiological disorders often stem from improper irrigation or nutrient imbalances. Monitor the foliage for these specific symptoms:
- Symptom: Yellowing of older leaves while veins remain green. Solution: This indicates a magnesium deficiency. Apply one tablespoon of magnesium sulfate per gallon of water once a month.
- Symptom: New growth is pale yellow or white. Solution: This is iron chlorosis, often caused by a high soil pH. Lower the pH using elemental sulfur or apply chelated iron as a foliar spray.
- Symptom: Leaf drop and blackened roots. Solution: Root rot from overwatering. Reduce irrigation and ensure the container has adequate drainage holes.
- Symptom: Stunted growth and small leaves. Solution: Nitrogen deficiency. Supplement with a high-nitrogen fertilizer or blood meal to boost chlorophyll production.
Maintenance:
Precision is required for long-term health. Use a soil moisture meter to verify that the top two inches of soil are dry before re-watering. Generally, the plant requires 1.5 inches of water per week delivered at the drip line. Avoid wetting the foliage to prevent fungal infections.
During the active growing season, apply a balanced fertilizer every four weeks. If the plant is container-grown, it will require repotting every two years to prevent it from becoming root-bound. When the plant enters senescence in the winter, reduce watering frequency and cease fertilization.
The Yield:
Harvesting can begin once the plant is two years old and at least two feet tall. Always harvest the oldest leaves first, or take entire sprigs to encourage new growth. Do not remove more than one-third of the foliage at any single time to avoid stressing the vascular system.
For day-one freshness, harvest in the early morning when the leaves have maximum water content. If not using immediately, wrap the sprigs in a damp paper towel and store them in a sealed container in the refrigerator. For long-term storage, the leaves can be frozen; air-drying is not recommended as it causes the volatile oils to dissipate, leading to a loss of flavor profile.
FAQ:
How much sun does a curry leaf plant need?
The plant requires six to eight hours of direct sunlight daily. In extreme heat above 100 degrees Fahrenheit, provide 30 percent shade cloth to prevent leaf scorch and maintain metabolic efficiency.
Why are my curry plant leaves turning yellow?
Yellowing is usually caused by nitrogen deficiency or overwatering. Check soil moisture levels with a meter and ensure the pH is between 6.0 and 7.0 to facilitate proper nutrient uptake.
Can I grow a curry leaf plant from a cutting?
Yes, use semi-hardwood cuttings about five inches long. Remove lower leaves, dip in rooting hormone, and place in a high-humidity environment with bottom heat of 75 degrees Fahrenheit to stimulate root initiation.
How often should I fertilize my curry leaf plant?
Apply a high-nitrogen fertilizer every four weeks during the spring and summer. Stop all fertilization during the winter months when the plant enters a dormant or semi-dormant state to prevent salt buildup.
What is the best soil for curry leaf plants?
Use a well-draining, friable loam rich in organic matter. A mixture of compost, perlite, and peat moss ensures a high cation exchange capacity while preventing waterlogging in the rhizosphere.