7 Creative Steps to Make a Lavender Sachet DIY
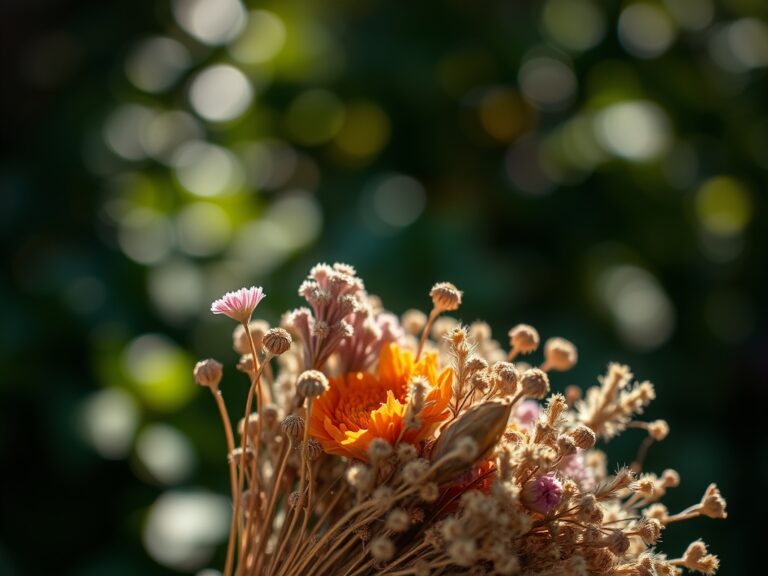
Crushing a dried calyx between your thumb and forefinger releases a concentrated burst of linalool and linalyl acetate; the volatile oils that define the genus Lavandula. The scent is sharp and medicinal; a stark contrast to the heavy smell of damp compost or the metallic tang of a well-honed hori-hori knife. Understanding the steps to make a lavender sachet diy begins long before the fabric is cut. It starts with the physiological state of the plant during the peak of its reproductive cycle. When the plant reaches maximum turgor pressure in the early morning, the essential oil concentration is at its highest before the sun triggers evaporation. A successful sachet requires high-quality botanical material harvested at the precise moment of anthesis; the period when the flower is fully open and functional. By focusing on the chemical integrity of the spikes, you ensure the longevity of the fragrance. This process demands technical precision in both cultivation and post-harvest handling to prevent the degradation of the volatile compounds through oxidation or fungal pathogens.
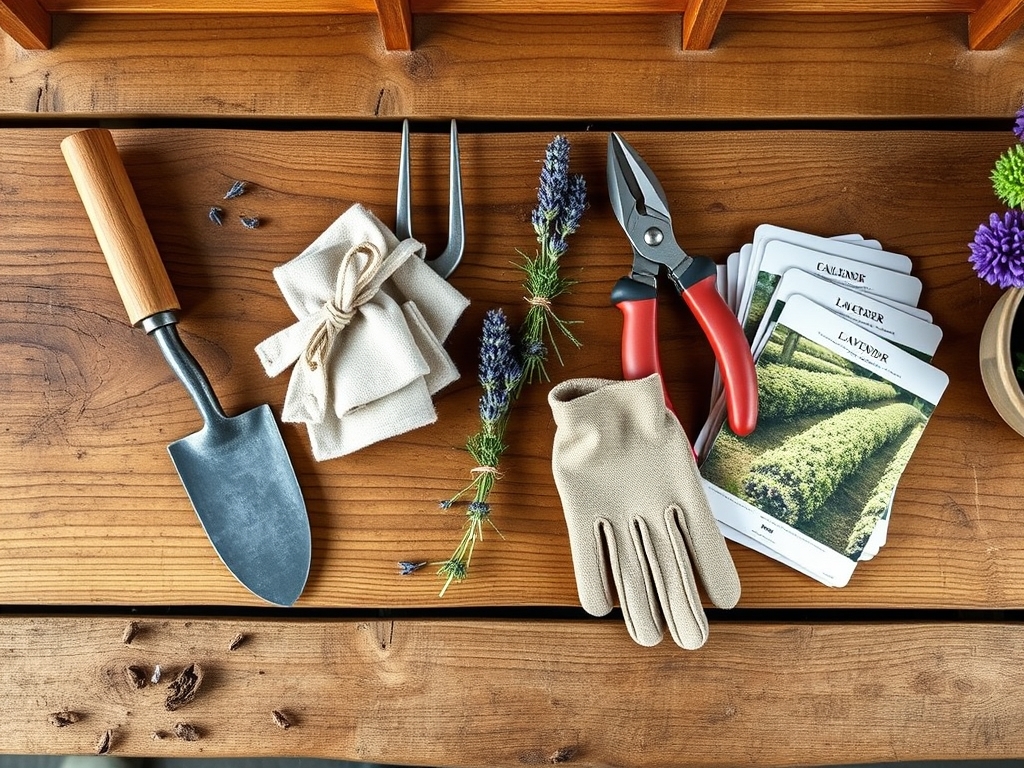
Materials:
To produce the raw material for a sachet, you must manage the soil chemistry with precision. Lavandula angustifolia requires a **soil pH between 6.7 and 7.3**. In acidic conditions, the Cation Exchange Capacity (CEC) is disrupted; leading to aluminum toxicity that stunts root development. The ideal substrate is a **friable loam** with high porosity to ensure rapid drainage.
For the nutritional regimen, avoid high-nitrogen fertilizers which promote weak, vegetative growth at the expense of oil production. Utilize an NPK ratio of 5-10-10 or 0-10-10 during the budding phase. This phosphorus-heavy approach strengthens the vascular system and increases the density of the flower spikes. You will also need breathable fabric such as 100 percent linen or cotton muslin; synthetic fibers lack the porosity required for gas exchange, which can lead to moisture trapping and internal molding of the botanical matter.
Timing:
The biological clock of the lavender plant is dictated by the photoperiod and thermal accumulation. In Hardiness Zones 5 through 9, the window for harvesting begins after the last frost date, typically between June and August. The transition from the vegetative stage to the reproductive stage is triggered when daylight exceeds 14 hours.
Monitor the "Biological Clock" closely. You must harvest when exactly one-third of the florets on a spike have opened. If you wait until full senescence, the petals will drop, and the essential oil profile will shift toward a camphor-heavy scent, reducing the olfactory quality of the sachet. Aim for a temperature window between 65 and 75 degrees Fahrenheit on a day with less than 40 percent humidity to minimize the risk of botrytis during the drying phase.
Phases:
Sowing and Site Selection
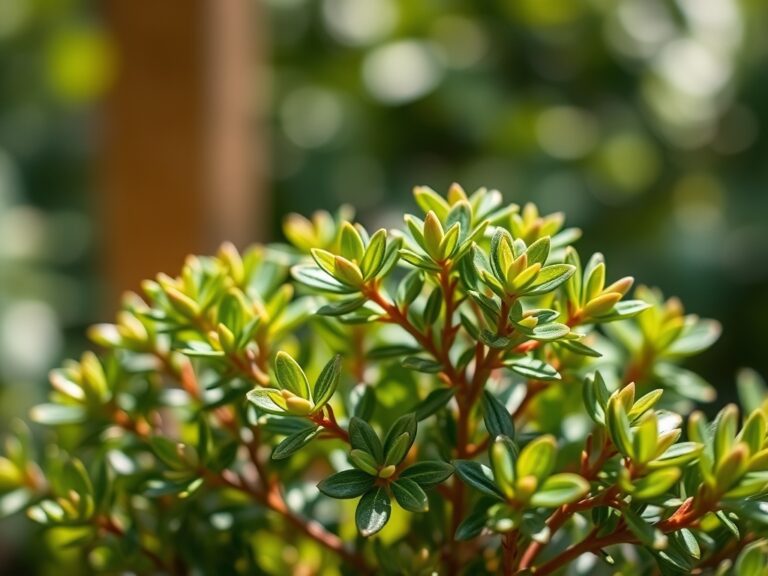
Select a site with full solar exposure (minimum 8 hours). Lavender is an obligate heliophyte; it requires high light intensity to drive the metabolic pathways responsible for terpene synthesis. Ensure the rhizosphere is free of competing weeds that might deplete the limited micronutrients in the rocky soil lavender prefers.
Pro-Tip: Proper spacing prevents stagnant microclimates. Lavender requires 36 inches of clearance to facilitate airflow. This reduces the boundary layer of humidity around the foliage; a biological necessity to prevent the germination of fungal spores like Septoria lavandulae.
Transplanting and Root Establishment
When moving starts into the field, ensure the crown sits 0.5 inches above the soil line. Deep planting leads to crown rot. Use a soil moisture meter to maintain a dry-down cycle; the roots must search for water to develop a robust architecture.
Pro-Tip: Introduce mycorrhizal fungi during the transplant phase. This symbiotic relationship extends the root system's reach; increasing the plant's ability to uptake phosphorus and water in arid conditions through hyphal networks.
Establishing and Pruning
During the first year, remove all flower spikes before they bloom. This redirects the plant's energy from reproduction to structural development. Use bypass pruners to make clean cuts at a 45-degree angle to prevent water from pooling on the stems.
Pro-Tip: Pruning suppresses apical dominance. By removing the terminal bud, you stimulate the lateral buds through the redistribution of auxins; resulting in a bushier plant with a higher yield of flower spikes for your sachets.
The Clinic:
Physiological disorders often manifest as visual cues in the foliage.
- Symptom: Yellowing of lower leaves (Chlorosis).
- Solution: Check soil pH. If the pH is below 6.5, the plant cannot access magnesium. Apply dolomitic lime to raise the pH and provide essential cations.
- Symptom: Sudden wilting despite moist soil (Phytophthora root rot).
- Solution: This is a drainage failure. Improve the physical texture of the soil by adding perlite or 0.25-inch crushed stone to the planting hole.
- Symptom: Slow growth and pale foliage (Nitrogen deficiency).
- Fix-It: Apply a low-dose organic fertilizer with an NPK of 4-2-2. Do not over-apply; excess nitrogen results in "soft" growth that is susceptible to winter kill.
Maintenance:
Precision irrigation is vital. Lavender is drought-tolerant once established but requires 1.5 inches of water per week during its first growing season. Apply water directly at the drip line using a soaker hose to keep the foliage dry. Avoid overhead irrigation at all costs.
Use a hori-hori knife to remove deep-rooted perennial weeds that compete for the same ecological niche. In late autumn, apply a 2-inch layer of light-colored pea gravel around the base of the plant. This reflects sunlight back up into the canopy and prevents moisture from sitting against the woody stems during the dormant winter months.
The Yield:
Harvesting for a sachet requires a sharp set of bypass pruners. Cut the stems long, approximately 6 to 8 inches, to allow for bundling. Gather the stems in groups of 20 and secure them with a rubber band; this maintains tension as the stems shrink during desiccation.
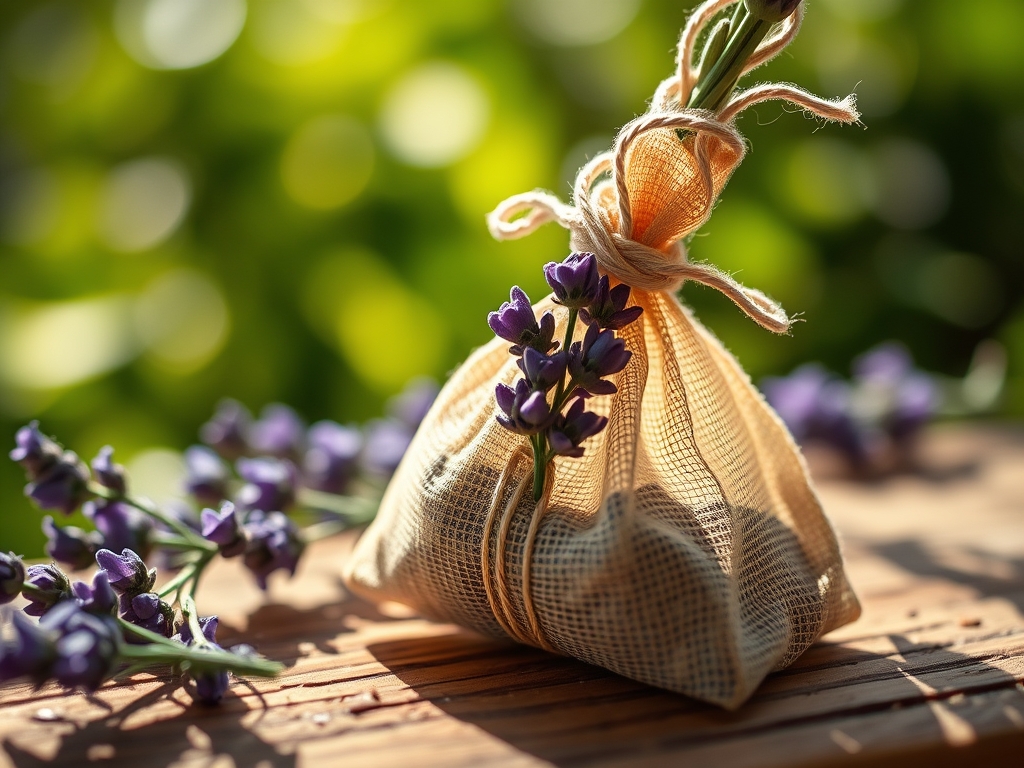
Hang the bundles upside down in a dark, well-ventilated room with a temperature of 70 degrees Fahrenheit. Darkness is essential; UV light degrades the essential oils and bleaches the anthocyanins in the flowers. After 10 to 14 days, the flowers should be "crisp" to the touch. To achieve "day-one" freshness in your sachet, strip the buds from the stems only when you are ready to sew the fabric shut. This keeps the oil glands (trichomes) intact until the final moment.
FAQ:
What is the best fabric for a lavender sachet?
Use 100 percent natural linen or cotton. These materials have a high rate of breathability; allowing the volatile essential oils to permeate the fabric while preventing moisture buildup that causes mold in the dried botanical matter.
How long do lavender sachets last?
A well-constructed sachet remains potent for 12 to 18 months. To refresh the scent, gently squeeze the sachet to rupture the dried trichomes; this releases a new wave of essential oils trapped within the flower buds.
Can I use any lavender variety for sachets?
Lavandula angustifolia (English Lavender) is preferred for its sweet, floral profile. Lavandula x intermedia (Grosso) has a higher camphor content; it provides a stronger, more medicinal scent which is effective for repelling clothes moths in closets.
How do I prevent the lavender from turning brown?
Dry the harvest in a completely dark environment with active airflow. Rapid drying away from UV radiation preserves the purple pigments and prevents the oxidation of the plant tissues; ensuring the buds retain their professional appearance and chemical integrity.