6 Expert Ways How to Do Indoor Garden Photography
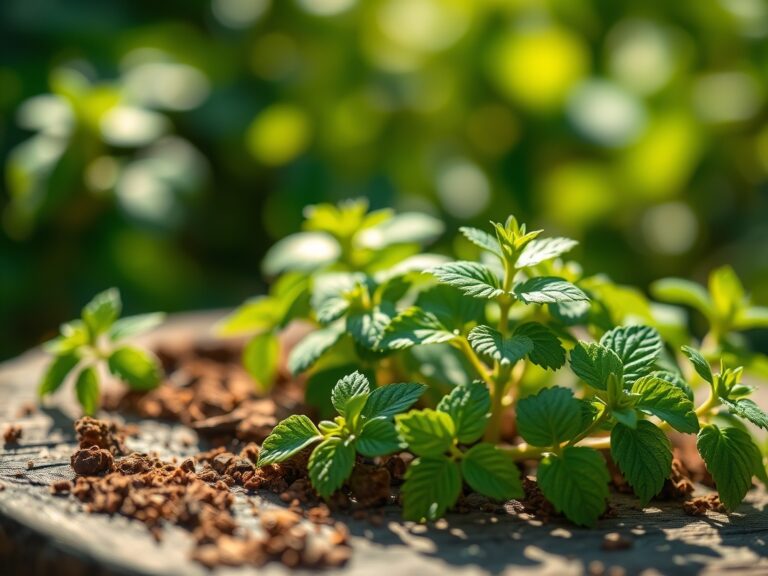
The smell of damp peat moss and the sharp, metallic scent of wet perlite signal a high-functioning indoor growing environment. When a plant maintains optimal turgor pressure, its leaves stand rigid; cell walls are engorged with water, creating the perfect architectural subject for a lens. Mastering how to do indoor garden photography requires more than a camera. It demands an understanding of the biological vigor that allows a specimen to remain photogenic under artificial light. You are documenting a living system where the rhizosphere and the canopy exist in a delicate, pressurized balance.
Capturing the structural integrity of a Monstera deliciosa or the delicate trichomes of a medicinal herb involves managing the interaction between light wavelengths and chlorophyll absorption. Indoor environments often suffer from low light intensity, which leads to leggy growth and poor color saturation. To succeed, you must synchronize your shutter speed with the plant's metabolic state. A plant in peak respiration during the morning hours displays a different physical presence than one entering a period of darkness. This guide provides the technical protocols for documenting your botanical collection with scientific precision.
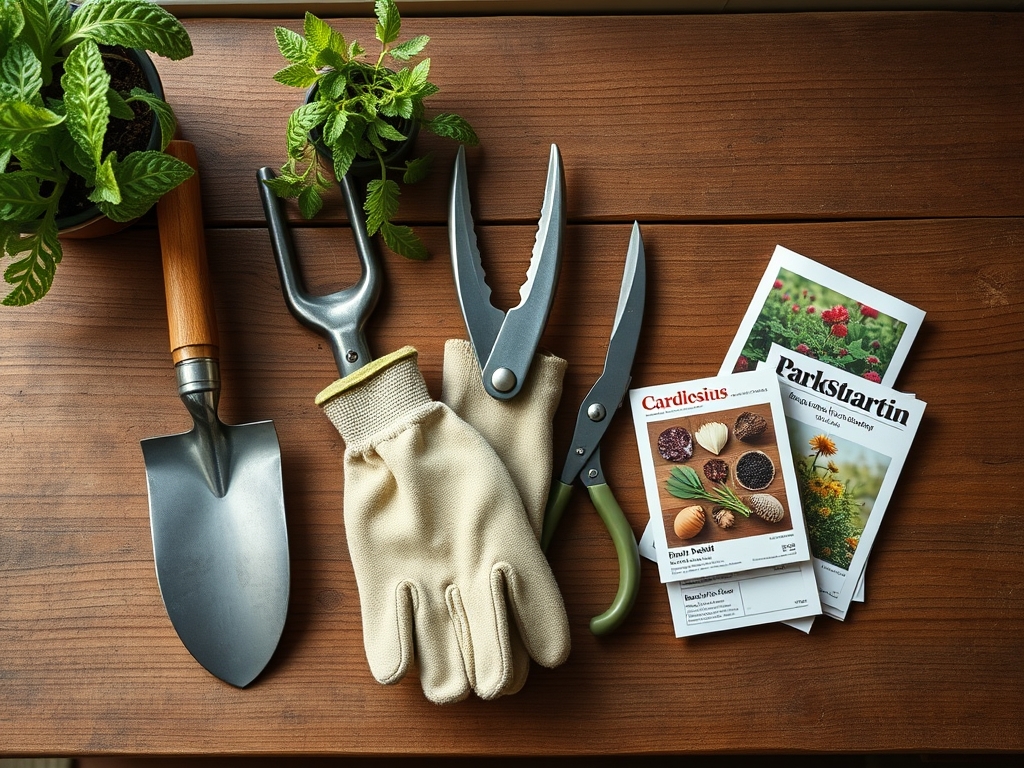
Materials:
The foundation of a photogenic indoor garden is the substrate. For most tropical indoor species, a friable loam with a Cation Exchange Capacity (CEC) of 15 to 25 meq/100g is necessary to facilitate nutrient uptake. The soil must maintain a pH between 5.8 and 6.5 to ensure micronutrients like iron and manganese remain bioavailable. If the pH drifts above 7.0, you will observe interveinal chlorosis, which ruins the visual uniformity of the foliage.
Use a high-quality potting mix amended with 20 percent perlite and 10 percent worm castings. The NPK ratio should be tailored to the growth stage. For vegetative photography, a 3-1-2 NPK ratio promotes the lush, deep green foliage that absorbs light efficiently for the camera. Avoid heavy clays that compact and suffocate the root zone; a suffocated root leads to drooping leaves and loss of turgor. Ensure your pots have adequate drainage to prevent anaerobic conditions in the lower third of the container.
Timing:
Indoor gardening bypasses traditional Hardiness Zones, yet the "Biological Clock" of the plant remains dictated by the photoperiod. Most indoor tropicals require a 12 to 14 hour light cycle to maintain active growth. When a plant transitions from the vegetative stage to the reproductive stage, its hormonal balance shifts. Auxins migrate, and ethylene production may increase, leading to the senescence of older leaves.
To capture the most robust images, time your photography sessions during the peak of the plant's diurnal cycle, typically 4 to 6 hours after the lights activate. This is when transpiration rates are highest and the plant is most "inflated" with water. Avoid photographing immediately after a heavy fertilization event, as temporary osmotic stress can cause slight wilting. In colder climates, ensure indoor temperatures remain between 65 and 75 degrees Fahrenheit to prevent metabolic slowdown, which results in dull, matte leaf surfaces.
Phases:
Sowing and Germination
Start with sterilized trays to prevent "damping off" caused by fungal pathogens. Maintain a consistent soil temperature of 70 to 75 degrees Fahrenheit using a heating mat. The emergence of the radicle and subsequent cotyledons offers a high-contrast macro photography opportunity.
Pro-Tip: Monitor for phototropism. Seedlings will lean toward the light source within hours due to auxin accumulation on the shaded side of the stem. Rotate trays 180 degrees daily to maintain vertical symmetry for the camera.
Transplanting and Establishing
Move specimens once the second set of true leaves appears. Ensure the new container is only 2 inches wider than the previous one to prevent "over-potting," which leads to perched water tables and root rot. Handle the root ball carefully to avoid damaging the fine root hairs responsible for water absorption.
Pro-Tip: Utilize mycorrhizal symbiosis. Inoculating the roots with beneficial fungi increases the surface area for nutrient absorption, resulting in a more resilient plant that can withstand the heat of photography studio lights without wilting.
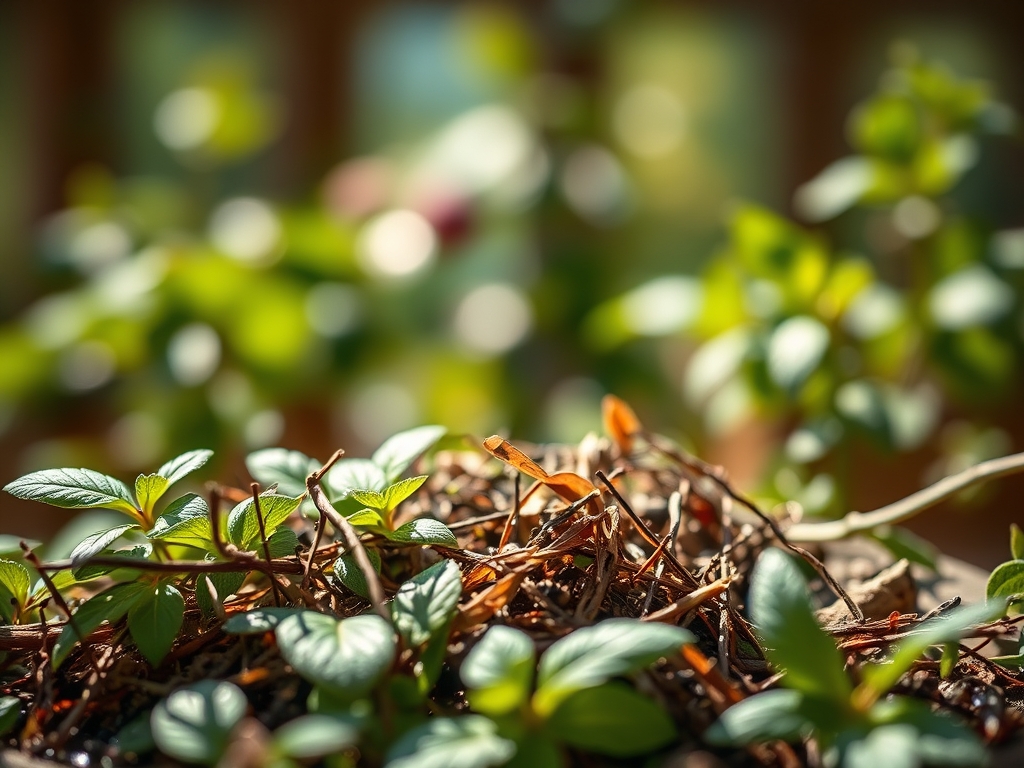
Maturation and Canopy Management
As the plant establishes, use bypass pruners to remove any necrotic tissue. Pruning stimulates lateral branching by suppressing apical dominance. This creates a bushier, more "filled-in" look that translates well to wide-angle shots.
Pro-Tip: Understand auxin suppression. When you pinch the terminal bud, you redirect growth hormones to axillary buds, increasing the density of the foliage and creating a more complex visual texture.
The Clinic:
Physiological disorders can compromise the aesthetic value of your garden. Use the following diagnostic criteria to identify and resolve issues before a shoot.
- Symptom: Yellowing of lower leaves while veins remain green.
- Diagnosis: Magnesium deficiency.
- Fix-It: Apply a foliar spray of 1 teaspoon Epsom salts per gallon of water to rapidly restore chlorophyll function.
- Symptom: Brown, "burnt" leaf tips and margins.
- Diagnosis: Low humidity or salt accumulation in the substrate.
- Fix-It: Flush the soil with three times the pot volume of distilled water to leach excess salts. Increase ambient humidity to 50 percent.
- Symptom: Uniform pale green or yellow foliage (Chlorosis).
- Diagnosis: Nitrogen deficiency.
- Fix-It: Apply a high-nitrogen liquid fertilizer with a 5-1-1 NPK ratio to boost vegetative vigor.
- Symptom: Downward curling of leaves (Epinasty).
- Diagnosis: Overwatering or poor gas exchange in the rhizosphere.
- Fix-It: Allow the top 2 inches of soil to dry completely. Use a soil moisture meter to verify levels before re-irrigating.
Maintenance:
Precision is the difference between a surviving plant and a thriving one. Deliver 1.5 inches of water per week at the drip line, rather than the base of the stem, to encourage outward root expansion. Use a hori-hori knife to occasionally aerate the top inch of soil, preventing the formation of a hydrophobic crust.
Clean leaf surfaces every 14 days using a damp microfiber cloth. Dust blocks stomata and reduces the photosynthetic rate, making the plant appear "flat" in photographs. Monitor the light intensity with a PAR meter; most indoor plants require between 200 and 400 micromoles of light for optimal density. If the plant becomes "stretched," increase the light intensity or move the source closer to the canopy.
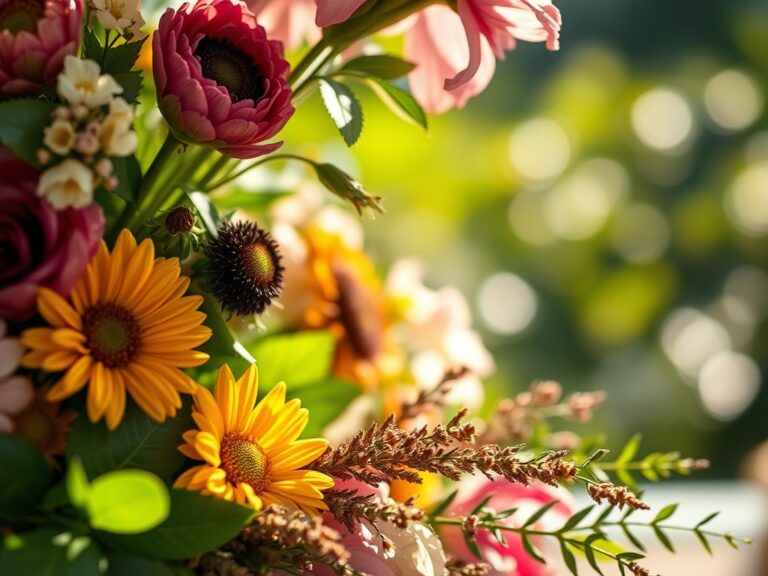
The Yield:
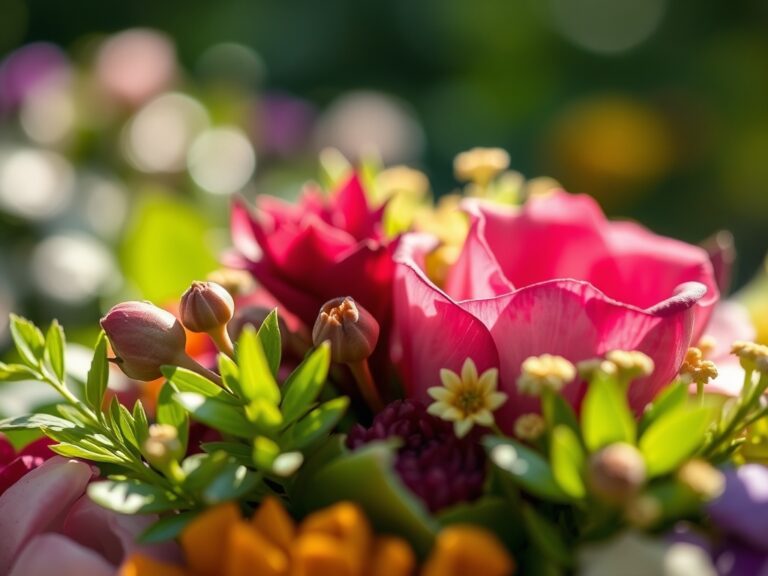
For flowering or edible indoor plants, the yield is the culmination of the growth cycle. Harvest flowers just as the buds begin to show color but before they fully unfurl; this ensures maximum vase life and photographic crispness. Use sterilized bypass pruners to make a 45-degree cut, which increases the surface area for water uptake.
For herbs, harvest no more than one-third of the foliage at a time to prevent systemic shock. Immediately after harvesting, place stems in cool water and store in a draft-free area. This maintains cellular turgor and prevents the rapid wilting that occurs when the vascular system is severed from the root pressure.
FAQ:
How do I prevent glare on shiny leaves?
Use a polarizing filter on your lens to manage reflections. Position your light source at a 45-degree angle to the leaf surface. Avoid direct overhead lighting which creates harsh highlights and deep, unreadable shadows.
What is the best light for indoor plant photos?
High-CRI (Color Rendering Index) LED lights are superior. Look for a CRI of 95 or higher to ensure colors appear accurate. Full-spectrum lights mimic natural sunlight, providing the necessary blue and red wavelengths for healthy-looking foliage.
Why do my plants look "flat" in pictures?
This is often due to front-lighting. Use side-lighting to create shadows that define the ribs and veins of the leaf. This highlights the 3D structure and texture, making the plant appear more substantial and lifelike.
How can I make the green colors pop?
Ensure the plant has adequate Iron and Magnesium. These minerals are central to the chlorophyll molecule. A healthy plant with a pH of 6.0 will naturally have a deep, rich green that requires minimal post-processing.