6 Easy Ways How to Make a Dried Flower Bouquet
The smell of damp earth and the crisp turgor of a healthy leaf define the peak of the growing season. However, as the photoperiod shortens and the plant enters senescence, the moisture content in the vascular tissue drops. Learning how to make a dried flower bouquet requires capturing the plant at its physiological peak before the cellular walls collapse. This process preserves the structural integrity of the xylem and phloem, locking in the architectural form of the inflorescence for long term display.
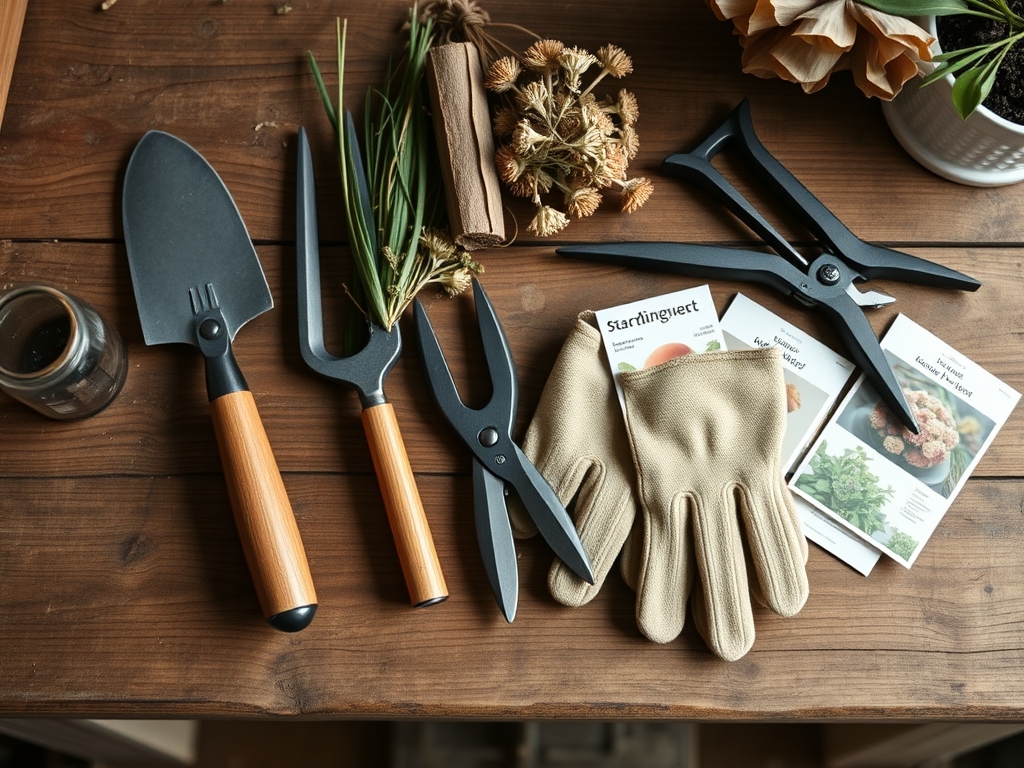
Materials:
To produce high quality specimens for drying, the soil must be a **friable loam** with a **Cation Exchange Capacity (CEC) between 15 and 25**. This ensures the plant can access the necessary micronutrients to build strong lignin in the stems. The ideal soil pH for most cutting flowers like *Limonium* or *Achillea* is **6.2 to 6.8**.
Prior to the reproductive stage, maintain a balanced NPK ratio of 10-10-10. As the plant transitions to flowering, shift to a high phosphorus formula such as 5-20-10 to encourage robust bloom development. Avoid excessive nitrogen late in the season; high nitrogen levels increase vegetative succulence, which leads to wilting and fungal pathogens during the drying process.
Timing:
In Hardiness Zones 5 through 8, the window for harvesting material for a dried bouquet typically spans from late June to the first hard frost. You must monitor the biological clock of each species. Harvest when the flower is approximately 75 percent open. If you wait for full anthesis, the flower will likely drop its petals or go to seed during the desiccation phase.
For optimal results, cut stems in the morning after the dew has evaporated but before the midday sun triggers high transpiration rates. This ensures the cells maintain maximum turgidity, preventing the "hooking" of stems as they dry.
Phases:

Sowing and Germination
Start seeds indoors 6 to 8 weeks before the last frost. Use a sterile seed starting mix to prevent damping off. Maintain a consistent soil temperature of 70 degrees Fahrenheit.
Pro-Tip: Use bottom heat to stimulate rapid root elongation. This triggers auxin distribution to the root tips, establishing a more resilient rhizosphere that can support heavy blooms later in the season.
Transplanting and Hardening Off
Move seedlings to the field once they have developed at least two sets of true leaves. Space plants 9 to 12 inches apart to ensure adequate airflow, which reduces the risk of powdery mildew.
Pro-Tip: Gradually expose plants to ultraviolet light over a 7 day period. This process thickens the cuticle layer of the leaves, a biological defense mechanism that prevents desiccation stress when the plant is moved from a controlled environment to the field.
Establishing and Support
As the plants reach 12 inches in height, provide structural support using horizontal netting or stakes. This ensures the stems grow perfectly straight, which is a requirement for a professional dried arrangement.
Pro-Tip: Implement a "pinch" on the central leader of the plant when it is young. This suppresses apical dominance and forces the plant to divert energy to lateral buds, resulting in a higher yield of usable stems per square foot.
The Clinic:
Physiological disorders can ruin the quality of your dried material. Monitor for these specific symptoms:
- Symptom: Interveinal chlorosis on young leaves.
Solution: This indicates an Iron deficiency, often caused by a pH above 7.0. Apply chelated iron to the rhizosphere to restore chlorophyll production. - Symptom: Weak, floppy stems that cannot support the flower head.
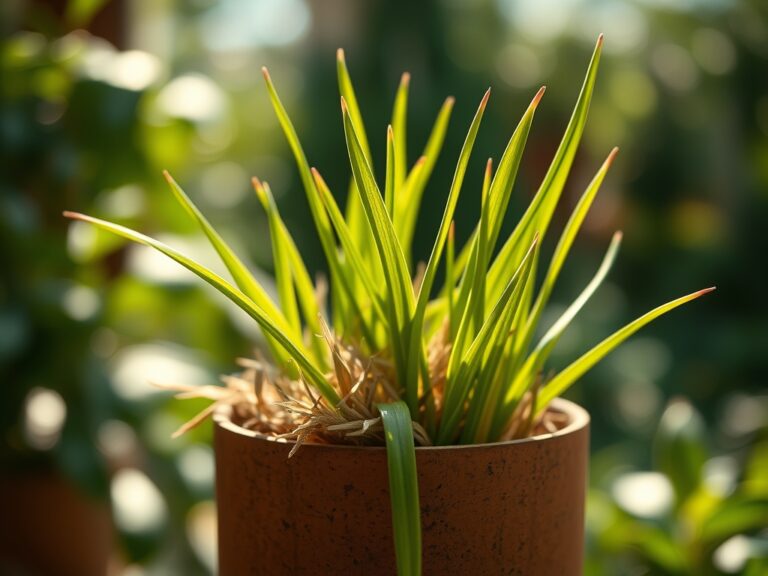
Solution: This is a Potassium deficiency. Increase K levels to strengthen cellular walls and improve water regulation within the plant. - Symptom: Browning of the leaf margins (Tip burn).
Solution: Likely Calcium deficiency or inconsistent watering. Ensure a steady supply of moisture to facilitate the transport of calcium through the xylem.
Fix-It for Nitrogen Chlorosis: If older leaves turn pale yellow, apply a quick release liquid fertilizer with a high N rating. Nitrogen is a mobile nutrient; the plant will pull it from old growth to support new blooms if the soil is depleted.
Maintenance:
Precision is required to keep the plants in peak condition. Provide 1.5 inches of water per week delivered at the drip line to avoid wetting the foliage. Use a soil moisture meter to verify that the moisture has reached a depth of 6 inches.
Keep the area free of weeds that compete for nutrients using a hori-hori knife for deep rooted perennials. Use sharp bypass pruners for all cuts to ensure a clean wound on the plant, which prevents the entry of vascular pathogens. Sterilize your tools in a 10 percent bleach solution between different plant varieties to prevent cross contamination.
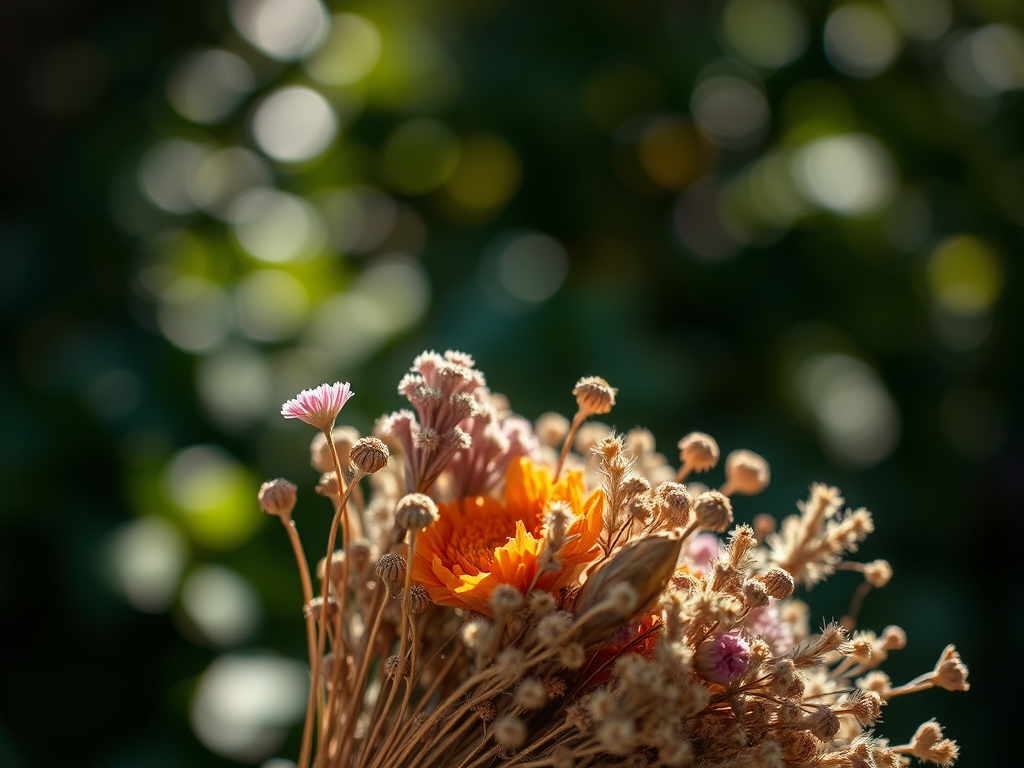
The Yield:
When harvesting for a dried bouquet, use the "wiggle test." If the stem is stiff and the flower head does not droop when shaken, it is ready. Cut the stems to a length of at least 12 to 18 inches.
Immediately strip all foliage from the bottom two thirds of the stem. This reduces the surface area for transpiration and prevents mold growth when the stems are bundled. Group the flowers into small bunches of 8 to 10 stems and secure them with a rubber band. Hang them upside down in a dark, well ventilated room with a humidity level below 50 percent. Dark conditions are essential to prevent the degradation of anthocyanins and carotenoids, which are the pigments responsible for the flower's color.
FAQ:
How long does it take for flowers to dry completely?
Most species require 10 to 14 days in a low humidity environment. Stems are ready when they snap easily and the flower heads feel like parchment. Ensure airflow is constant to prevent fungal growth during this period.
Which flowers are best for drying?
Species with low moisture content and high lignin levels perform best. Examples include Craspedia, Eryngium, Lavandula, and Gomphrena. These plants maintain their structural integrity and color better than succulent varieties like lilies or tulips.
How do I prevent dried flowers from shattering?
Harvesting at the correct stage of anthesis is the primary factor. For extra protection, apply a light coat of unscented aerosol hairspray or a professional floral sealant to the flower heads once they are fully desiccated.
Can I dry flowers in a microwave?
Yes, use silica gel in a microwave safe container. Heat in 30 second intervals at half power. This method is faster but requires careful monitoring to prevent the overheating of delicate cellular structures.