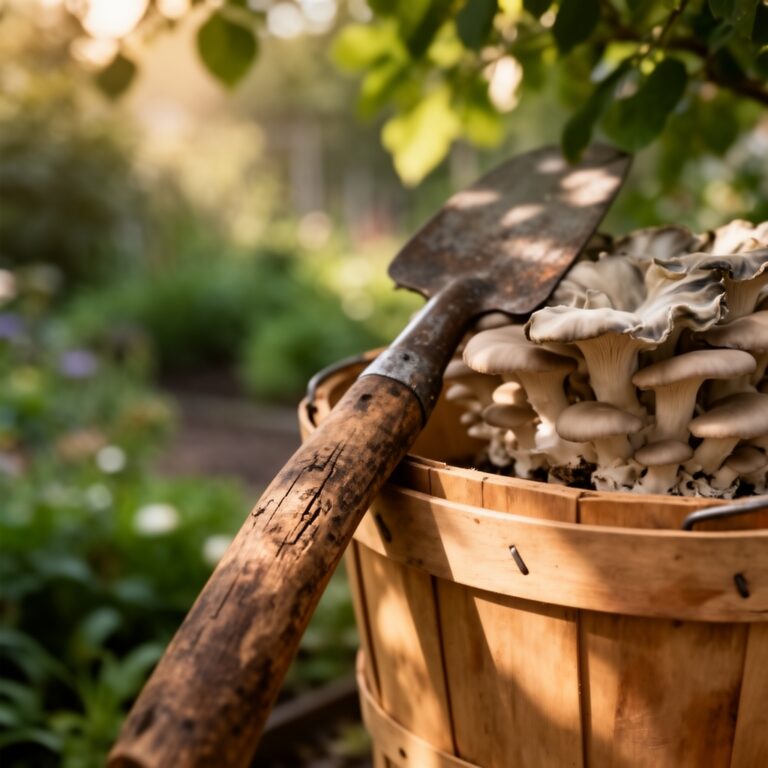
6 Easy Ways How to Harvest Microgreens
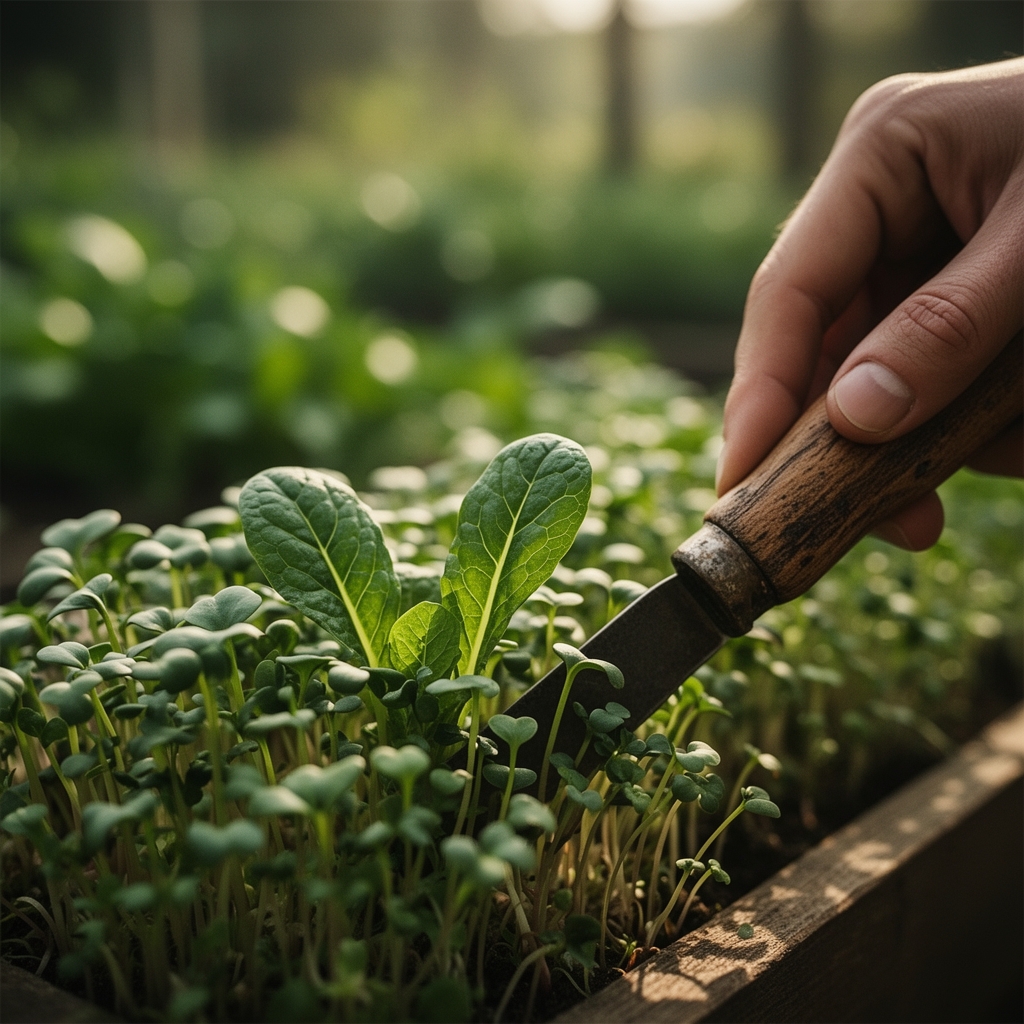
Microgreens stand ready for harvest when the first true leaves emerge above the cotyledons, typically between seven and twenty-one days after sowing. Learning how to harvest microgreens correctly preserves flavor intensity, extends shelf life, and prevents bruising of delicate stems. A sharp blade positioned at the substrate surface, one decisive cut, and minimal handling determine whether your crop reaches the plate with cell turgor intact or collapses into wilted fibers within hours. The entire harvest window spans only forty-eight to seventy-two hours for most Brassicaceae species before lignification reduces tenderness.
Materials
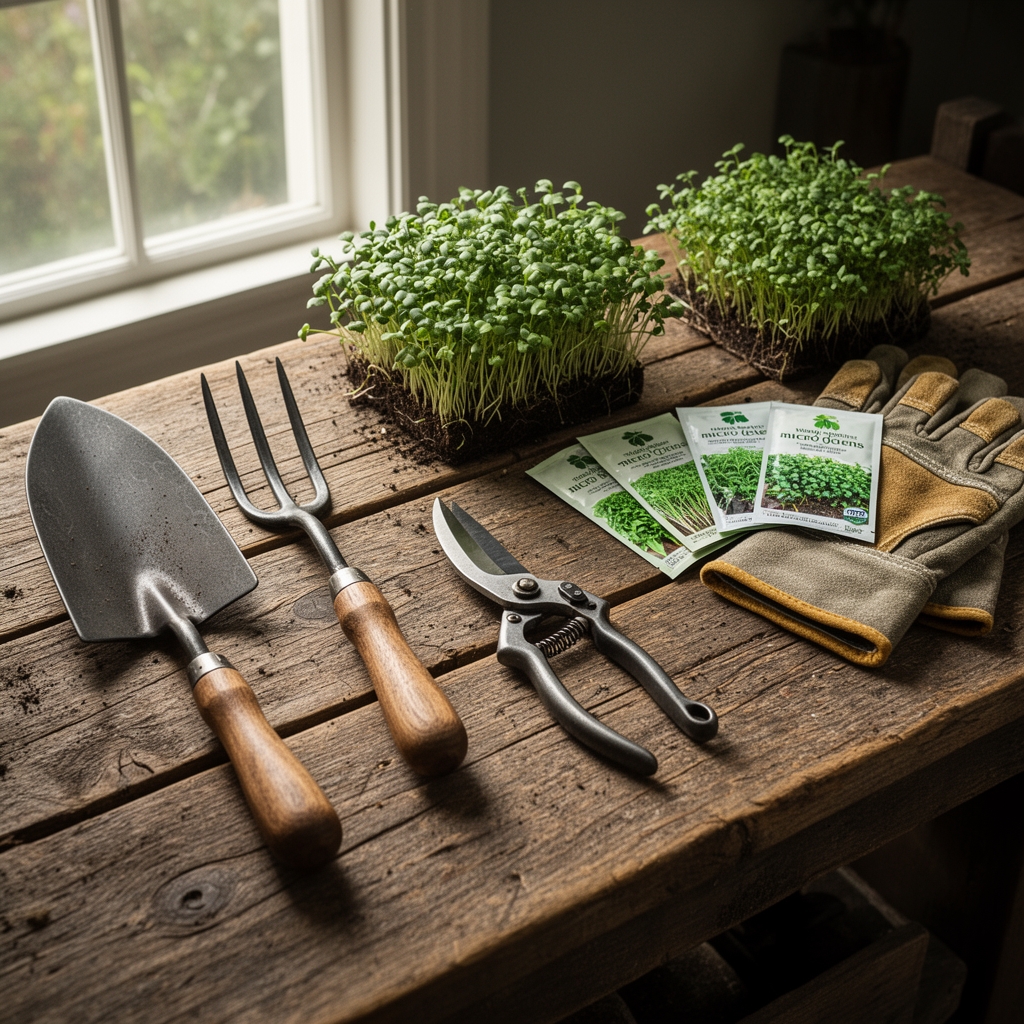
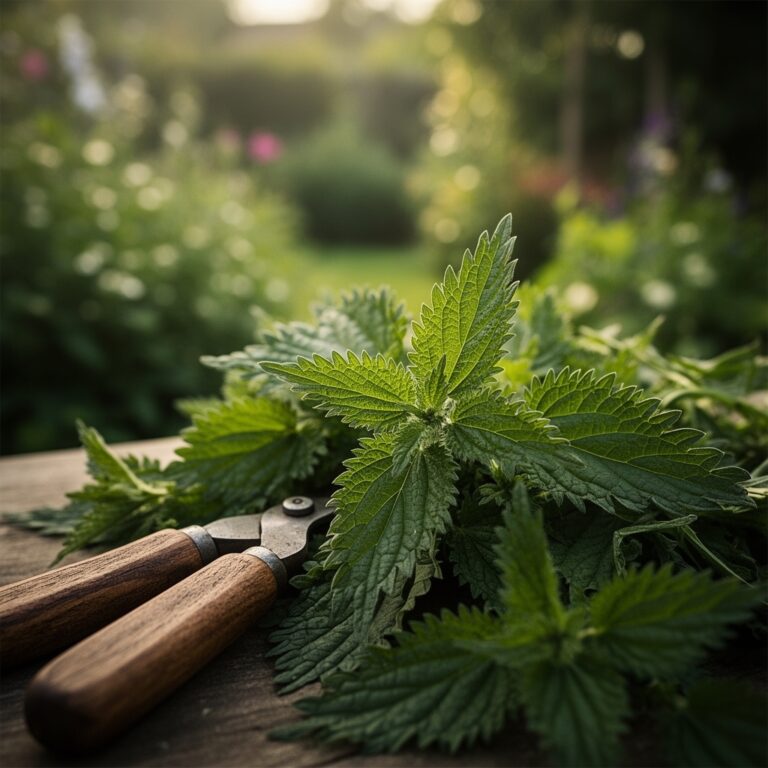
Scissors or harvest knives must maintain a blade angle between fifteen and twenty degrees to shear rather than crush vascular bundles. Stainless steel blades resist oxidation that introduces off-flavors to cut surfaces. Growing media for microgreens should maintain pH between 5.5 and 6.5; coconut coir blends at pH 6.0 support calcium uptake while peat-based mixes at pH 5.8 favor iron availability. A balanced organic amendment rated 4-4-4 provides nitrogen for cotyledon expansion, phosphorus for root hair proliferation, and potassium for stomatal function without excessive vegetative growth that delays harvest. Harvest trays require drainage perforations at four holes per square inch to prevent anaerobic conditions that promote Pythium spp. colonization. Food-grade hydrogen peroxide at three percent concentration serves as a post-harvest rinse to reduce Escherichia coli and Salmonella populations on leaf surfaces. Salad spinners with smooth basket interiors minimize mechanical damage during moisture removal.
Timing
USDA Hardiness Zones do not directly govern indoor microgreen production, but ambient photoperiod influences stem elongation through phytochrome regulation. Northern growers in Zones 3 through 5 observe slower germination between November and February when greenhouse temperatures drop below 65°F, extending harvest windows by three to five days. Supplemental lighting at 200 to 400 micromoles per square meter per second compensates for short winter days. Southern producers in Zones 8 through 10 must monitor substrate temperature; radish and mustard microgreens germinate within thirty-six hours at 75°F but develop excess hypocotyl length and reduced flavor concentration above 80°F. Harvest scheduling depends on species-specific days-to-maturity: arugula reaches harvest height at eight days, sunflower at ten to twelve days, and pea shoots at fourteen to eighteen days when cotyledons fully unfold.
Phases
Sowing: Distribute seed at densities between eight and sixteen grams per 10×20-inch tray depending on seed size. Brassica seeds require only surface contact with moistened substrate, while Apiaceae seeds benefit from a quarter-inch vermiculite cover to maintain darkness during imbibition. Press seeds with a flat board to ensure uniform contact and prevent desiccation of radicles during emergence.
Pro-Tip: Inoculate substrate with Trichoderma harzianum at 10^6 colony-forming units per gram to suppress damping-off pathogens during the vulnerable cotyledon stage.
Transplanting: Microgreens remain in the original sowing tray until harvest; transplanting disrupts root systems and introduces contamination risk. This phase does not apply to standard microgreen production protocols.
Establishing: Provide blackout conditions for forty-eight to seventy-two hours post-sowing to encourage hypocotyl elongation and prevent early chlorophyll synthesis. Introduce light gradually, starting at 100 micromoles for six hours, then increasing to full intensity over twenty-four hours. Maintain relative humidity between 40 and 60 percent; higher levels promote Botrytis cinerea spore germination on leaf surfaces. Air circulation at fifty to eighty cubic feet per minute prevents ethylene accumulation that accelerates senescence.
Pro-Tip: Position light sources eight to twelve inches above canopy to prevent photoinhibition while maximizing photosynthetic photon flux density for anthocyanin production in red-veined varieties.
Troubleshooting
Symptom: White cottony mycelium on substrate surface and stem bases within five days of sowing.
Solution: Reduce watering frequency, increase air circulation to 100 cubic feet per minute, and maintain substrate moisture at 60 percent field capacity rather than saturation. Damping-off caused by Rhizoctonia solani requires substrate sterilization and seed hot-water treatment at 122°F for fifteen minutes.
Symptom: Yellow cotyledons with interveinal chlorosis appearing seven days post-emergence.
Solution: Iron deficiency develops in substrates above pH 7.0 or under excessive phosphorus (P >50 ppm). Foliar spray of chelated iron at 0.1 percent concentration corrects symptoms within seventy-two hours. Adjust substrate pH with sulfur at two grams per gallon of media.
Symptom: Thin, leggy stems exceeding three inches with pale green coloration.
Solution: Insufficient light intensity below 150 micromoles triggers shade-avoidance response mediated by far-red phytochrome. Lower light fixtures to six inches above canopy or increase fixture wattage to deliver 300 to 400 micromoles.
Symptom: Brown necrotic spots on cotyledons surrounded by yellow halos.
Solution: Alternaria brassicicola infection enters through stomata during overhead irrigation. Switch to bottom-watering systems and apply biological control agent Bacillus subtilis at label rates within forty-eight hours of symptom appearance.
Maintenance
Apply water to substrate base rather than overhead to prevent leaf spot pathogens. Deliver one-quarter inch of water per day during blackout phase, increasing to one-half inch daily once cotyledons expand and transpiration rates rise. Substrate moisture should register at 60 to 70 percent water-holding capacity when measured with a tensiometer. Electrical conductivity of irrigation water must remain below 1.0 deciSiemens per meter to prevent sodium accumulation that inhibits calcium uptake. Bottom trays require daily drainage to prevent anoxic root zones that reduce nutrient absorption efficiency. Maintain carbon dioxide concentration between 400 and 800 ppm; enclosed growing spaces benefit from ventilation exchanging air every thirty minutes to replenish CO2 depleted by photosynthesis.
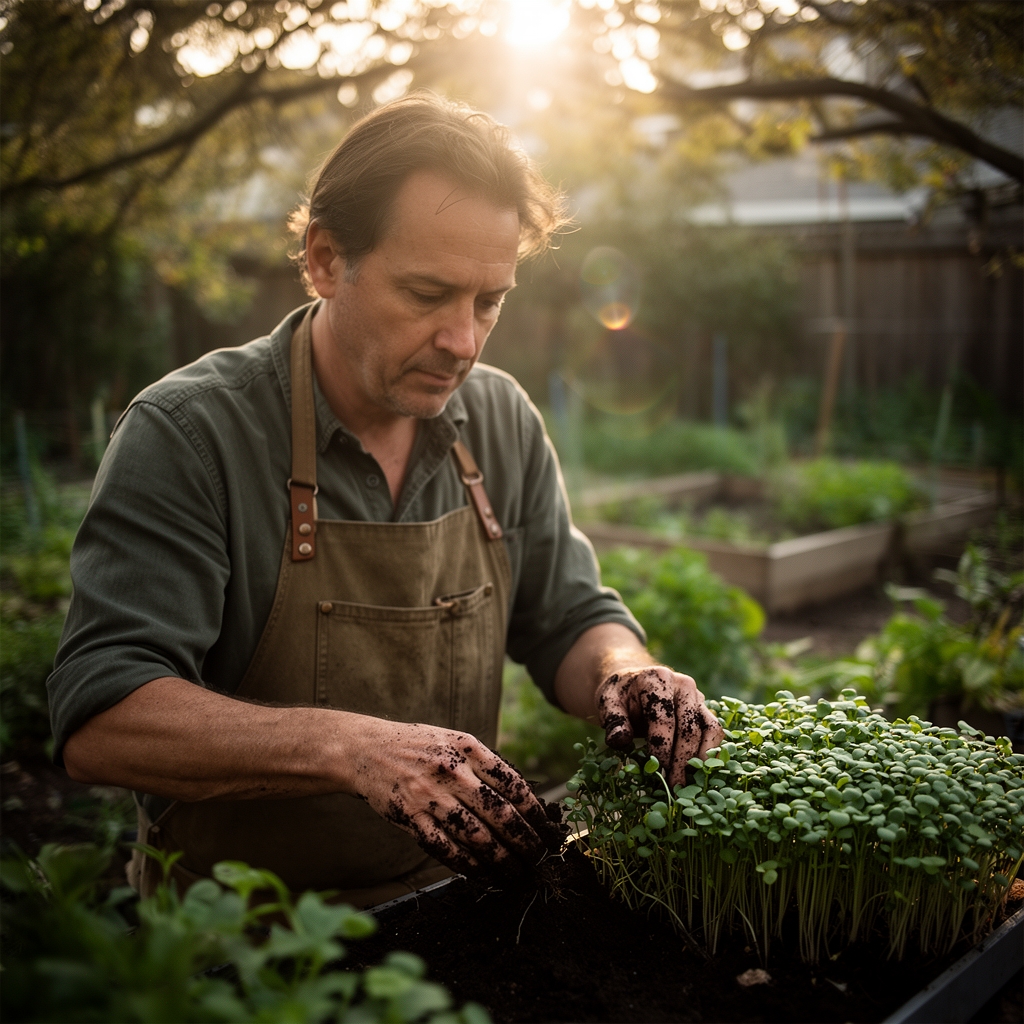
Harvesting Execution
Position scissors one-eighth inch above substrate surface to avoid contamination from growing media while preserving maximum stem length. Execute cuts in the morning between 6:00 and 9:00 AM when cell turgor peaks and carbohydrate reserves accumulated overnight remain in tissues. Harvest entire trays within a fifteen-minute window to prevent dehydration of cut stems before rinsing. Immerse harvested microgreens in water chilled to 38°F for sixty seconds to remove substrate particles and reduce field heat. Spin-dry at low speed for twenty seconds to achieve surface moisture below five percent, which inhibits bacterial growth during refrigerated storage. Package immediately in breathable containers that permit ethylene gas escape while maintaining humidity above 90 percent.
FAQ
How long can harvested microgreens be stored?
When stored at 36 to 38°F in perforated containers, properly harvested microgreens maintain quality for seven to ten days. Temperature fluctuations above 40°F accelerate respiration and reduce shelf life by fifty percent.
Can you harvest microgreens multiple times from the same tray?
No. Microgreens lack the carbohydrate reserves in roots and stems necessary for regrowth after cotyledon removal. The growing point remains in the seed, which has exhausted its endosperm by harvest time.
What is the best time of day to learn how to harvest microgreens?
Early morning hours between dawn and 9:00 AM provide maximum turgor pressure and lowest respiration rates, resulting in crisper texture and extended post-harvest viability.
Do different species require different harvest techniques?
Tender-stemmed varieties like basil require sharper blades and gentler handling than thick-stemmed sunflower or pea shoots. Cutting angle remains consistent at fifteen to twenty degrees across all species to prevent crushing.
Should microgreens be washed after harvest?
Yes. A thirty-second rinse in potable water at 50°F removes up to 90 percent of surface bacteria. Adding food-grade hydrogen peroxide at 100 ppm further reduces pathogen load without affecting flavor.